The process definitions page lists the created process definitions with all the details.
View Process Definitions
- Navigate to Automation > Process Automation > Process Definitions to view the list of saved process definitions.
- Click Filter to filter the process definitions list based on date, start event, enabled, deployed, and start event object.
- Click Search name to search the list for a specific process definition. You can select the number of process definitions to display per page.
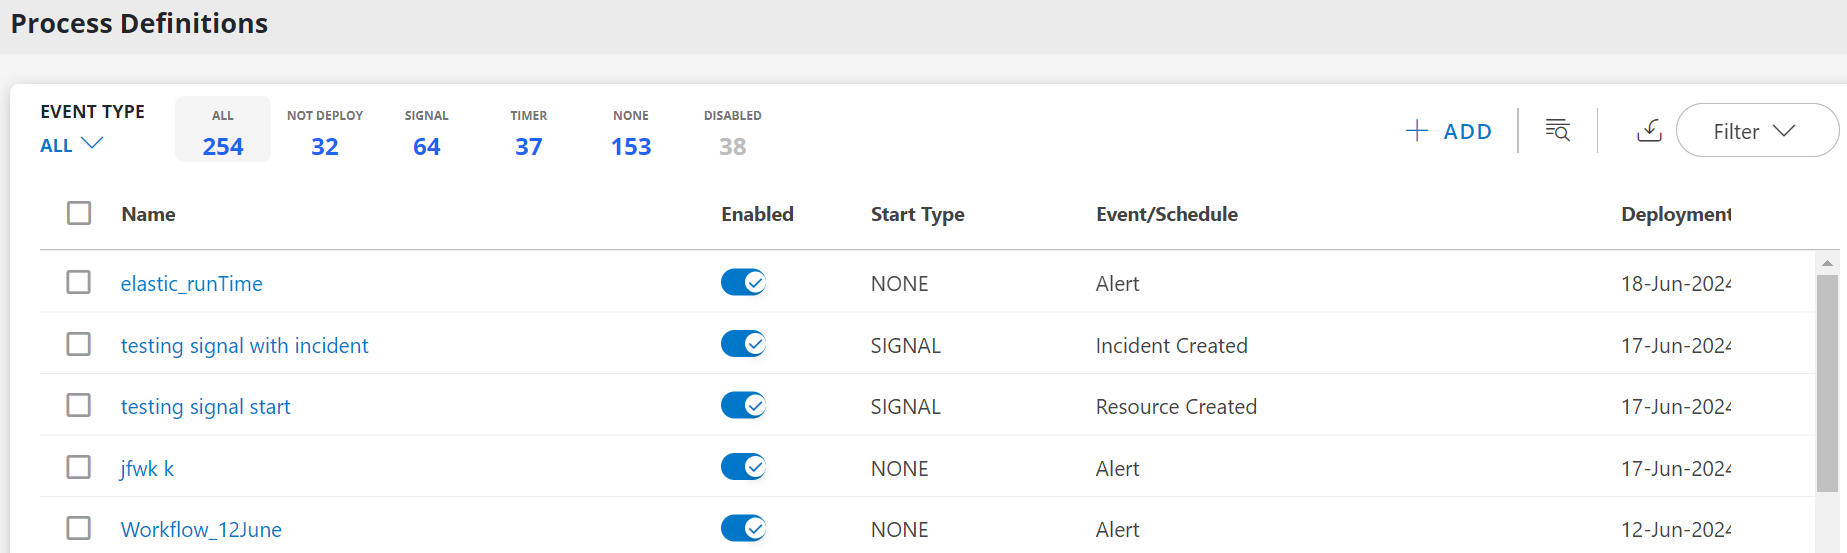
The process definitions home page displays the following information for the created processes:
| Process Definition Attribute | Description |
|---|---|
| Name | Name assigned to the process definition. |
| Enabled | The process definition enablement state. |
| Start Type | The start type of the process definition. |
| Event/Schedule | The event or schedule that starts the process definition. |
| Deployment Time | The process was last deployed. |
| Category | The category of process definition:
|
| Notify | Enable to get the notifications. |
| Event Type | The category of event type:
|
Process Details
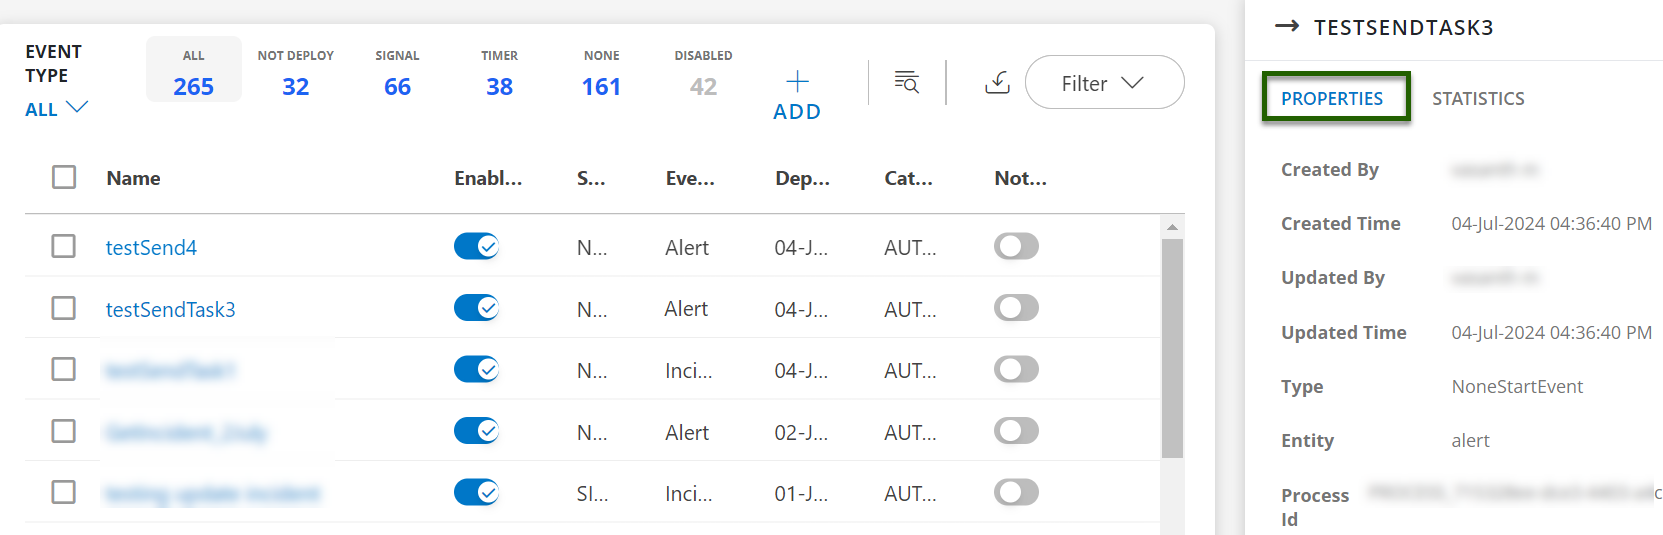
On the Process Definition home page, when you hover over and click on a created process, a detailed pane appears on the left side of the page. This pane has two tabs:
- Properties
- Statistics
Process Properties
This section displays all the configured properties for the selected process. The table below describes each field:
| Field Name | Description |
|---|---|
| Created By | The user who created the process. |
| Created Time | The date and time when the process was created. |
| Updated By | The user who last updated the process. |
| Updated Time | The date and time when the process was last updated. |
| Type | The type of event that triggers the process. |
| Entity | The category or group the process belongs to. |
| Process Id | The unique identifier for the process. |
Process Statistics
This section provides details about the instances of the selected process. The table below explains each field:
| Field Name | Description |
|---|---|
| Intance ID | A unique ID generated for each process instance. Clicking this Intance ID opens the process definition page, allowing you to modify the existing process. |
| State | The current status of the process instance. Possible states include:
|
| ID | A unique ID for the alert generated by the process. Clicking this ID redirects to the Alert page with detailed information. |
