The Alert Problem Area Policies page displays problem area policies filtered by the value in the Select Client list.
- If you do not select a client, you see the policies that apply to multiple clients.
- If you select a client, you see the policies that apply to the client.
Create an alert problem area policy.
Go to Setup > Alerts > Alert Problem Area.
Choose one of the following options to define the scope of the alert problem area policy.
- Do not select a client in the Select Client list if the alert problem area policy applies to more than one client. If you do not select a client, the policy is a partner-level policy and can be used for multiple clients.
- Select a client in the Select Client list if the alert problem area policy is limited to one client. If you select a client, the policy is a client-level policy and can only be used by the selected client.
Click Create New or + Add, depending on whether you have any existing alert problem area policies.
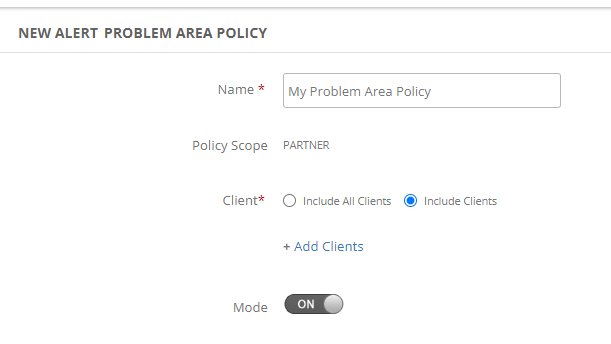
Use the New Alert Problem Area Policy page to define the policy name and scope.
Define policy name and scope
The New Alert Problem Area Policy page looks slightly different depending on whether you select a client before you create a new alert problem area policy. If you chose a client, the Client radio buttons are not available.

Enter a Name for the alert problem area policy.
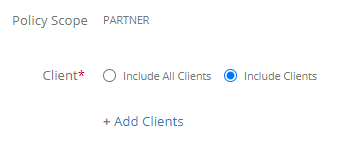
If you did not select a client before creating the policy, select the client scope for the policy:
- Include All Clients: Include all partner clients.
- Include Clients: Include some partner clients.

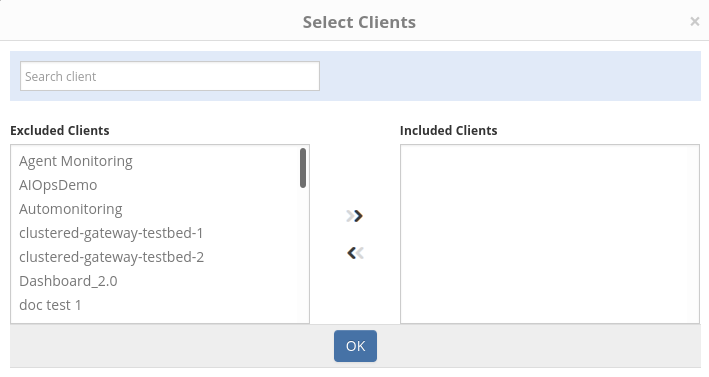
If you select Include clients, use the Add Clients dialog to include or exclude the clients to whom you want to apply this alert problem area policy:

Toggle the Mode button to turn the problem area policy ON or OFF. You can later change the mode in the alert problem area policy list by navigating to Setup > Alerts > Alert Problem Area.
Specify alert filter criteria
You can narrow the alert problem area policy to a subset of events by filtering the alerts using specific attributes. Leave the filter in the default OFF state to process all alerts.
To filter alerts:
Set Apply Filter Criteria to ON, which presents options for specifying filter rules and attributes.

Use the Match toggle to select how to apply alert problem area rules that match filter rules:
- Any: Apply alert problem area to an alert that matches any of the rules.
- All: Apply alert problem area to only alerts that match all of the defined rules.
For each rule, define the following rule properties you want to apply to alerts:
Rule Property Description attribute type Select the attribute type to narrow the attribute list to one of the following types: - Native Attributes: Select from the list of native attributes.
- Resource Custom Attributes: Select from the list of custom, user-defined attributes.
attribute Select an attribute to filter on from the attribute list. The list of available attributes depends on which attribute type you chose. predicate/regex Specify a predicate or regex to apply to the filter:
- Contains
- Not Contains
- Equals
- Not Equals
- Starts with
- Ends with
- Regex
predicate/regex value Specify the predicate or regex value to be matched against the attribute value. Click the plus icon to define additional filters.
Define the alert problem area policy
The policy definition specifies the criteria for extracting the problem area from the alert subject or description string.

Select the alert metric:
- Syslog
- Windows Service
- SNMP Trap
You can also enter the name of an alert metric for other log-type metrics.
Select the alert property from which to extract the problem area information:
- Description
- Subject
Enter a regex to match against the subject or description string. See the regex example, for more information on regex and regex groups.
Enter the group number associated with the alert. (default 0)
Click the plus icon to define additional policies.
Save the alert problem area policy
When you finish defining the problem area policies, click Save to store the policy definition and view the list of saved policies.
Later, you can navigate to Setup > Alerts > Alert Problem Area to view the list of saved definitions.


