You can create alert prediction policies from the Alert Prediction Policies page.
To create an alert prediction policy, go to Setup > Alerts > Alert Prediction.
- Select a client for the alert prediction policy in the Select Client list.
- Click Create New or + Add, depending on whether you have any existing alert prediction policies.
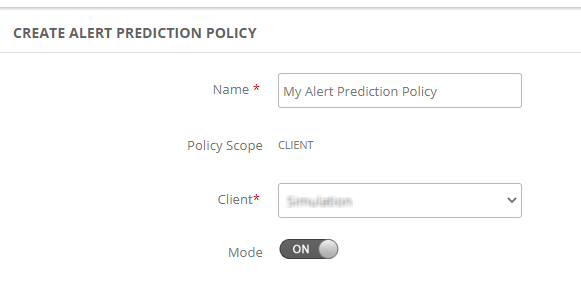
Define policy name, client, and mode
Enter a Name for the alert prediction policy.
Ensure you have the correct client selected.
Toggle the Mode button to turn the prediction policy ON or OFF.
Go to Setup > Alerts > Alert Prediction to change the mode later.
Specify filter criteria
Narrow the prediction to a subset of alerts by filtering the alerts using specific attributes. Leave the filter in the default OFF state to process all alerts.
Set Apply Filter Criteria to ON, which presents options for specifying filter rules and attributes.

Use the Match toggle to select how to apply alert prediction rules that match filter rules:
- Any: Apply alert prediction to an alert that matches any of the rules.
- All: Apply alert prediction to only alerts that match all of the defined rules.
For each rule, define the following rule properties you want to apply to alerts:
Rule Property Description attribute type Select the attribute type to narrow the attribute list to one of the following types: - Native Attributes: Select from the list of native attributes.
- Resource Custom Attributes: Select from the list of custom, user-defined attributes.
- Alert Custom Attributes: Select from the list of alert custom user-defined attributes. Note:
- The Alert Custom Attributes are shown if they are available to the selected client.
- As of now, this feature is enabled to client scope policies only. This means, the Alert Custom Attributes option is not displayed for the policy assigned to All-Clients.
attribute Select an attribute to filter on from the attribute list. The list of available attributes depends on which attribute type you chose. predicate/regex Specify a predicate or regex to apply to the filter:
- Contains
- Not Contains
- Equals
- Not Equals
- Starts with
- Ends with
- Regex
predicate/regex value Specify the predicate or regex value to be matched against the attribute value. Not Contains: Filters only the alerts that do not contain the input string provided in the field.
Not Equals: Filters only the alerts that are not equal to the input provided in the field.
Not Contains/Not Equals: If the selected property is not there in the alert, it is considered as matched.
Example: Property value is “ABC”.
Resource “A” belongs to two resource groups - ABCDEF AND XYZ. In this case, there is No Match.
Resource “B” belongs to resource group - PQRS. There is Match.
Resource “C” belongs to no resource group. There is Match.Click the plus icon to define additional filters.
Define the alert prediction seasonality timeframe
Seasonality is a time-based trend where regularly occurring alerts might be daily, weekly, monthly, or less frequent. An example of a daily, seasonal event would be a VM (Virtual Machine) that shuts down every night at 11:00 PM to save money. The shutdown would create a server-down alert every night around 11:00 PM.
The seasonality timeframe specifies the period of data used to analyze seasonality patterns.
- For alerts that occur daily, 7 or 10 days is a sufficient seasonality timeframe to establish seasonality patterns.
- For alerts that occur weekly or monthly, a longer seasonality timeframe is required to provide enough data to establish seasonality patterns.
The seasonality timeframe is evaluated every 30 days after ML takes place. For example, if you select 10 days for the seasonality timeframe, the last 10 days of data are analyzed every 30 days.
Note
- Alerts triggered during scheduled maintenance windows including maintenance-type alerts are excluded from seasonality training. These events are considered expected operational behavior and are not used when learning normal alert patterns.
- If no seasonality patterns are detected after the policy completes training, any existing alerts that were previously created based on older seasonality patterns are automatically healed, as they are no longer recognized as recurring patterns.
- Only active alerts in Critical, Warning, or OK states are evaluated for seasonality.
- Alerts that are inferences are not considered for seasonality training or prediction.
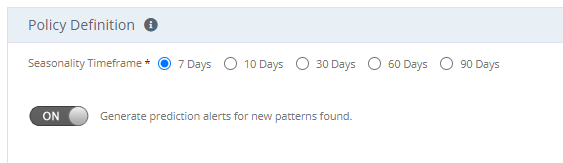
Select one of the following values to set the seasonality timeframe:
- 7 Days
- 10 Days
- 30 Days
- 60 Days
- 90 Days
The seasonality timeframe is the time required before machine learning starts analyzing the alert data for patterns. If you select 7 days, the policy needs 7 days of alert data before seasonality results emerge.
Note: Even if you select a timeframe of 60 or 90 days, the system will only consider a maximum of 30 days for the seasonality analysis.When editing the prediction policy to change the seasonality timeframe, it will trigger a new seasonality analysis period.
To activate the new seasonality analysis period, it is necessary to save the policy changes and choose the Train Now option provided on the alert prediction policies page.
This action triggers the commencement of the updated seasonality analysis based on the modified timeframe.Toggle the Generate prediction alerts for new patterns found button to have the policy generate prediction alerts for new patterns.
If Generate prediction alerts for new patterns found is OFF, you can still manually create alerts for predicted alerts on the Alert Prediction page.
Save the alert prediction policy
When you finish defining the prediction policy, click Save to store the policy definition and view the list of saved policies.
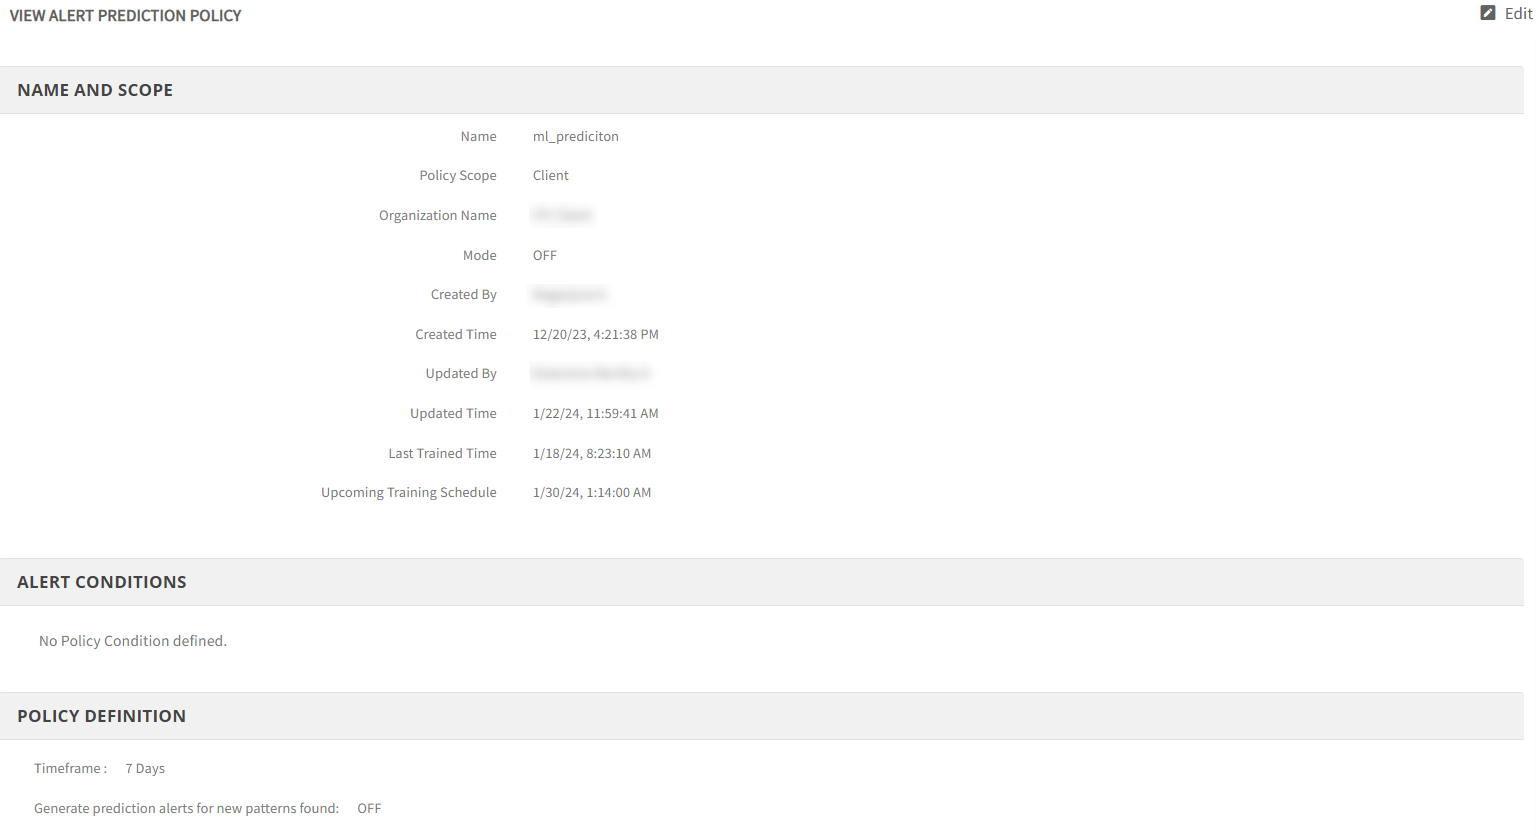
Later, you can navigate to Setup > Alerts > Alert Prediction to view the list of saved definitions.