Service Request is a standard request that has already been pre-approved in an organization.
- Service Request is created when a user needs information, advice, or access to services.
- Creating a list of pre-approved service requests reduces approval workflow cycles.
Configure service request settings
Customize Service Request details by creating custom fields in addition to the predefined fields:
- From All Clients, select the client.
- Go to Setup > Service Desk > Configuration section > Settings.
- Click Service Request, configure the settings, and click Update.
Create a service request
Service requests can be created using:
- Service Desk
Create a service request on Service Desk
- From the options in the drop-down menu, click Service Desk.
- Click New and click Service Request.
- In the New Service Request page, enter the required details and click Create.
Supported fields:
| Field name | Description |
|---|---|
| Partner Name | Select the partner. |
| Client Name | Select the client. |
| Subject | Title or short summary of Service Request |
| Description | The information required to describe the Service Request scenario. This can include the actual behavior, expected behavior, and steps to reproduce the issue. |
| Attach file | The artifacts required to support Service Request. Example: error messages, screenshots, excerpts from log files. Supported file types: `.txt`, `.jpg`, `.zip`, `.docx`, `.odt`, `.odg` and `.xlsx`. File size limit: 32 MB |
| Requested By | User who requests service. |
| Assignee Group | User group that manages Service Request. |
| Assign to | User who acts on Service Request. |
| Resources | Devices on which the Service Request is identified. |
| Category | Category to which the Service Request is mapped. |
| Sub Category | Subcategory under the category to which the Service Request is mapped. |
| Priority | Measure of how soon the Service Request needs to be resolved. |
| Cc | Email addresses of the users who need to be copied in the email notification. |
| Attach Incidents | Any incidents that can be cited as a reason for the creation of Service Request. |
| Articles | KB articles that help in the resolution of Service Request. |
Create a service request using an email integration
- Go to Setup > Integrations > Integrations.
- In the Available Integrations, Click Email Requests.
- In the Install Email Requests Integrations page, provide a Name of the Integration.
- Select the Request Type as
Service Request, upload an Image file if required, and click Install. The new email integration is displayed on the Email Requests Integration page. - Click the copy icon in Incoming Email Address.
- While composing Service Request email, enter the following in the email fields:
- To: Incoming Email Address
- Subject: Service Request subject
- Email Body: Description of Service Request
You can define rules to configure email attributes such as subject, description, priority, external ticket ID and email addresses.
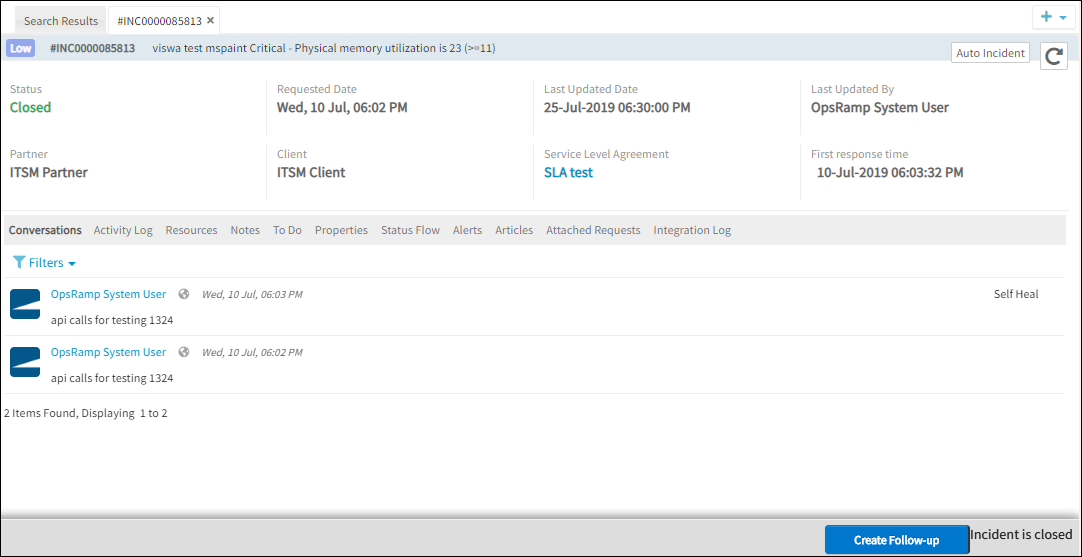
Create a service requests from closed service requests
If a closed Service Request needs to be reviewed or a similar issue needs to be reported, create a new Service Request and attach the closed Service Request to the same.
Prerequisite: Activate the Enable to create a follow-up service request setting to be able to view the Create Follow-Up option.
- Select Service Desk (from the drop-down menu).
- Select a service request that is in Closed status.
- Click Create Follow-Up.
- Enter details and click Create. The Follow-Up Service Request is created.
Edit service requests
Edit a single service request
- From the options in the drop-down menu, click Service Desk.
- Click a Service Request.
- Click the Edit button and edit the required fields.
Bulk edit multiple service requests
- From the options in the drop-down menu, click Service Desk.
- Click the Bulk Update button and select the number of service requests to be edited.
- Select Apply Actions option. Update Actions window is displayed.
- Select the required changes and click Update.
Attach an incident or task request to a service request
Attach a single or multiple incidents, or task requests to an existing Service Request. As service requests are closed, the incidents and task requests are automatically resolved and closed.
Attach a new Service Request to an existing incident or task request
- From the options in the drop-down menu, click Service Desk.
- Click New and click Service Request.
- In the New Service Request page, click Attach Incidents/Task Requests.
- In the Incidents/Tasks page:
- All - Select to view both the incidents and task requests.
- Incident - Select to view the incidents.
- Task Request - Select to view the task requests.
- Select the required incident or task request and then click Update.
Notes- To attach an incident, the user must have the Manage Incident permission. Otherwise, the incidents do not appear in the Incidents/Tasks page.
- To attach a task request, the user must have the Manage Task Request permission. Otherwise, the task requests do not appear in the Incidents/Tasks page.
- If the user has the Manage Service Desk permissions, the incidents and task requests can still be attached to the service request though the user has only View Incident and View Task Request permissions.
To know about the available permissions for a user, go to Setup > Accounts > Users, select a user, and click View under User Roles.
Attach an existing Service Request to an incident
- From the options in the drop-down menu, click Service Request.
- Click Attached Requests and click Add/Modify.
- Select the required incident and click Submit as New.

Use auto-close to close a service request
Configure Auto-Close Policies to close Service Requests that are resolved and that are in the inactive state since a certain elapsed time.
Note
- If the customer selects a 6-month duration, incidents will be evaluated for two time ranges:
- From today up to the past 180 days
- From 180 days prior to today up to 360 days priorExample:If today is 09/07/2024:
- End Date (180 days prior): Thu Jan 11 00:00:00 IST 2024
- Start Date (360 days prior): Sat Jul 15 00:00:00 IST 2023
- After an incident is resolved, no further activity should occur on that incident.
- The policy must be configured at the organization level.
- Go to Setup > Service Desk > Auto Close Policies.
- Select the client and click Auto Close Service Requests.
- Enter:
- Name: Name of the Auto-Close policy
- Resolved Tickets Above: The inactive period of a resolved Service Request beyond which the Service Request needs to be closed
- Click Submit. Auto-Close Policy is added.
View service requests
The service request details page provides the following attributes.
| Tabs | Description |
|---|---|
| Conversations | Comments added by assignee or creator which can be viewed by all users in the assignee group. |
| Activity Log | User activities on Service Request. |
| Resources | Resources on which the Service Request is identified. |
| Notes | Useful information or hint for Service Request resolution. Viewed by all users of the assignee group. |
| To Do | Information recorded by a user for self-reference. Viewed by a single user. |
| Properties |
 |
| Status Flow | The flowchart representation that shows Service Request status change. |
| Articles | KB articles that are attached to Service Request |
| Attached Requests | Other service desk entities attached to Service Request |
| Integration Log | The inbound and outbound third-party communication details. |