Using Resource Groups, you can logically organize resources by resource attributes to perform actions collectively. You can create multiple resource groups or nested resource groups.
For example, group all the resources with the same attributes or belonging to different categories and apply device management policies or assign templates.
Create a resource group
A Partner user with permission to manage all devices can create a resource group.
To create a resource group:
Select a client from the All Clients list.
Go to Setup > Resources > Resource Groups. The RESOURCE GROUPS page is displayed.
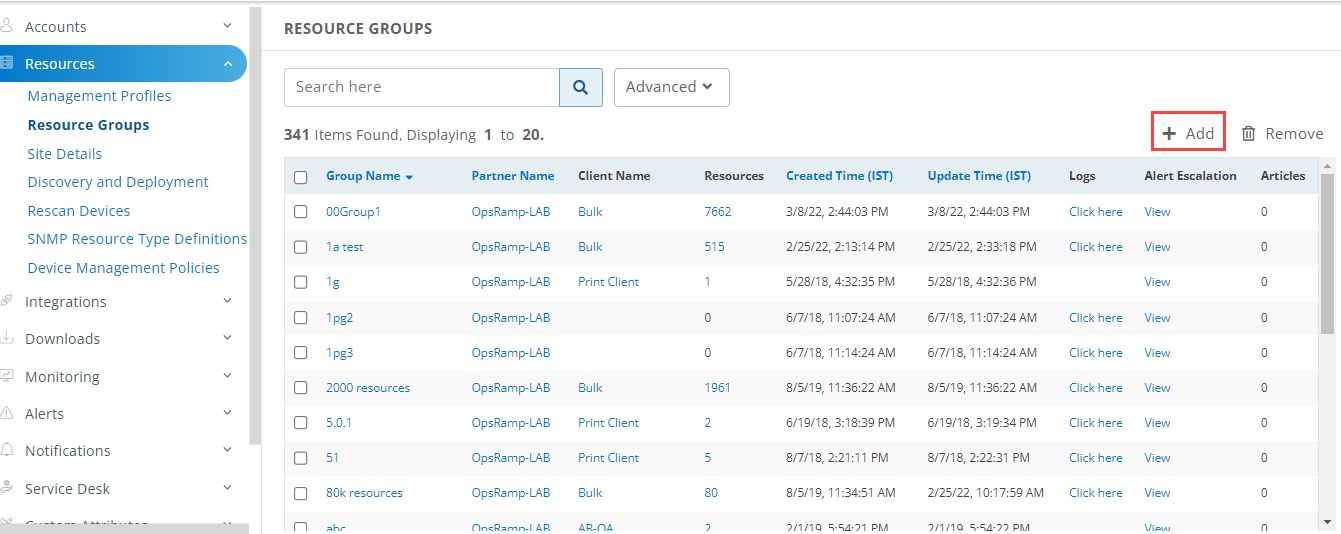
Click +Add. The CREATE RESOURCE GROUP page is displayed.
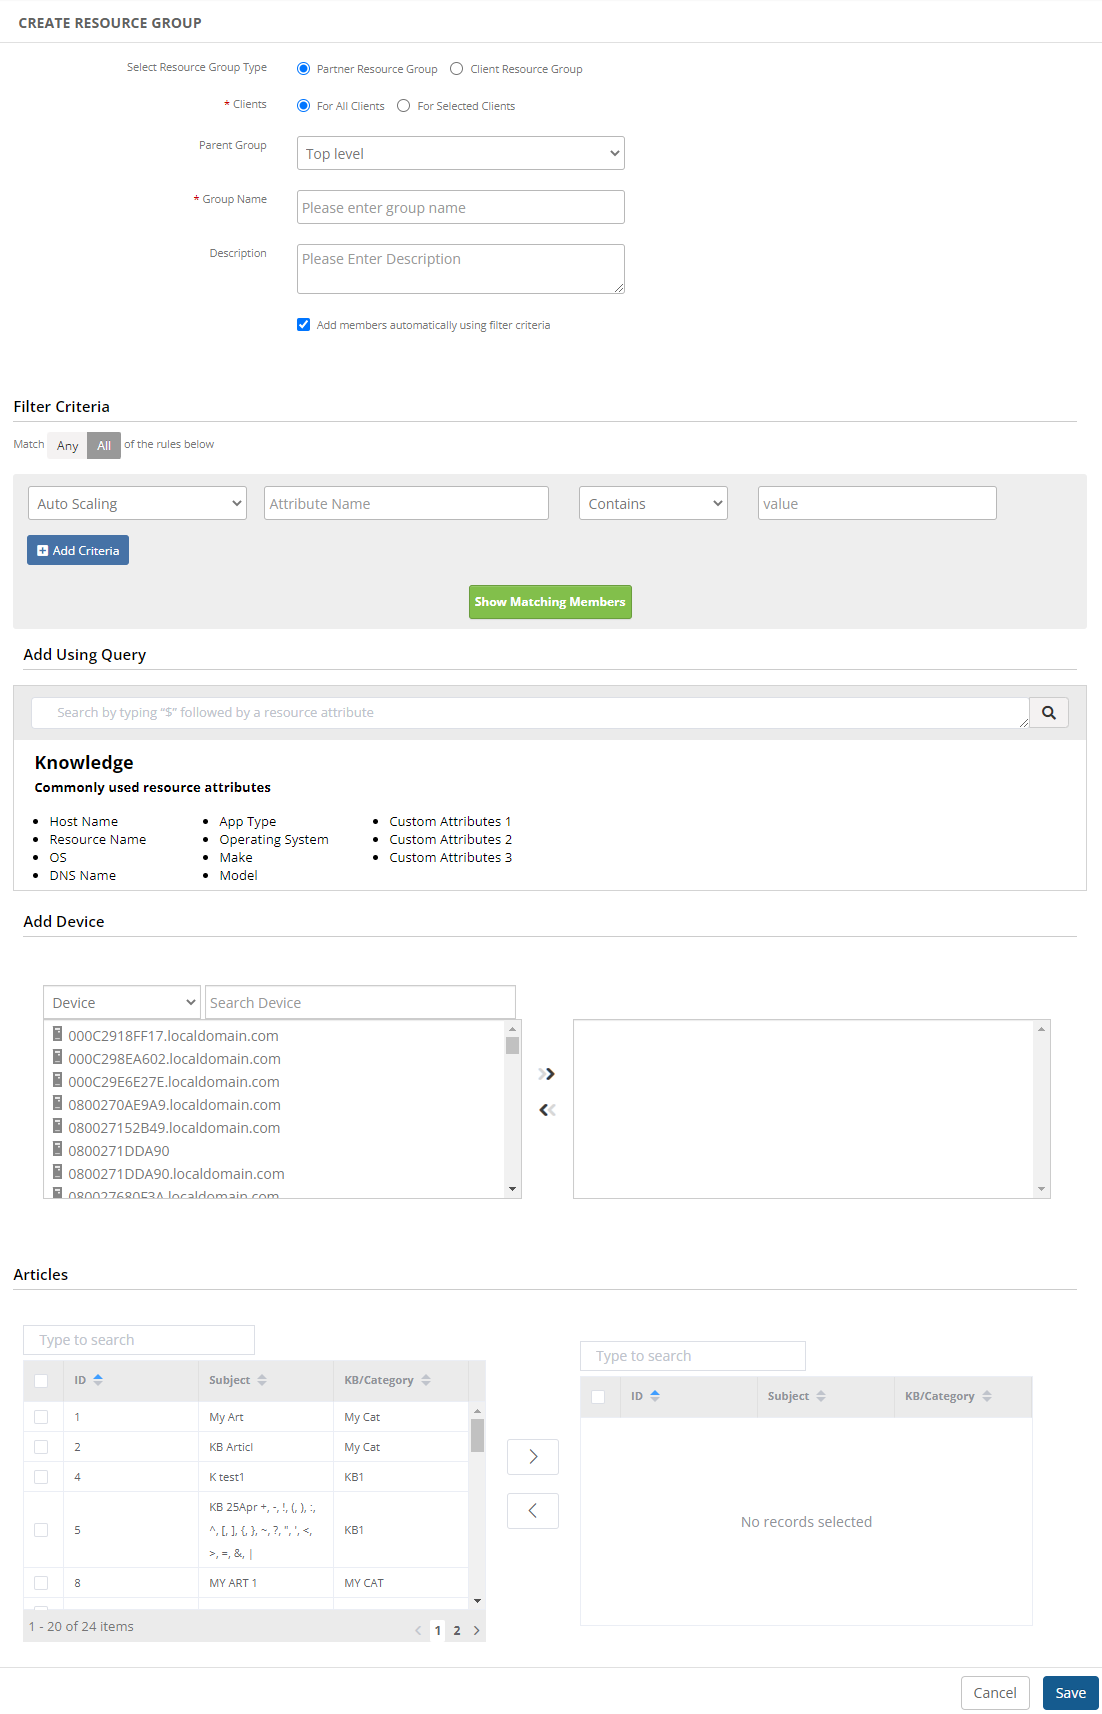
Do one of the following options to select Resource Group Type:
- Partner Resource Group: If you are a partner, select this option. Then for Clients, select either For All Clients or For Selected Clients for one or more clients.
- Client Resource Group: If you are a client, select this option and select a client from the drop-down list.
(Optional) Select Top level if the resource group you are creating is a parent group or select any other group from the drop-down list if you are creating a child resource group.
In the Group Name field, give a name to the group.
(Optional) In the Description field, add a description of the resource group.
(Optional) Select the option Add members automatically using filter criteria to update the resource group dynamically.
Add resources to the group using the following filter criteria options:
- Click Any or All to match any one or all of the defined conditions for filtering.
- Select the options for the following filter criteria fields:
- Resource Type: Lists all the supported resource types.
- Attribute Name: Lists the attributes of the type of resource selected. Attributes vary according to the resource type chosen.
- Logic condition: Logical match criterion to enhance search results. Options: Contains, Not Contains, Equals, Not Equals, Starts With, Ends With, and regex.
- Value: Value corresponding to the attribute name and logic condition. Note: You can give multiple rules.
- Click Add Criteria to include more filter criteria.
- Click Show Matching Members to see a list of all the devices matching the criteria.
Add resources to the group using query language specifying your requirements, in the Add Using Query section. To enter a query: Type “$” followed by a resource attribute. Once you type “$” the resource attributes are auto-populated.
Examples of resource attributes: Agent Deploy time, Agent Version, DNS Name, etc.
Select the attribute followed by a space and key operator value.
Examples of key operator value: “<”, “>”, “=”, “IS”, “contains”, “IS NOT NULL”, “IN”, etc.
Give a space after you select/enter the key operator value and enter the Value enclosed in double quotes. You can give multiple queries. Use AND or OR condition between the queries, as needed.
A green tick after entering a query indicates that the query is valid. A forbidden icon indicates that the query is incomplete or the format is incorrect.
Click search icon. The number of resources that match the query is displayed. Click Show Matching Results. Resource list is displayed with Name, IP Address, and Resource Type details.
Note: When usingREGEXandREGEX NOT:avoid using square brackets with
\dor\sFor example:
$name REGEX "a[\s+].*"
This expression can be written as$name REGEX "a\s+.*"$name REGEX "a[\d+].*"
This expression can be written as$name REGEX "a\d+.*"
avoid using
^and$in attribute value.For example:
$name REGEX "^abc.*"
This expression can be written as$name REGEX "abc.*"$name REGEX ".*abc$"
This expression can be written as$name REGEX ".*abc"
Select one or multiple devices from the Add Device section, and click the right arrow to add to the resource group.
Select one or more articles and click the right arrow to add to the resource group.
Click Save.
The resource group is created and displayed in the list on the Resource Groups page. On the Resource Groups list page, you can view details like resource group created time, updated time, logs, articles, etc.
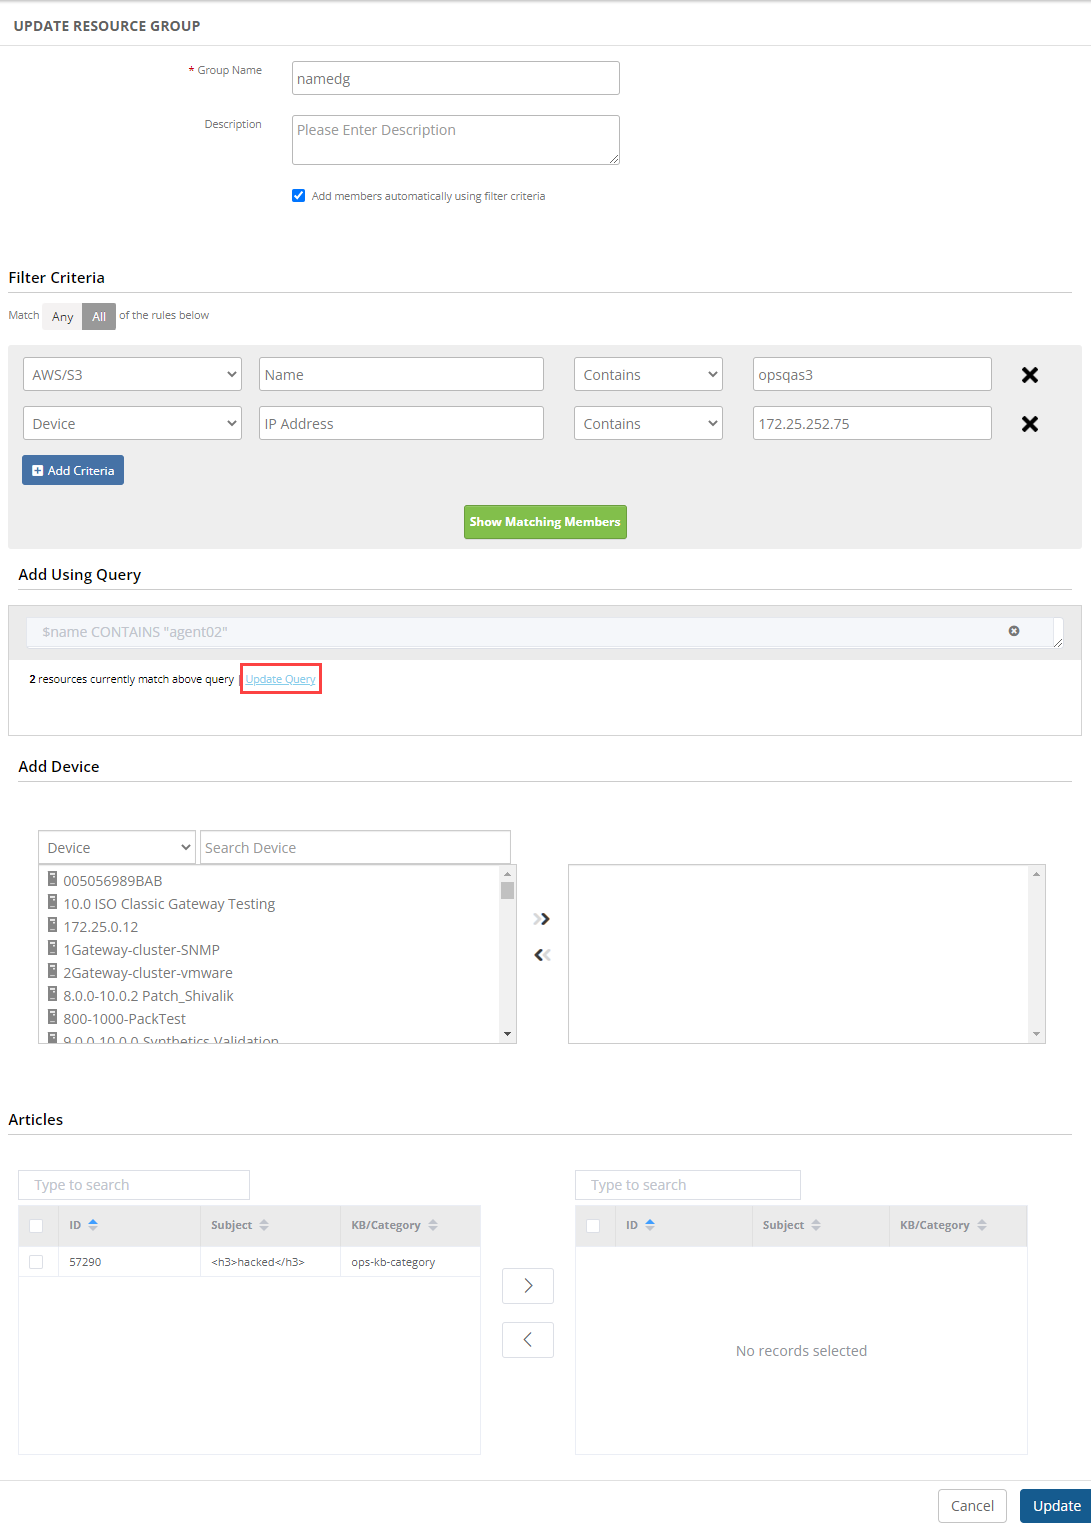
The following is an example of how Filter Criteria and Search Using Query features work:
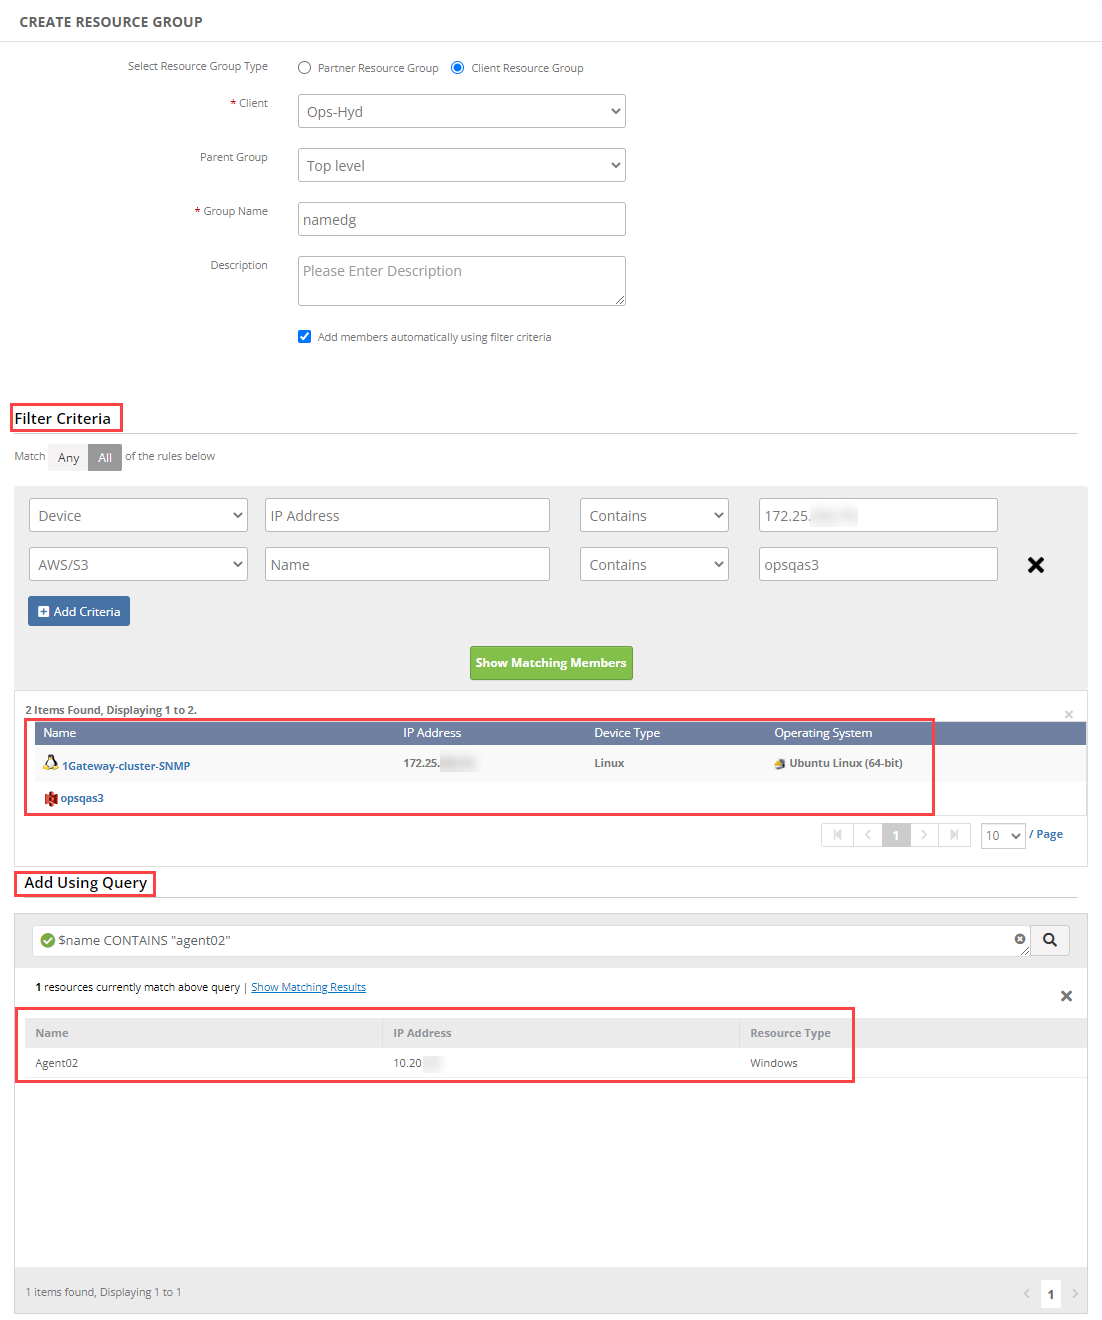
The resource group is created using two different resource types that are provided as filter criteria, along with a query.
Note: When two different Resource Types are selected using the ALL Rules criteria, the rules are applied individually on each Resource Type.
Resources will be filtered against each resource type.
The result of the search criteria is shown below:
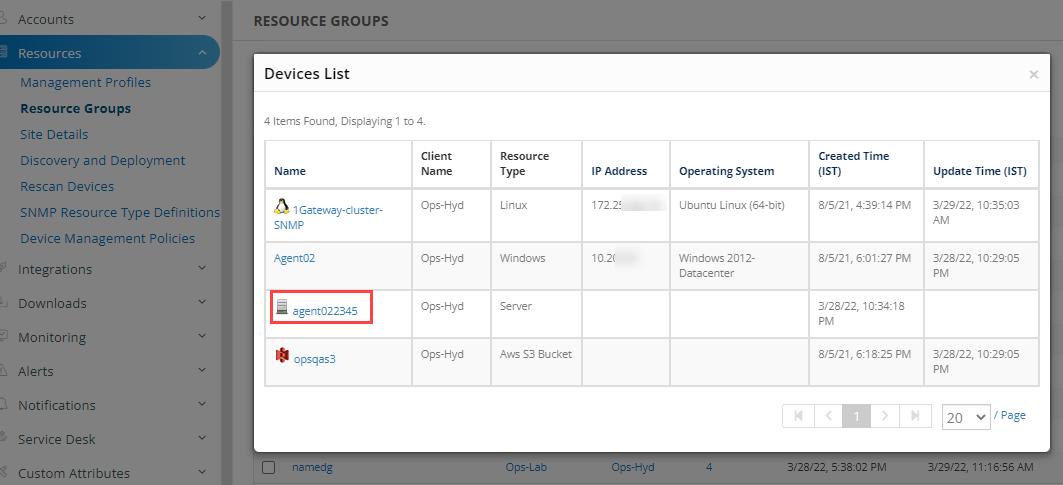
If a new device is created and it matches the advance search query, it is automatically added to the resource group without the need for manually saving it again.
A new device “agent022345” is added. As it matches the query, it is automatically added to the resource group.
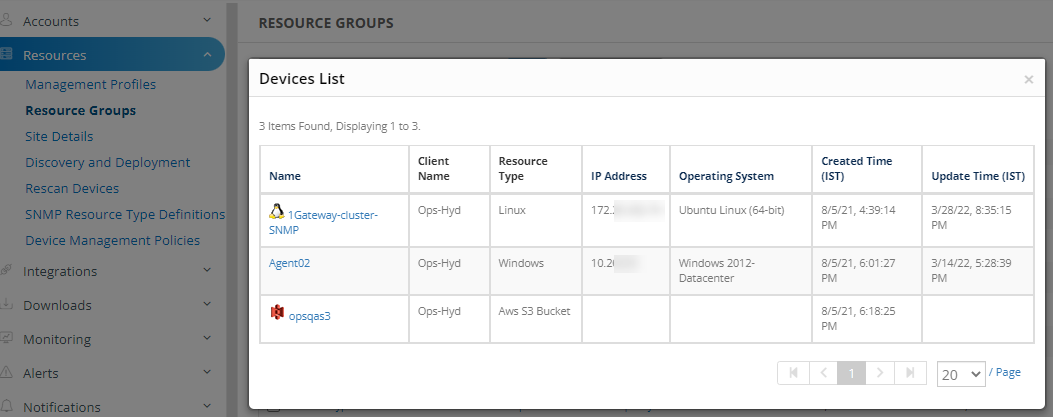
Updated resource group:
View resource group
A Partner user with permission to manage all devices can view resource group details.
Go to Setup > Resources > Resource Groups.
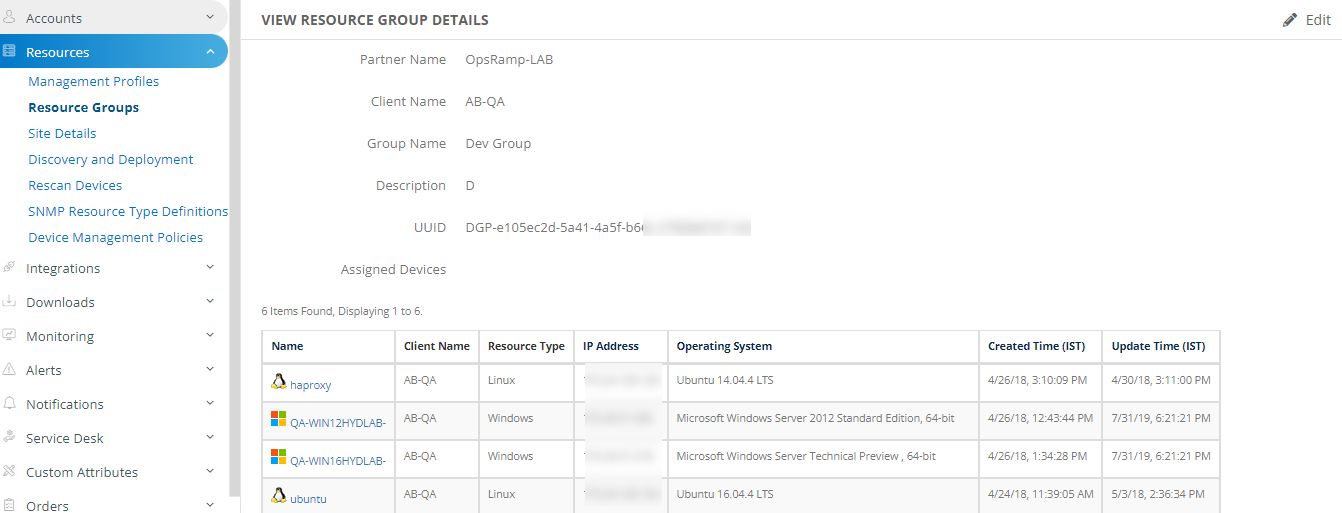
Click the name of the resource group. The VIEW RESOURCE GROUP DETAILS page is displayed.
Or
Go to Infrastructure > Groups.
Click the name of the resource group. The page displays the details of the resource group and the resources belonging to the group.

Edit resource groups
A Partner user with permission to manage all devices can edit a resource group.
Follow the steps given below to edit a resource group:
Go to Setup > Resources > Resource Groups. The RESOURCE GROUPS page is displayed.

Search for the resource group you want to edit. Click the resource group name. The VIEW RESOURCE GROUP DETAILS page is displayed.
On the VIEW RESOURCE GROUP DETAILS page, click Edit.
Make the required changes. If you want to update the query in the Add Using Query section, click the Update Query link provided below the search box.
Click Update. Resource group is updated.
Or
Go to Infrastructure > Groups and click the name of the resource group.
From the left pane displaying a list of resource groups, click the Settings icon and select Edit. The UPDATE RESOURCE GROUP page is displayed.
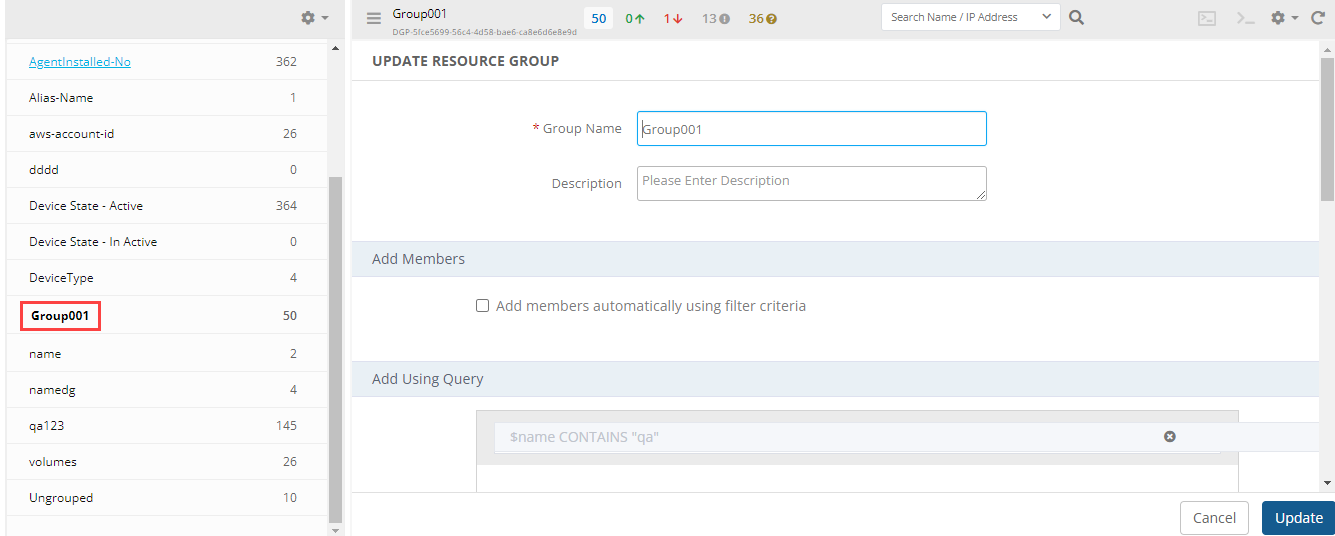
Make the required changes and click Update.
The updated resource group is displayed in the list of resource groups.
Delete resource groups
A Partner user with permission to manage all devices can delete a resource group.
Follow the steps given below to delete a resource group:
Go to Setup > Resources > Resource Groups.
Search for the resource group you want to delete. Select the resource group checkbox and click Remove. A confirmation popup appears.
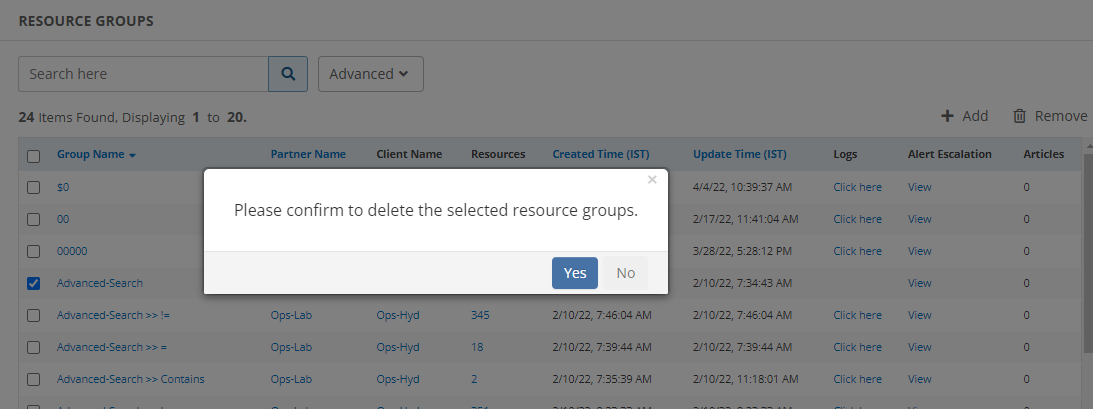
Click Yes to delete the resource group.
Or
Go to Infrastructure > Groups and click the name of the resource group.
From the left pane displaying a list of resource groups, click the Settings icon and click Remove. A confirmation popup appears.
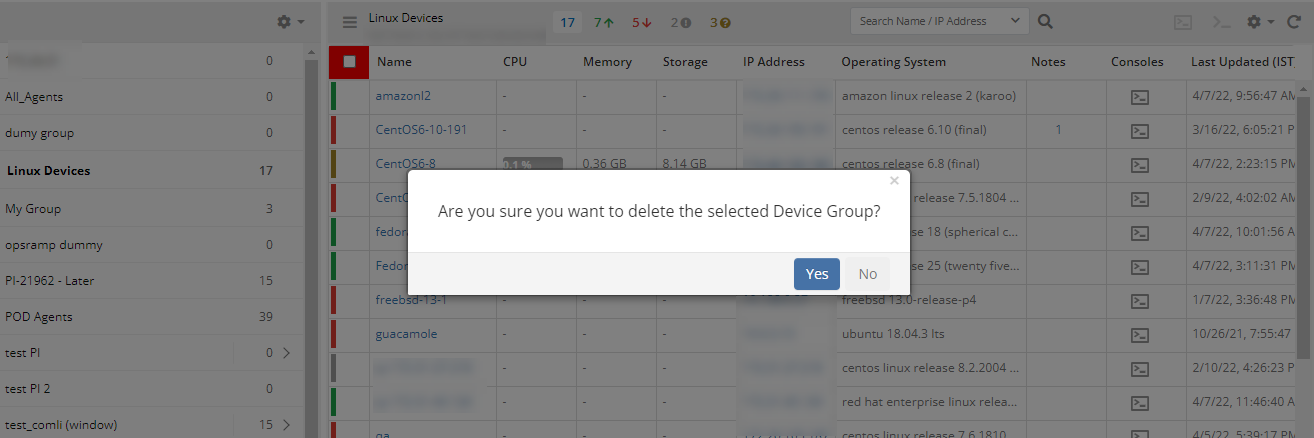
Click Yes to delete the resource group.
Schedule maintenance periods
Maintenance periods enable you to schedule a time period to carry out maintenance activities on a resource group. You can set up a time for the maintenance period of resource groups.
A Partner user with permission to manage all devices can add schedule maintenance period for the resource groups.
Follow the steps given below to add schedule maintenance period for a resource group:
Go to Infrastructure > Groups and click the name of the resource group for scheduling maintenance.
From the left pane displaying a list of resource groups, click the Settings icon and select Maintenance. A confirmation popup appears.
Click Yes to add maintenance period for the resource group. The Create New Maintenance Period window is displayed.
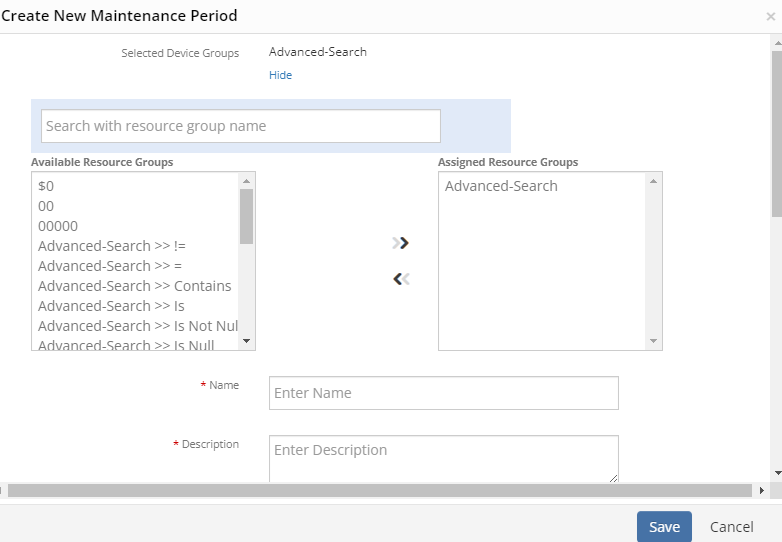
Provide details to schedule a maintenance period.
The resources go into the maintenance mode as defined in the schedule.