Introduction
A Knowledge Base is a centralized repository of information where you can find answers to common questions, access detailed documentation, and manage various content related to an organization’s operations. It is a self-service online library containing articles, templates, and other documentation that helps users find solutions.
Knowledge base information can consist of product information, operational procedures, and frequently asked questions, providing a reference source for an organization. This guide will walk you through accessing and using the Knowledge Base, managing articles, and utilizing various features available within the Command Center.
Note
To access the knowledge base, you must have View permission enabled for the user role.Access the Knowledge Base
- From All Clients, select the client.
- Go to Command Center > Knowledge Base.The Knowledge Base home page is displayed.
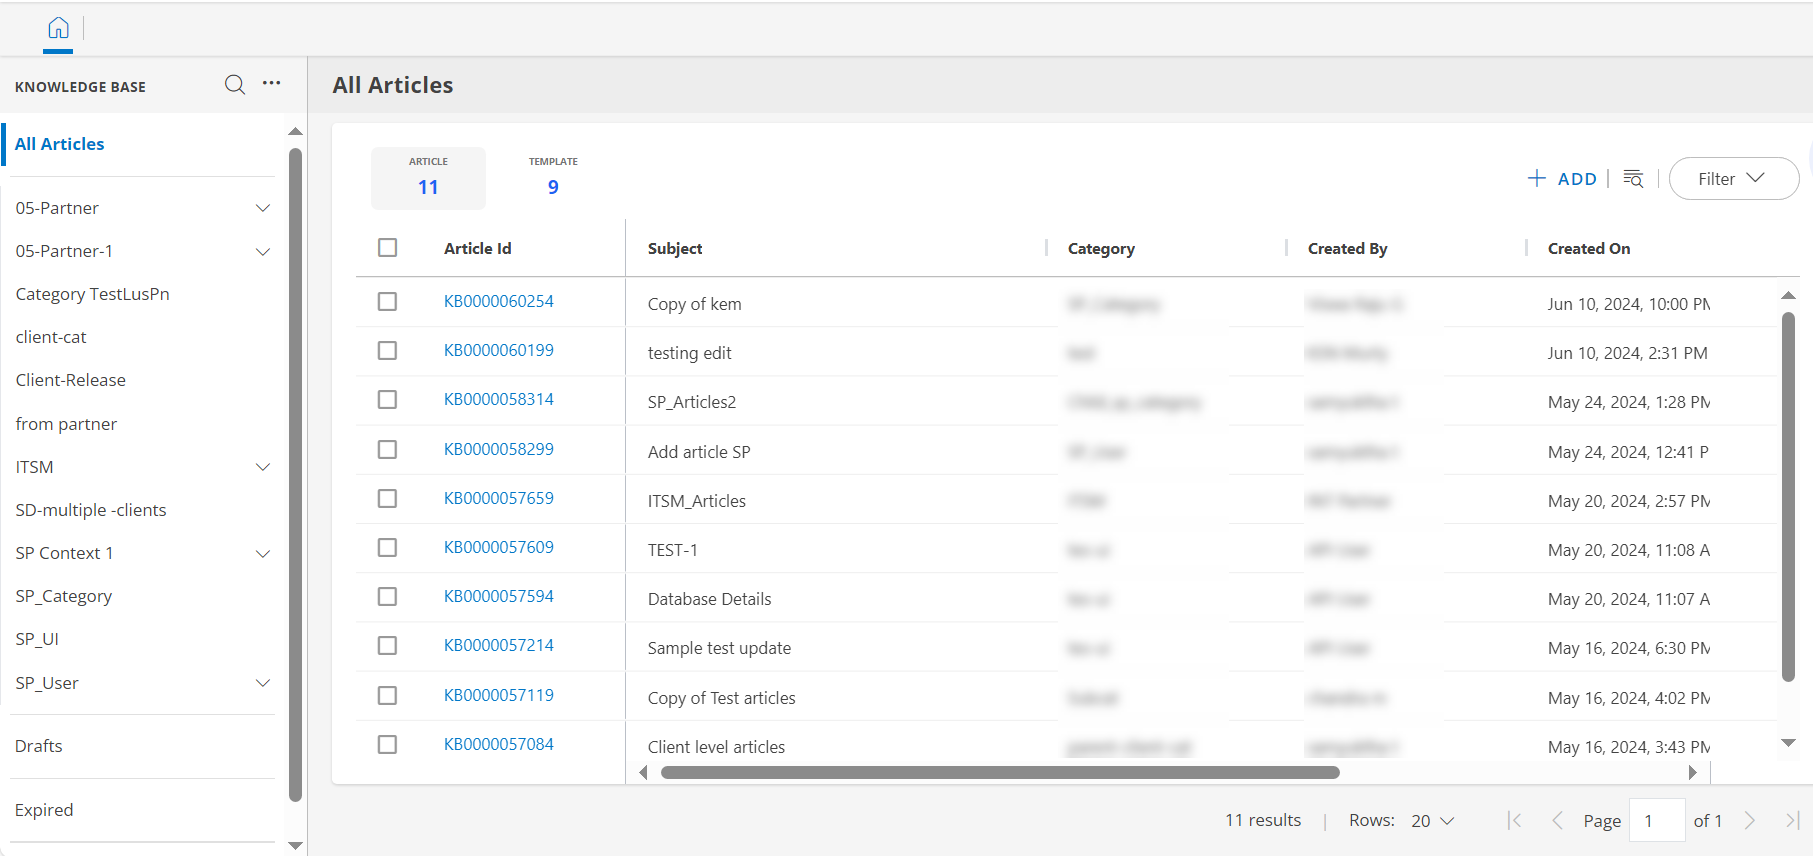
The Knowledge Base home page includes:
Category
The category serves as a high-level unit that helps to structure and classify the content within the knowledge base. Categories group related articles, making it easier for users to find and navigate through the information they need.
Subcategory
A subcategory in the knowledge base is a secondary classification that is part of a primary category. Subcategories help to further refine the grouping of related articles, making it easier for users to navigate and find specific information within a larger topic.
Article
An article in the knowledge base is a single, self-contained piece of content that provides detailed information, instructions, or solutions on a specific topic. Articles can be associated with a device or an alert and can reference other articles.
Template
Templates are predefined formats or structures that provide a consistent layout for creating new articles. Templates provide a model for creating articles and ensure uniformity in style, organization, and presentation of information across all articles in the knowledge base.
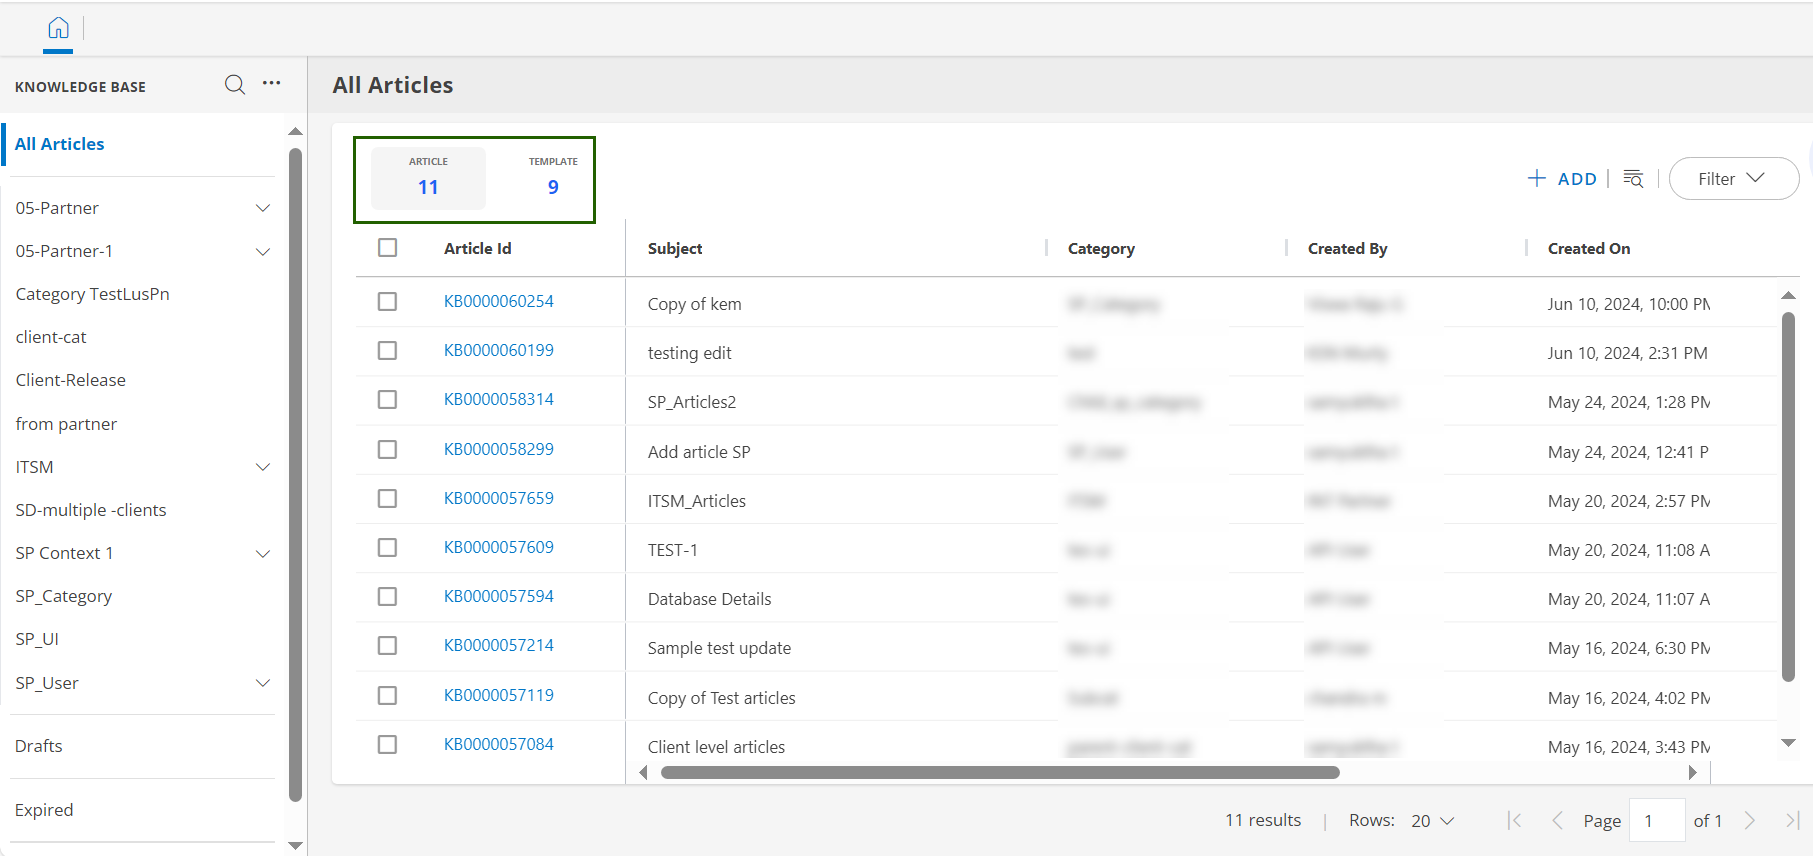
The All Articles section displays all articles created across various categories and subcategories. You can toggle between articles and templates by selecting the respective options labelled Article or Template.
You can also select a specific category or subcategory to view the articles or templates related to that category.
Add a category
- On the knowledge base homepage, locate the left-side navigation pane.
- Click the three-dot icon in the left-side navigation pane.
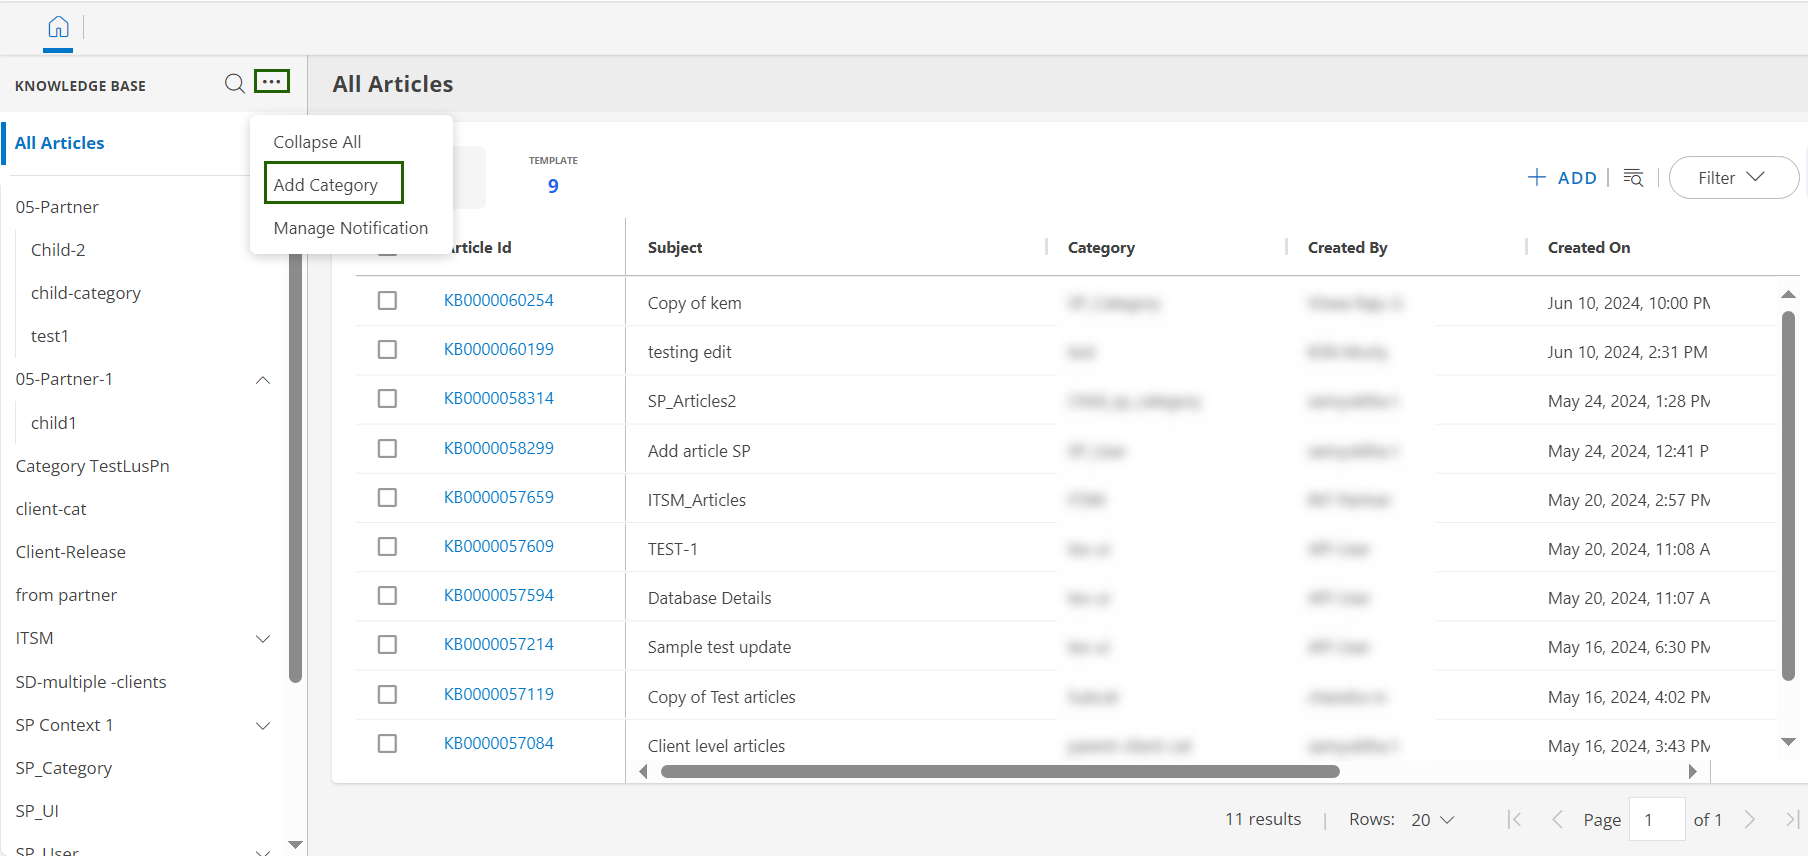
- Select Add Category from the menu.The ADD CATEGORY page is displayed.
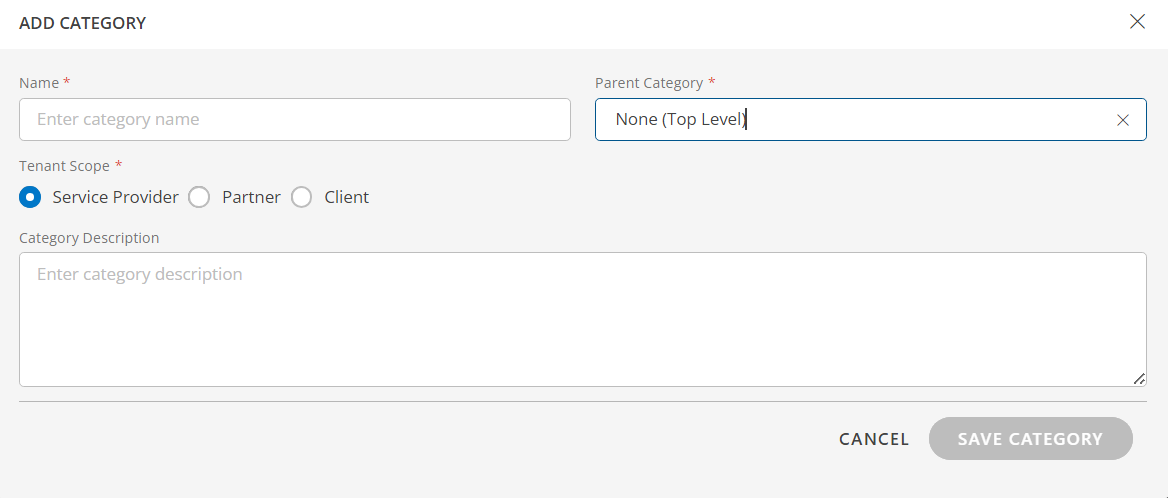
- Fill in the below category details:
| Field | Description |
|---|---|
| Name | Enter the name of the new category. |
| Parent Category | Choose whether the category will be a top-level category or a subcategory under an existing category.If it is a subcategory, select the appropriate parent category. |
| Tenant Scope | Choose the tenant scope. The available scopes are:
 |
| Category Description | Provide a brief description of the category. |
- Once the required information is entered, click the SAVE CATEGORY.A new category is created and can be viewed under the left-hand navigation pane.
Add Subcategory
Once you have created a category, you can further organize your knowledge base by adding subcategories under it.
To add a subcategory:
- In the left-side navigation pane, find the category you just created.
- Click the three-dot icon next to the parent category.
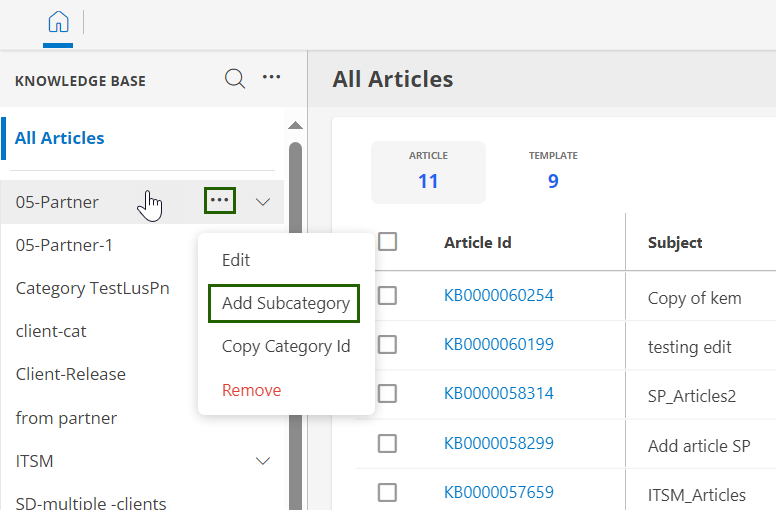
- From the menu, select Add Subcategory.The ADD SUBCATEGORY page is displayed.
- Enter the Name and Category Description.
Note
By default, the Parent Category and Tenant Scope will be the same as the parent category and cannot be changed. - Click SAVE CATEGORY.The subcategory is created and can be viewed under the parent category.
Manage Notification
The Manage Notification allows youk to configure email notifications to be sent before articles expire. This helps ensure that knowledge content remains current and is reviewed or updated in a timely manner.
Note
You need Knowledge Base Manage (KB_MANAGE) permission to view or modify the Knowledge Base notification configuration.- On the knowledge base homepage, locate the left-side navigation pane.
- Click the three-dot icon in the left-side navigation pane.

- Select Manage Notification from the menu.The Article Expire Notifications dialog box is displayed.
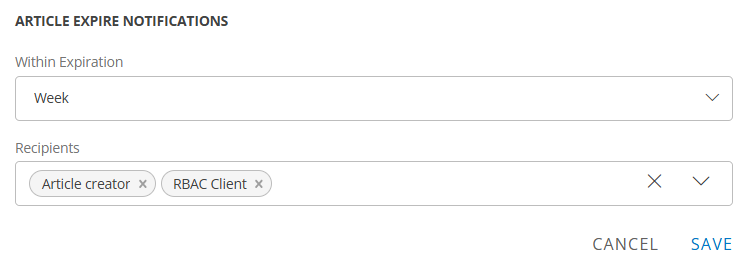
- Under Within Expiration, select the time window in which notifications should be triggered before the article expires. For example, Week, Two Weeks, or One Month.
- In the Recipients field, specify who should receive the notification.
- Click SAVE to apply the changes.
Create an article
To create an article, navigate to the All Articles section or create directly from the parent category or any subcategory shown in the left navigation panel.
Click the +ADD on the home page.
Select Add Article.The ADD ARTICLE page is displayed.

On the ADD ARTICLE page, enter the below information:
Section Field Description CATEGORY Category Choose a category from the dropdown list. DETAILS Subject Enter the subject for the article. Details Provide details for the article. Article Expiration Select an expiration date for the article. RELATED ARTICLES Articles You can link any associated articles. USE TEMPLATE You can also utilize any predefined template when creating an article. When you select a predefined template while creating an article, the details will be automatically modified according to the template. Use the Preview to review the article before finalizing.
Click Publish Article to publish the article.You can view the article under the selected category.
Edit an article
To edit an article:
On the home page, browse through the list of articles.
To edit an article, you have two options:
Using the three-dot icon:
On the home page, locate the article you want to edit.
Click the three-dot icon next to the article.
From the dropdown menu, select Edit.The article details page is displayed.

Using the Actions menu:
Select the article you want to edit on the home page.
On the article details page, click Actions.
From the dropdown menu, select Edit.The article details page is displayed.

On the article details page, you can view below information:
| Option | Description |
|---|---|
| Subject | The subject of the article. |
| Created by | The name of the person who created or last edited the article. |
| Like | Allows users to like the article. |
| Rating | Displays the rating of the article based on user feedback. |
| Follow | Option to follow the article for updates. |
| Related Articles | Any related articles that are linked to this article. |
| Actions | Provides various options such as:
|
- Make changes to the article and click PUBLICH ARTICLE.The article is now updated and saved.
Create a template
Templates provide a ready-made layout with sections and headings tailored to specific types of content.
To create a template:
Click the +ADD on the home page.
Select Add Template.The ADD TEMPLATE page is displayed.

On the ADD TEMPLATE page, enter the below information:
Section Field Description CATEGORY Category Choose a category from the dropdown list. DETAILS Subject Enter the subject for the article. Details Provide details for the article. USE TEMPLATE You can also utilize any predefined template when creating an article. When you select a predefined template while creating an article, the details will be automatically modified according to the template. Use the Preview to review the article before finalizing.
Click ADD TEMPLATE.You can view the template under the selected category.
Edit a template
To edit a template:
On the home page, select the template option. Browse through the list of templates.
Click the three-dot icon next to the template you want to edit.

From the dropdown menu, select Edit.The template details page is displayed.
Make changes to the template and click UPDATE TEMPLATE.The template is now updated and saved.
More options on the home page
The home page includes search and filter options to help you quickly find the information you need.
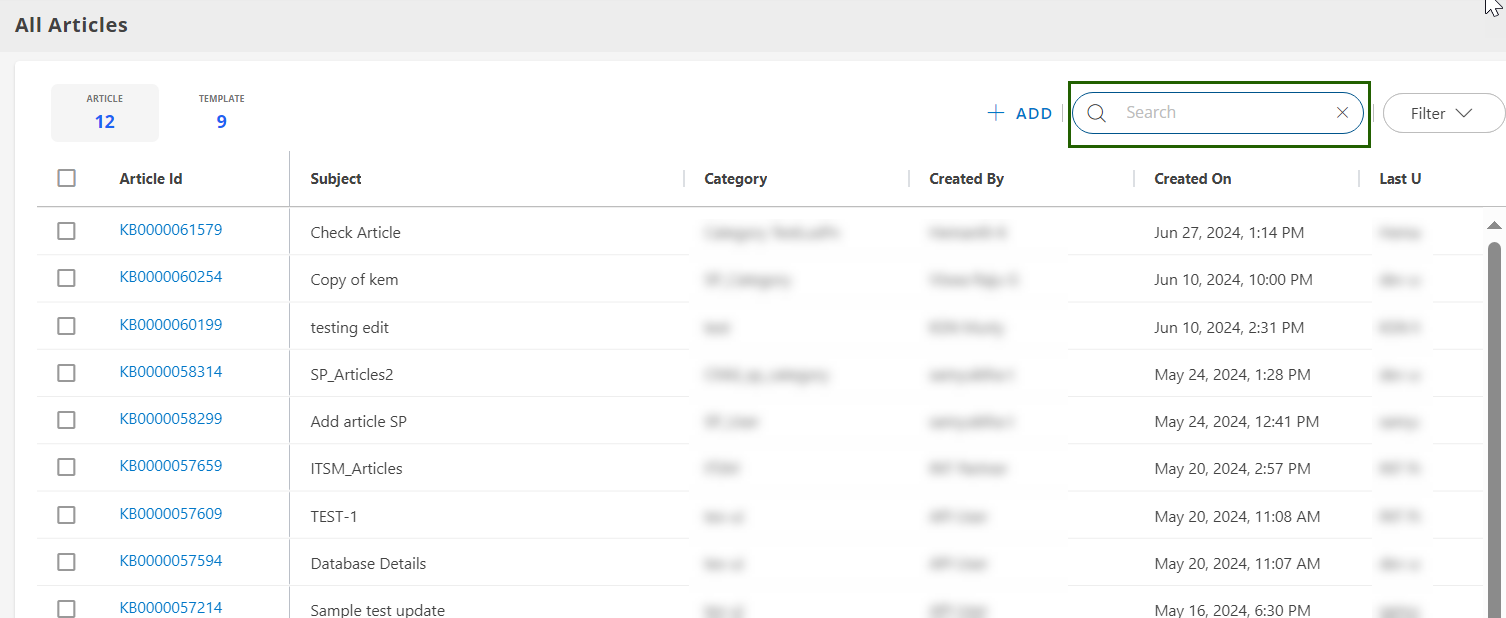
Search
Enter keywords or phrases related to the article you are looking for. The search function will look through article titles, subjects, and content to find matches.
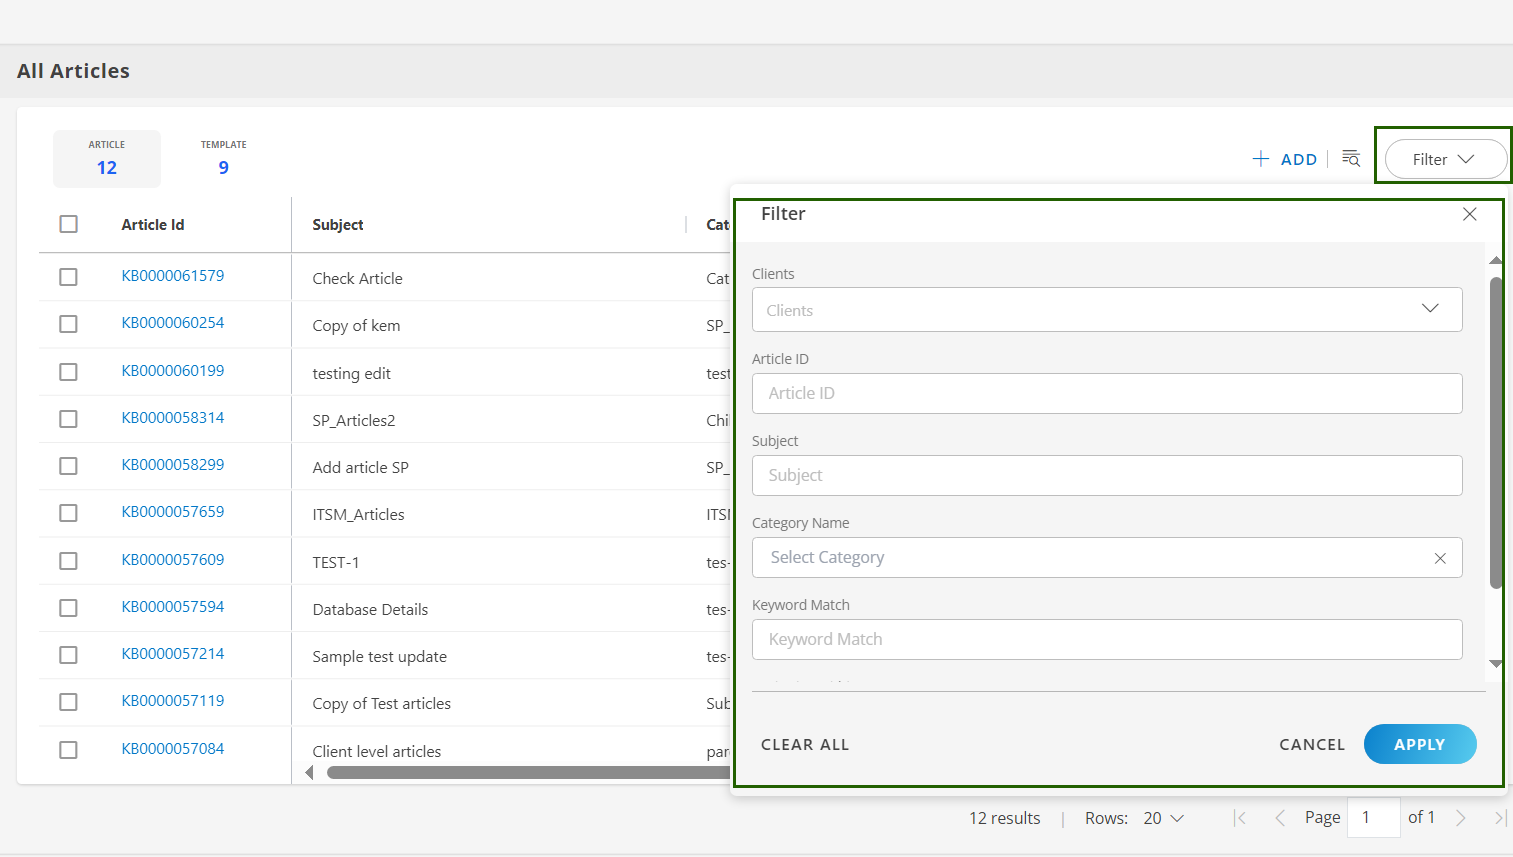
Filter
The filter option in the knowledge base allows users to narrow down their search results and quickly find specific articles based on various criteria.
Other components
You can also access the Drafts, Expired, and Trash sections from the left navigation panel.
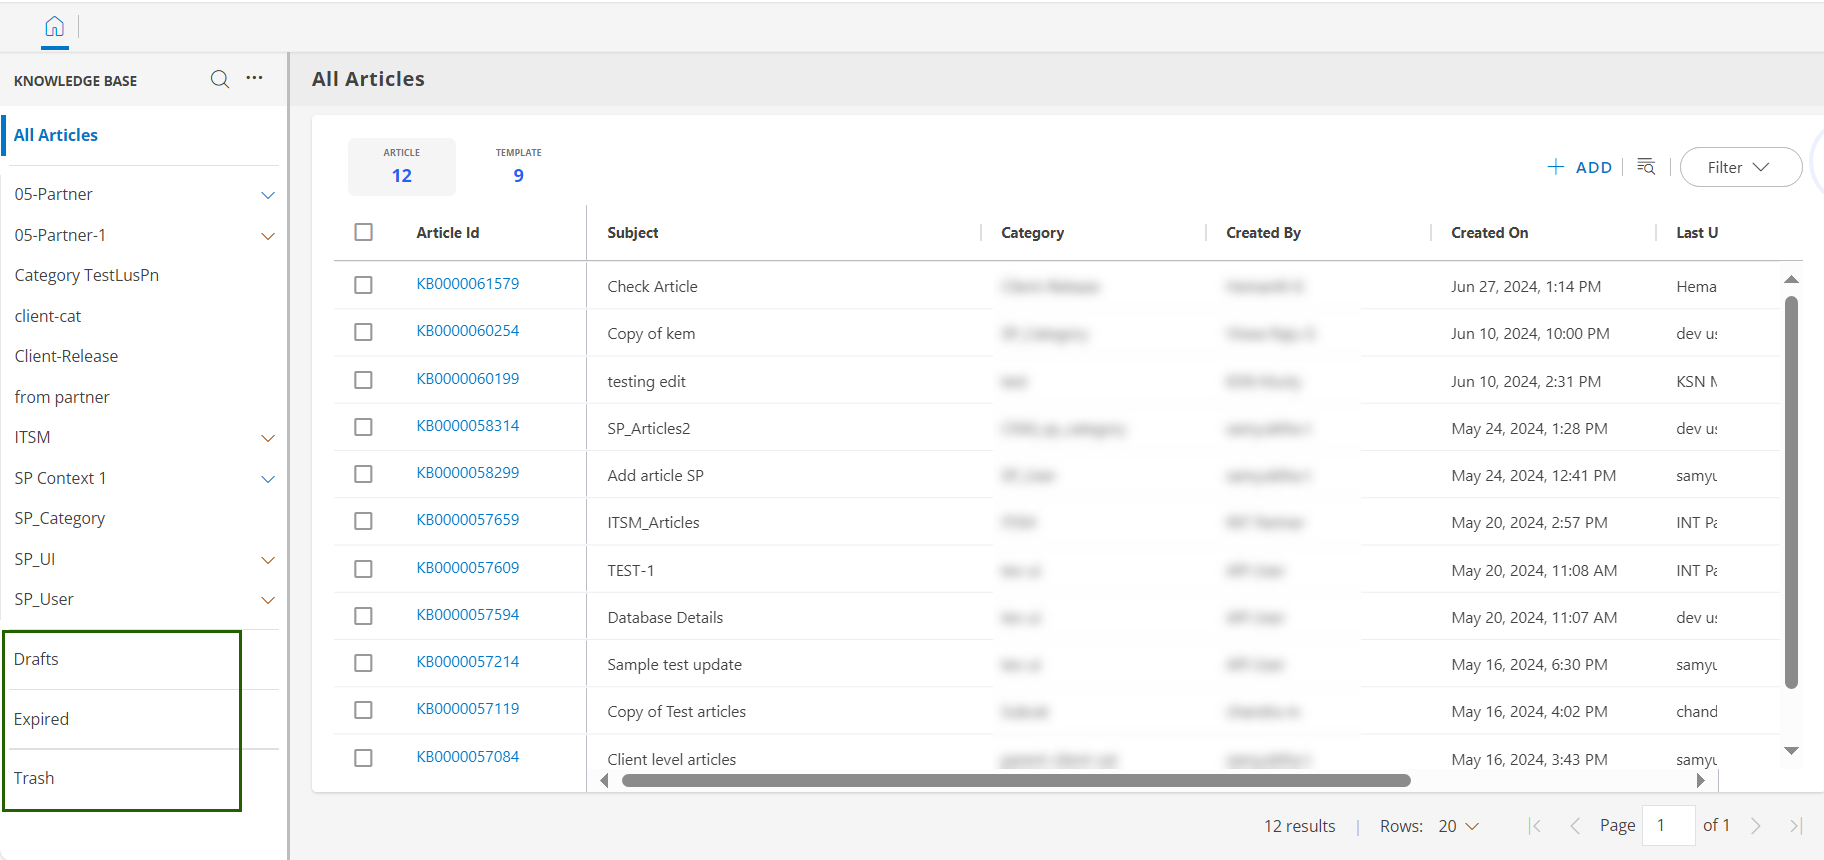
Drafts: This section contains articles that are in progress and have not yet been published. These articles are saved but not visible to you until they are completed and published. You can work on articles incrementally, save their progress, and return to edit and complete the content before making it available.

Expired: This section includes articles that have reached their expiration date and are no longer considered current. These articles are still stored in the knowledge base but are not visible to general users.

Trash: This section contains articles that have been deleted. These articles are removed from active view but can be restored if needed.
