You can view the list of users in your organization on the Users listing page.
To view the Users listing page:
- Navigate to Setup > Accounts > Users.
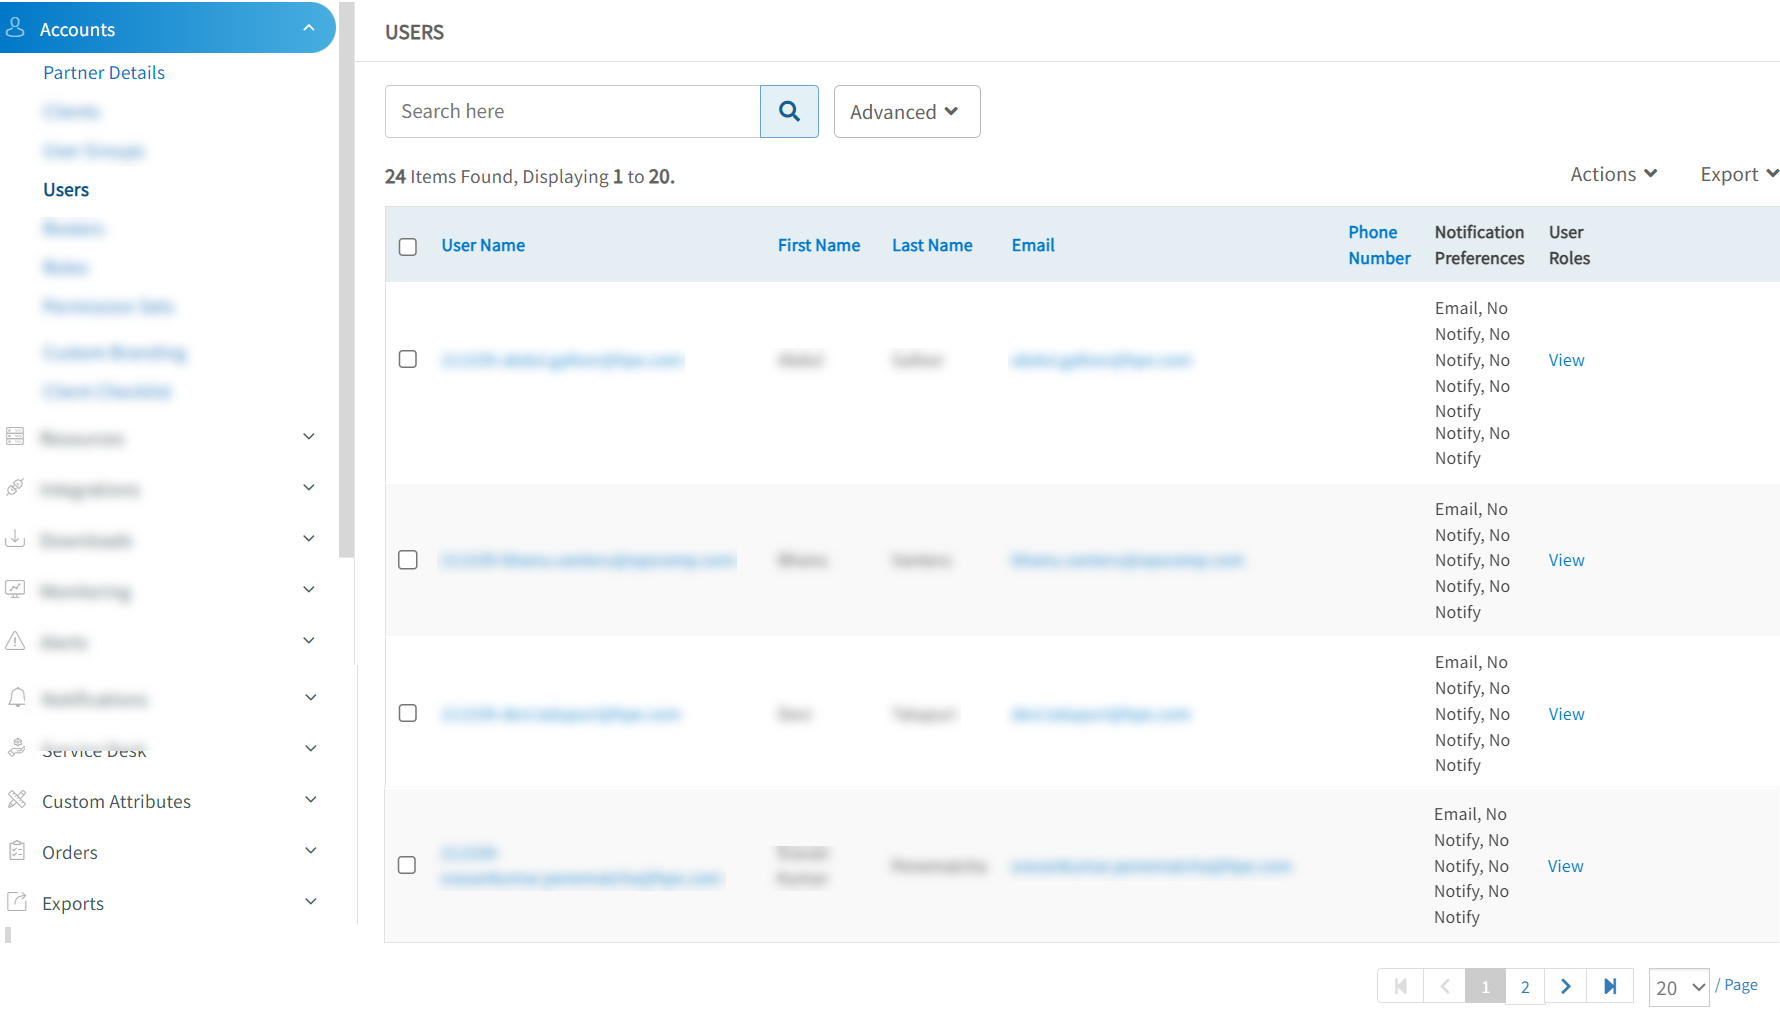
- Click the user name to view the user details.
Search for a user
You can use the search to find a user by the user name.
For searching multiple users who share the same criteria, use the Advanced search option:
Click Advanced. The Advanced Search popup window is displayed.
Provide details for the following parameters and click Search:
Status: You can select users with one of the following states:
- All - Displays Active, Deactivated, Locked, and Terminated users
- Active – Users actively using the platform.
- Deactivated – Currently deactivated users.
- Locked – Currently locked-out users.
- An Administrator can set the allowed number of invalid login attempts. Once a user exceeds this number of failed login attempts, their account will be locked.
- The Administrator can explicitly lock a user.
- Terminated – Users terminated from the platform.
Enter the user name.
Enter the Email address.
Activate a user
Prerequisite: You must be an administrator to activate a user.
Use the Activate option to permit a user access, including reactivating a deactivated user:
- Go to Setup > Accounts > Users.
- Click Advanced.
- From the Advanced Search popup window, select Deactivated from the Status drop-down.
- Click Search. The USERS screen displays the list of deactivated users.
- Select the User Names from the list of names.
- From the options in the Actions drop-down menu, click Activate.
- From the confirmation pop-up, click Yes to continue.
Users are deactivated if they do not provide consent to the agreement in 90 days of their account creation. Before deactivating the account of such users, an email notification is sent after 80 days.
Deactivate a user
Prerequisite: You must be an administrator to deactivate a user.
Deactivating a user account means disabling the user account for a specific period of time wherein the user account and related data would be available on the system, but users cannot use the account. The account can be activated later.
Use the Deactivate option to restrict the user access:
- Go to Setup > Accounts > Users.
- Select the user names from the list of names.
- From the options in the Actions drop-down menu, click Deactivate.
- From the confirmation pop-up, click Yes to continue.
- From Deactivate selected user(s)?, provide a reason for deactivating the selected user names.
- Click Deactivate. Selected User Names are removed from the Users page.
Note:- A user can remain in the Deactivated state indefinitely, as determined by the Administrator.
- A user can be moved to the Deactivated state only through an explicit action by an administrator in the portal or by SSO configuration changes made by the customer.
After deactivating the user, view the deactivated user details using Advanced Search:
- From the USERS page, click Advanced. The Advanced Search popup window is displayed.
- From the options in Status drop-down menu, click Deactivated.
- Click Search.
To activate a deactivated user, select the deactivated user from the USERS list and click Actions > Activate.
Terminate a user
Prerequisite: You must be an administrator to terminate a user.
Terminating a user account means removing the user account permanently wherein the user account and related data would not be available on the system and the user cannot use the account. The account cannot be activated later.
Go to Setup > Accounts > Users.
Select the User Names from the list of names.
From the options in the Actions drop-down menu, click Terminate.
From the confirmation pop-up, click Yes to continue.
From Terminate the selected user(s)?, select any of the masking patterns option to mask the personal information:
- Fully Masked – Partially masks First Name and Last Name and completely masks other personal information.
- Partial Masked – Partially masks all personal information.
Enter the reason for the termination of the selected User Names.
Click Terminate.
All terminated user Personal Identifiable Information (PII), including first name, last name, email, and phone number, is removed from the database and cannot be restored later.
To view the terminated user details:
- From the Users page, click Advanced. The Advanced Search popup window is displayed.
- From the options in the Status drop-down menu, click Terminated.
- Click Search.
The Users page displays the terminated user PII in a completely masked or partially masked format and displays the user name as a random unique ID. You can trace back the details of a terminated user using the audit reports. From the generated audit reports, check the Object Name column to map the unique ID and the terminated username.
Export user information
You can download and save user information in a CSV or PDF file. Click Export > CSV or Export > PDF to export the file.