Introduction
A user is:
- A person who is assigned a role or any number of roles in an organization
- Has access permissions to the resources or assets of the organization
Permissions required to view the Users List:
| Type of user | Role |
|---|---|
| SP/MSP | Users_View |
| Client | Administration and Users_View |
Permissions required for Adding a User:
| Type of user | Permissions |
|---|---|
| SP/MSP | Users_Create |
| Client | Administration and Users_Create |
Note: User should have All_Resources access along with the above permissions.
Create a user
Creating a user is a two-step process:
- Add the information needed to invite the user
- User completes the registration process
Follow these steps to create a user:
Navigate to Setup > Account. The Account Details page is displayed.
Click the Users and Permissions tile on the Account Details page. The Permission Sets page is displayed.
Click the Users tile.
Click +ADD. The Add User page is displayed.
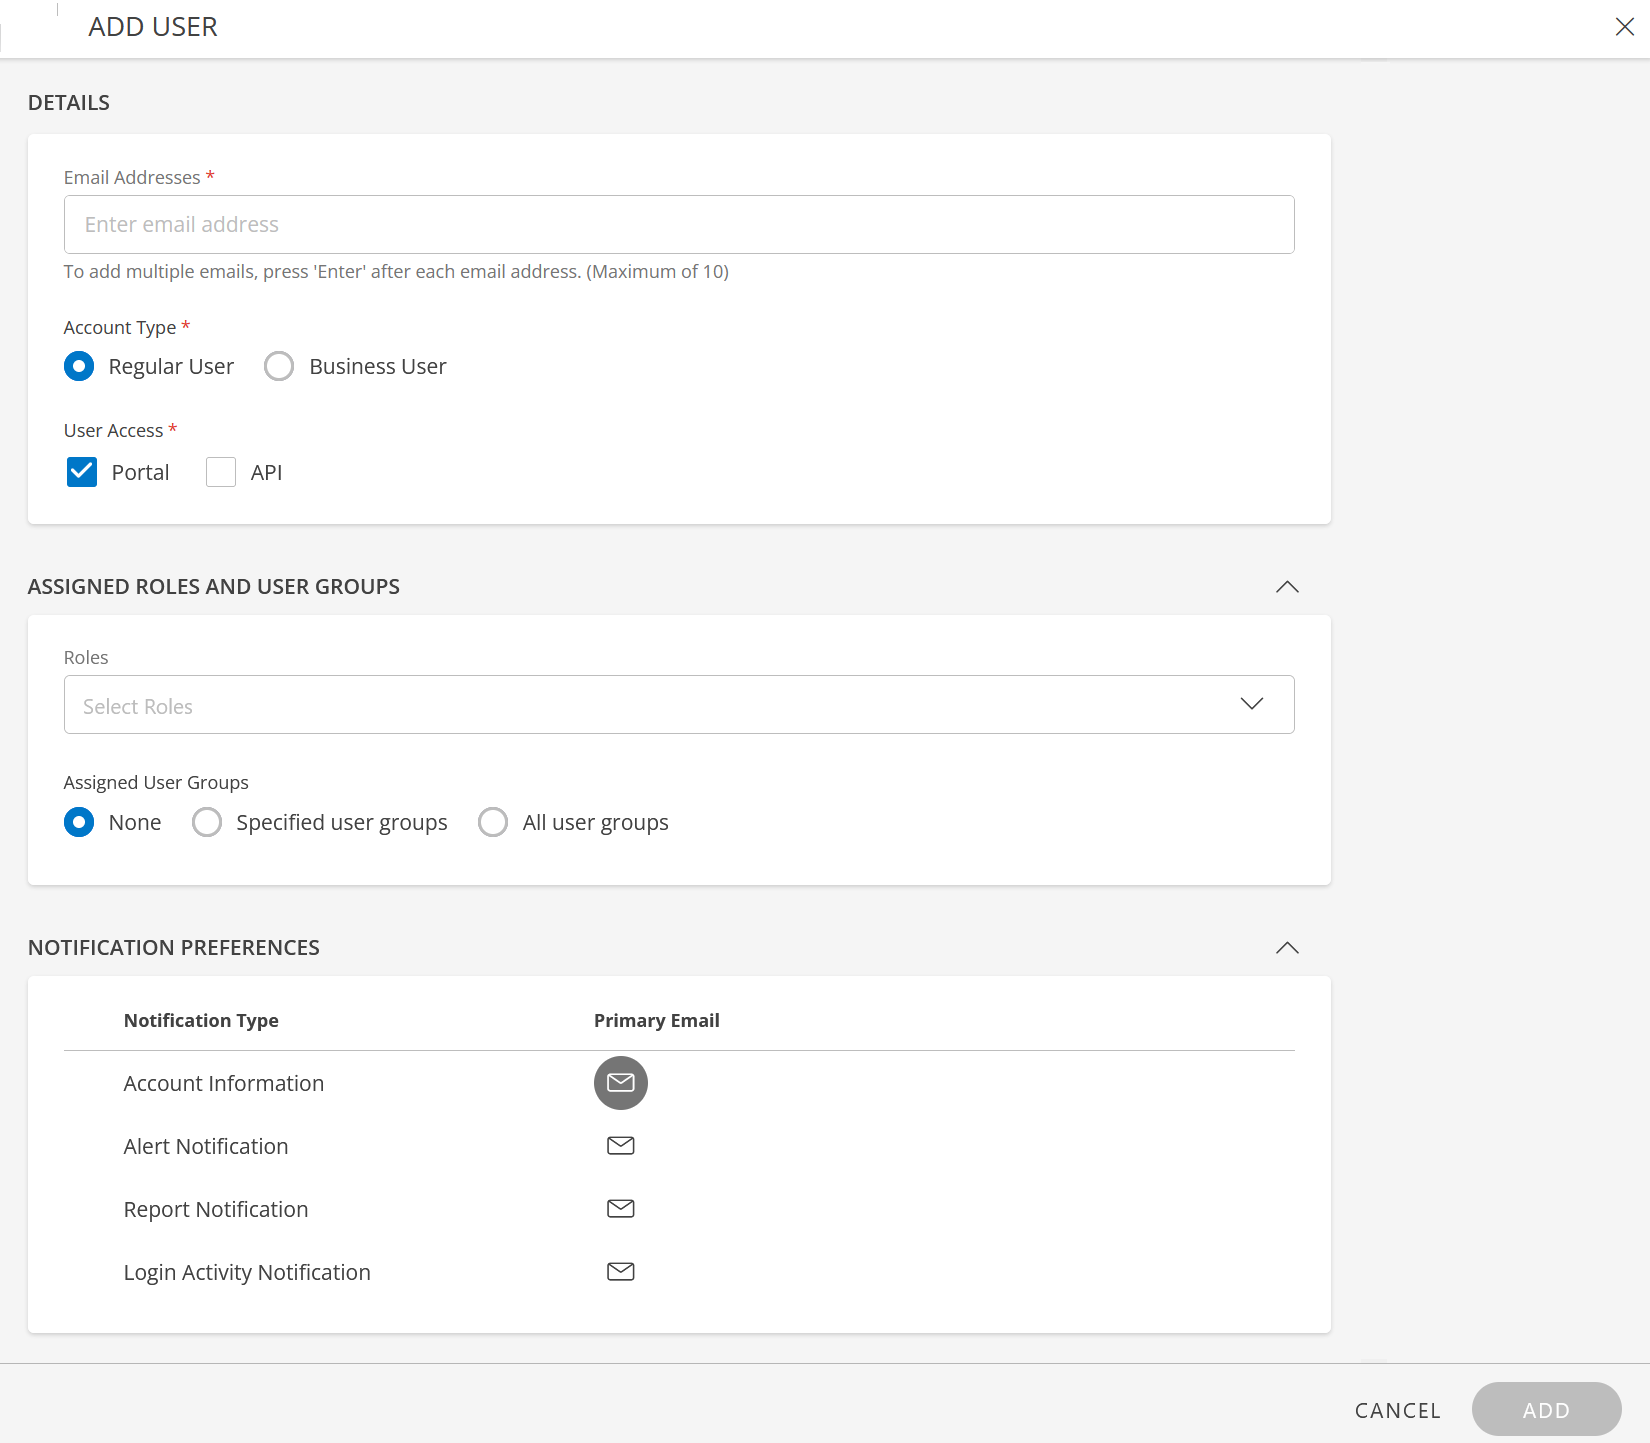
Provide the following information in the fields:
DetailsEmail Addresses: Enter Email addresses. You can add a maximum of 10 Email addresses. To add multiple Emails, press Enter after each Email address.
Account Type: Select Regular User or Business User. By default, the Account Type is Regular User. API access to the portal is limited only to Regular users.
User Access: You can grant user access to either the portal, API, or both.
- Portal: If you select Portal, the user can access the application based on the permissions granted to him/her.
- API: If you select API, the user can perform operations using the Key pair that is provided by the administrator.
Note: With only API access, the user cannot log in to OpsRamp.
If you select both Portal and API, the user will have access to both API and OpsRamp, based on the permissions.
Assigned Roles and User Groups
Roles: Select roles from the Roles drop-down list, to assign the roles to the user. You can assign multiple roles.
Note: Select role(s) that has All resources or specified resources permission.
Click the Manage all roles link, to add, view role details, or delete a role.
Note: You cannot delete a default role.
These are the default roles:- Client Administrator: The Client administrator role is the highest level, wherein a user with this role can access and control all organization’s data and resources.
- Client user: User with this role can only view data.
- Client Dashboard Default Share Role: User with this role can only view a shared dashboard.
Assigned user groups: Select one of the following to specify group membership for the user:
- None: If you do not want to assign the user to any user group.
- Specified user groups: Select a user group from the drop-down list.
Click the Manage all user groups link, to add, view user group details, or delete a user group. - All user groups: This option will make the user part of all user groups.
Notification Preferences
The Account Information notification through Primary Email is selected by default. Select the Alert Notification/Report Notification/Login Activity Notification options as required.
See Set Notification Preferences below for more information.Click ADD. The user details are captured and the user is invited to register.
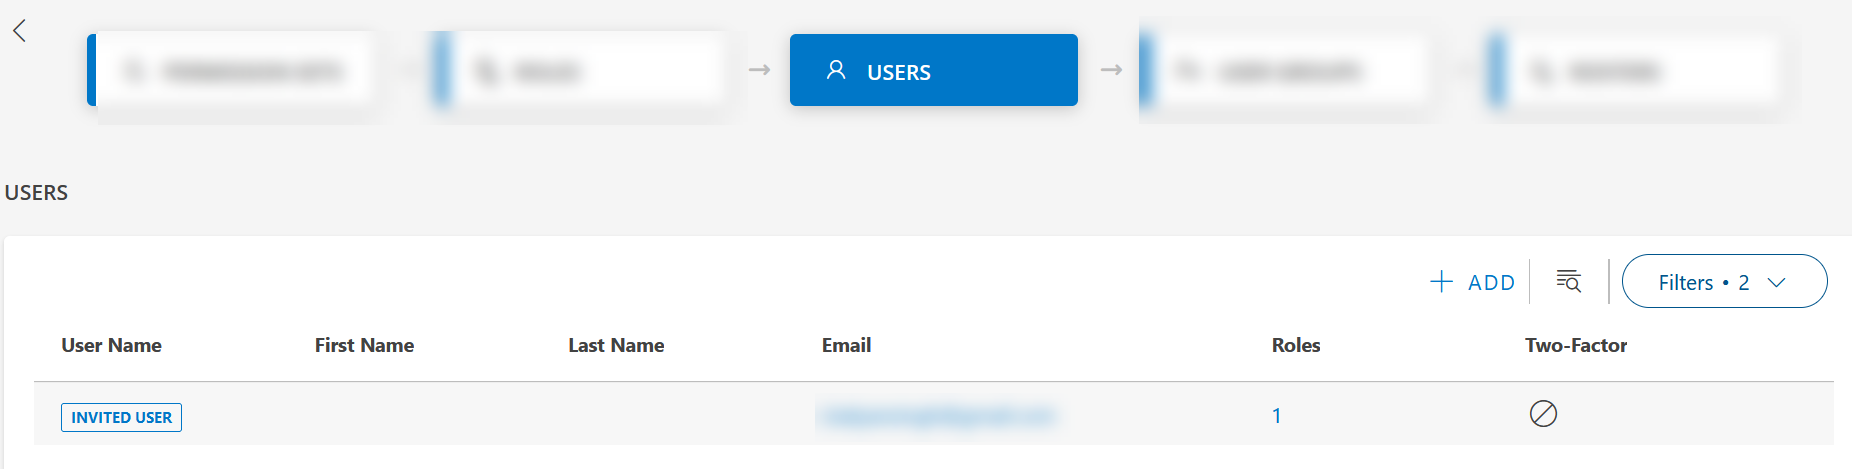
Once the user completes the registration process, the user details are displayed in the USERS listing screen. The user status is set to Active.
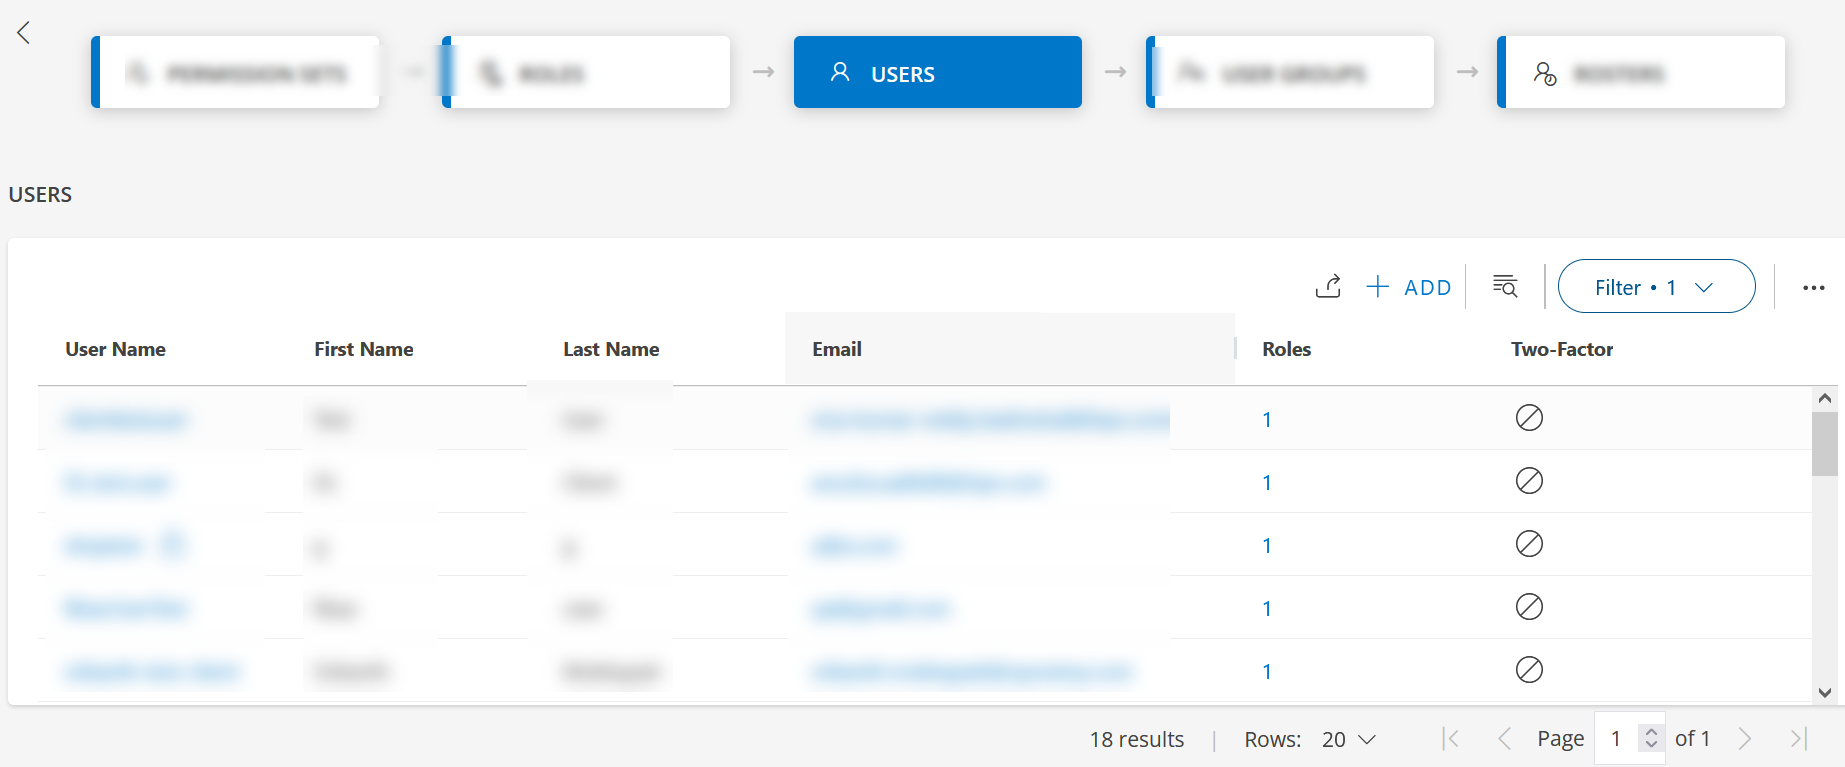
The table below describes the columns in the USERS listing screen:
| Column Name | Description |
|---|---|
| User Name | Name of the user. |
| First Name | User's First Name. |
| Last Name | User's Last Name. |
| Email Address of the user. | |
| Roles | Role(s) assigned to the user.
|
| Two-Factor | Displays if Two-Factor authentication is enabled or disabled.
|
See Portal for more details on the registration process via portal.
See API for more details on the registration process via API.
Set Notification Preferences
The primary email address is the default email used for receiving notifications. You can select to use an alternative email address.
- Account Information - All account related information is sent to the selected email
- Alert Notification - Alert escalations are sent to the selected email address.
- Report Notification - Report notifications with the report download URL are sent to the selected email address.
- Send notifications for recurring reports as a single digest: Select the checkbox, as required.
- Login Activity Notification - Any Login Activity like successful login, failed login (incorrect password or incorrect MFA token) and successful logout are sent to the selected email address.