This video explains how to install and configure the Synthetics Monitoring.

Configuring synthetic monitors according to your requirement enhances synthetic security and stabilizes IT operations process flow.
- Whitelist IP addresses for your location.
- Assign a synthetic template.
This is used to initiate synthetic monitoring using Assign Templates or Device Management Policies. - Verify if the role assigned to you contains access to all resources. Otherwise, you cannot delete a synthetic monitor.
The attributes created after configuring a synthetic monitor provides more visibility regarding details, such as metrics, monitors, and availability log.
Permissions
Following permissions required to install the Synthetic Integration:
| Category | Permission Type | Permission Value |
|---|---|---|
| Integrations and apps | Integration | Manage |
| Account Administration | Device | Create, Edit, View, and Manage |
Follow these steps to enable the above permission set:
- Navigate to Setup > Account > Users and Permissions.
- Click the Permissions Sets tab.
- Click + ADD. The Add Permission page is displayed.
- Under Permission Set Details screen, enter a Permission Set Name and short Description.
- Select the above mentioned permissions and click Save.
Refer to the Permission Sets document for more details on obtaining the necessary permissions.
Install and Configure the Synthetic Integration
Here is an example of how to create a DNS type synthetic monitor. The procedure is similar for other synthetic types with minor configuration changes.
- To select your client, navigate to All Clients, and click the Client/Partner dropdown menu.
Note
You can either type your client’s name in the search bar or choose it from the list. - Navigate to Setup > Account. The Account Details screen is displayed.
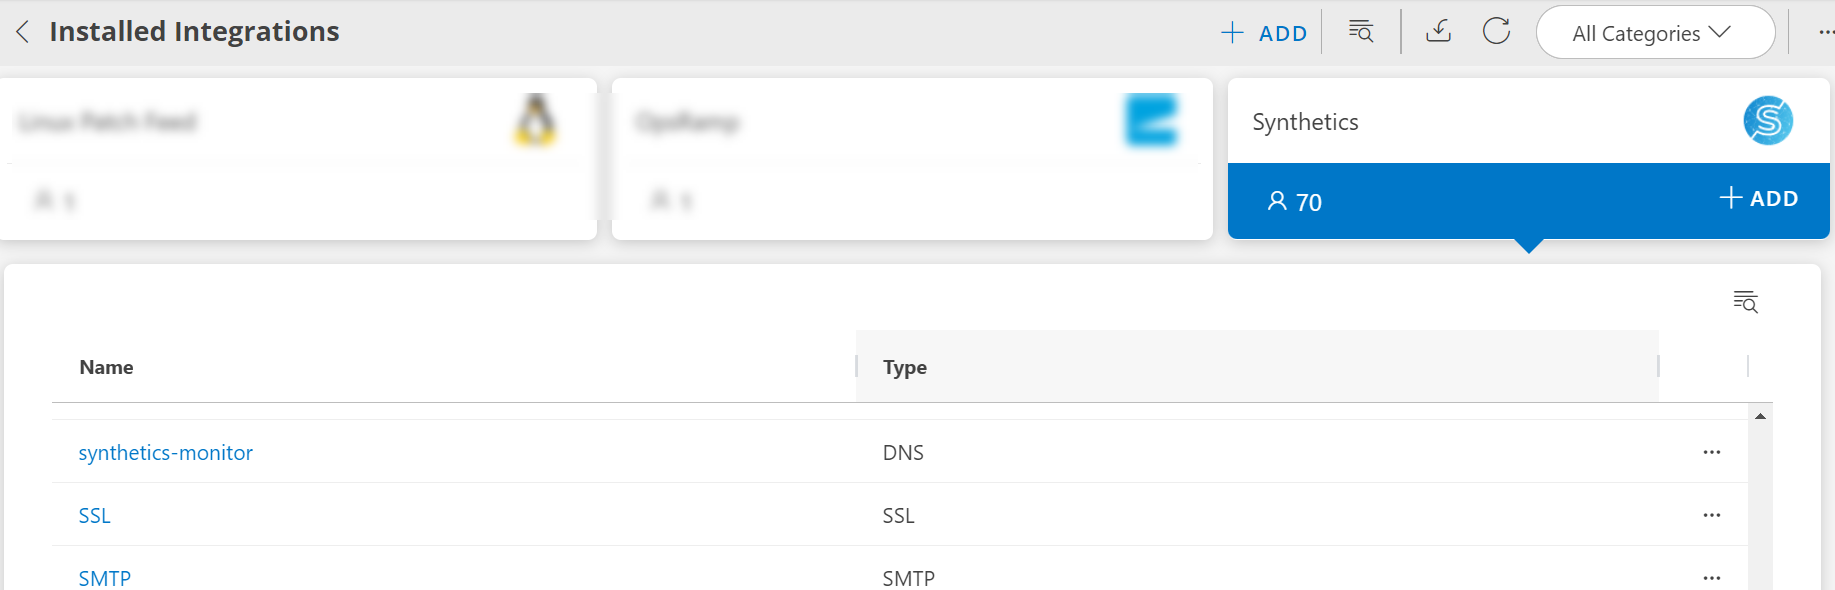
- Click on Integrations. The Installed Integrations screen is displayed with all the installed applications.
- Click +ADD in the Synthetics application.

Note
- If no applications are installed, you will be directed to the Available Integrations page, displaying all available applications. You can search for an integration by typing its name in the search bar or selecting its category from the All Categories dropdown. Click + ADD to add this application to the Installed Integrations page.
- If the Synthetics application is not visible in the Available Integrations page, it indicates that no synthetic resources have been configured for that client.
- The Add Configuration screen appears. Enter the following Basic Details:
- Name: Enter the name for the configuration.
- Type: Choose type of synthetic monitor from dropdown. Here’s an example of how to create a DNS type synthetic monitor. The procedure is similar for other synthetic types with minor configuration changes.
- Once you select the type of synthetic monitor as DNS (example) from list, the DNS CONFIGURATION screen appears.
Enter the following details:
| Field Name | Description | Values/Example | Field Type |
|---|---|---|---|
| Host | Enter the IP address/host name of the synthetics. It should be accessible from Gateway. |
| Text |
| Connection Timeout | Maximum time-out to connect to the FTP server. |
| String |
| Expected IP | Expected server address. |
| Text |
| Name Server | Name server - Converts the English URL to a physical IP Address. |
| Text |

- Select LOCATION:
- PUBLIC: Public locations where the monitor will run.
- PRIVATE: Private locations where the monitor will run.
Note
To know more about your private collector, such as its connection status (Connected or Disconnected) and the correct profile version, navigate to Setup > Accounts > Collector Profile section. You need to have Integration View Permission to access the Collector Profiles page.
- Once you configured all the required field, click ADD.

9. The configuration is now saved and displayed on the Install Integration page.
To configure other types of synthetic monitors, refer Synthetic Monitoring Types document for more details.
Synthetics resources can be monitored via a proxy. Refer to Monitor Synthetics through Proxy Servers for more details.
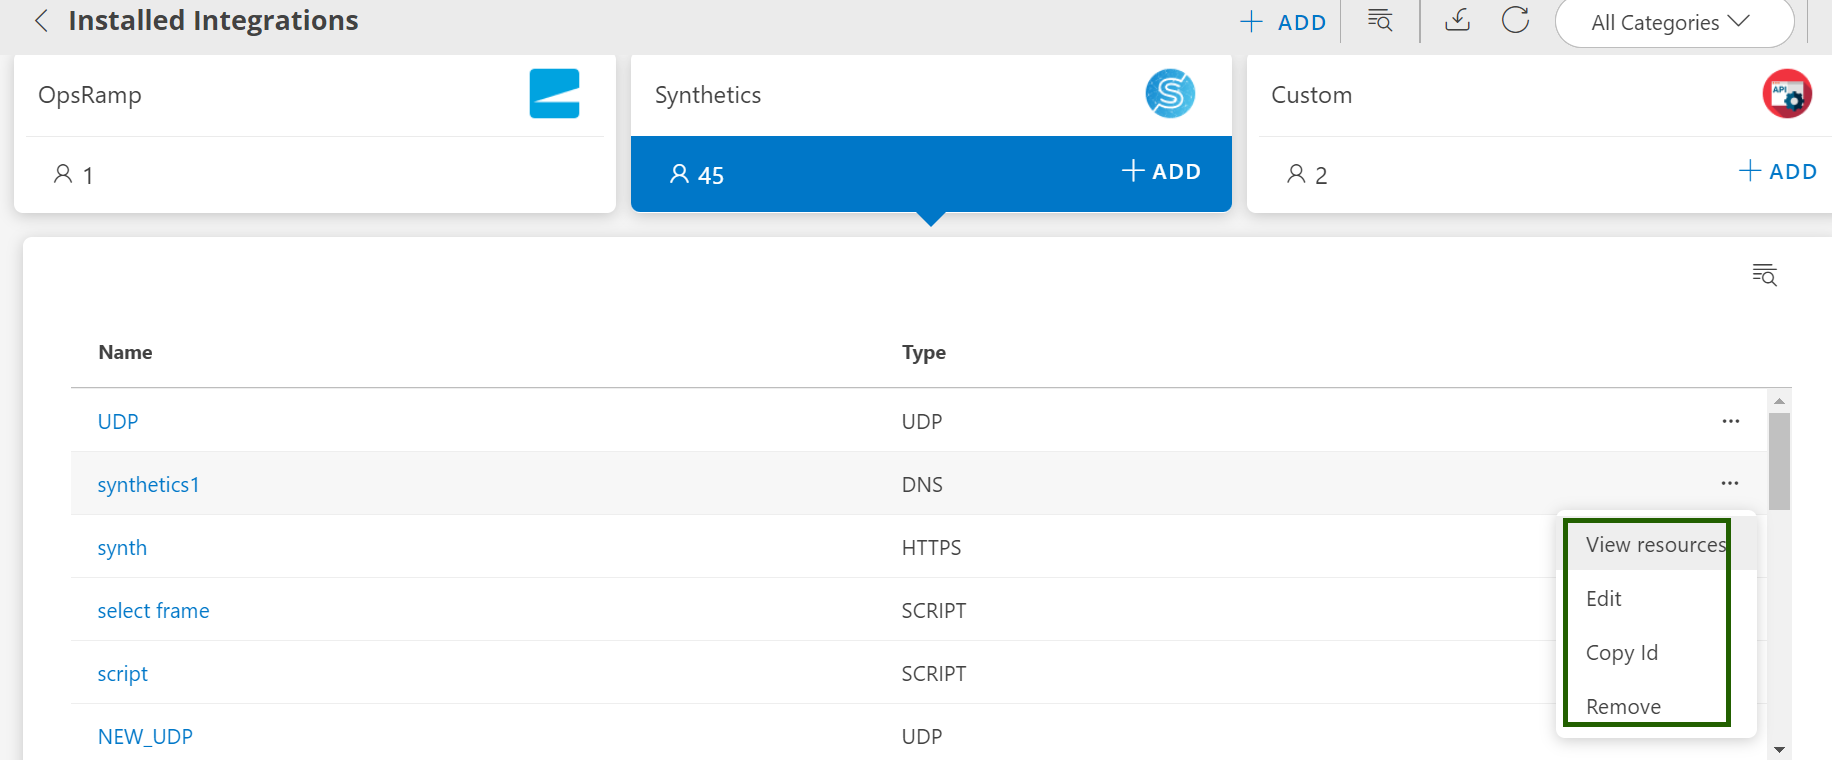
Actions on Integration
To manage a configured synthetic monitor, click the ellipsis (…) next to the created synthetic monitor. The following actions are available:
- View Resources: To view the resources discovered by selected integration instance, click this button.
- Copy Id: To copy an integration id, click this option.
- Edit: To modify or edit the configuration, click this option.
- Remove: To remove synthetics resource configuration.
See Actions on Integration document for more details.