OpsRamp helps you discover, integrate seamlessly and access details of how your Google Cloud services are performing. Google Cloud consists of a set of physical assets, such as computers and hard disk drives, and virtual resources, such as virtual machines (VMs), that are contained in Google data centers around the globe.
This page explains how to configure integration with Google Cloud Platform.
Prerequisite
The service account created to give access to the Google Cloud resources must at least be assigned the viewer role. For more details on IAM roles, see Google cloud documentation on Understanding roles. To grant a service account access to a project, see Creating and managing service accounts.
Google Cloud Platform configuration
To install GCP integration:
Log into your Google Cloud portal.
Select the project that you are assigned to and click Open.
Copy the Project ID from the Project info section.
On the left pane, click IAM & Admin > Service Accounts.
From the displayed service accounts for your project, copy and paste the service account email ID in a text editor such as Notepad.
From the available options, under the Actions column, select Create key.
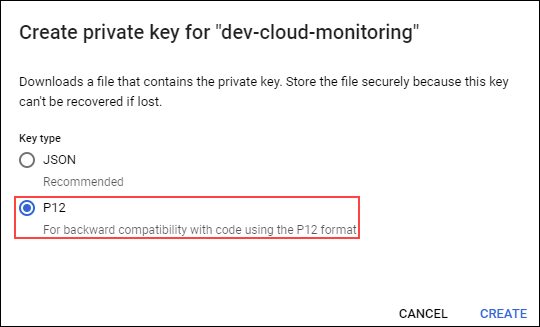
From the Create private key for “project-name” window, select P12 and click CREATE.
Download the file at a safe location. A new window opens, confirming the downloading of the file and the private key password.
Copy the private key password to a text editor at a safe location.
You will not be able to see the password again. You need this password to use the private key.
OpsRamp configuration
After you have copied all the details from your Google Cloud console, use the details to install the Google Cloud integration on the OpsRamp console.
To install GCP integration:
Note
The user must have the below permissions to install Google Cloud integration.
Credential manage
Device manage
Integration manage and
Administrator
Select a client from the drop-down list in which you want to install the Google Cloud app.
Navigate to Setup > Account.
Click on the Integrations and Apps tile.
If there are apps/integrations already installed, it will redirect to the Installed Integrations page where all the installed integrations/apps are displayed. Otherwise, the Available Integrations and Apps page is displayed.
Click +ADD and search for Google Cloud app using the search option. You can also use the All Categories dropdown to search.
Click +ADD on the Google Cloud tile. The Add Google Cloud page is displayed.
Provide the details in the fields:
Provide a suitable name for the integration.
Enter the service account email ID.
Enter the Project ID.
For Service Account Management Certificate, click Choose File and select the private key P12 file through the file browser.
In the Management Certificate PassPhrase field, enter the password of the private key file.
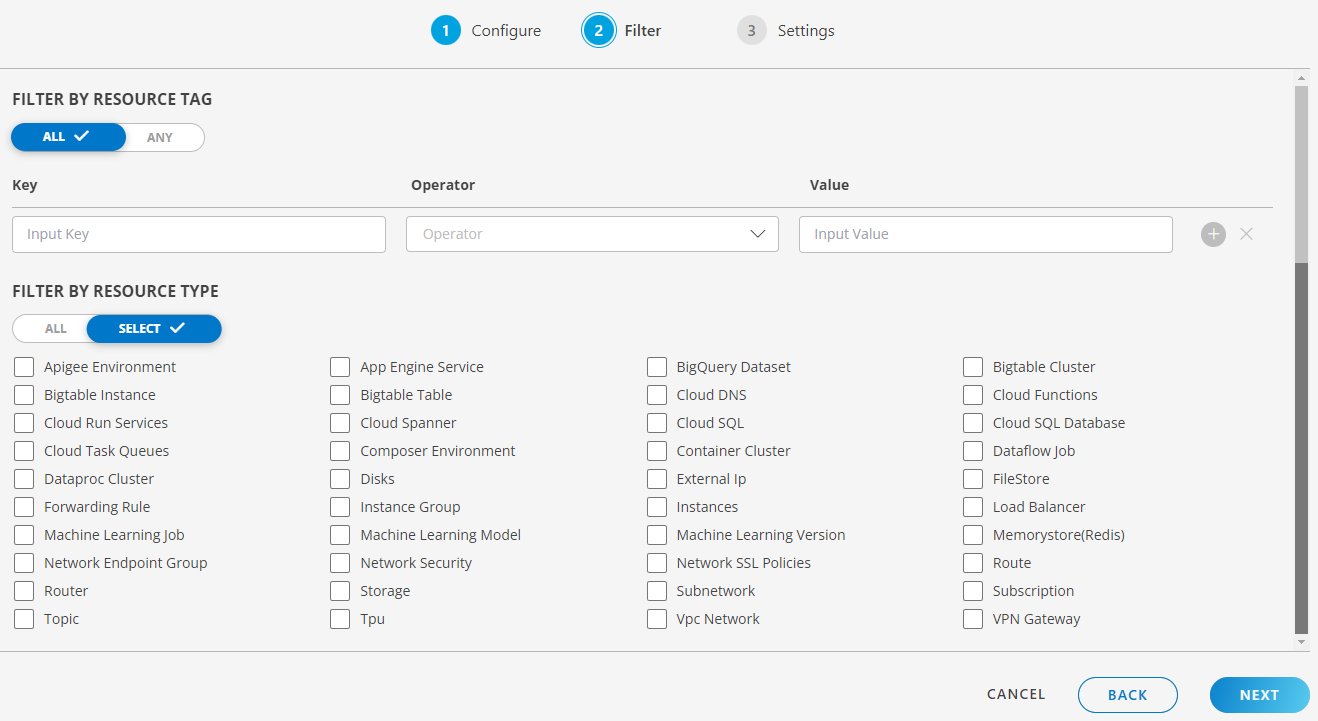
Click NEXT.In the Filter page:
Choose Any or All to match any one or all of the defined conditions for filtering
Select the options for the filter criteria:
Resource Type: List all the supported resource types.
Attribute Name: List attributes for the selected resource type. Attributes are resource type-dependent.
Logic condition: Logical match criteria for search: Contains, Not Contains, Equals, Not Equals, Starts With, Ends With, and Regex.
Value: Value corresponding to the attribute name and logical condition.
Select the required resource types.
Click NEXT.
Select the actions to be performed on the resources.
Select the Manage Device option such that all the discovered resources are in a managed state.
Select the Collect Cost Analytics option to collect cost details of the resources utilized in the project and enter the bucket name configured for billing.
Select the Stream Google Events option to consume GCP events and enter the GCP event subscription name.
From the Assign Gateway Management Profile, select the gateway management profile from the drop-down list.
Select the Discovery Schedule option to schedule a discovery and define the preferred Recurrence pattern.
Click FINISH.
The Google Cloud app is installed.All the discovered services are visible in the Infrastructure page under Resources > Google Cloud
Click Google Cloud. The list of installed Google Cloud integrations are displayed. You can perform actions like Edit, Rescan, Uninstall, View Resources, Export.