The Streaming Export integration enables continuous streaming of live data to various third-party tools using AWS EventBridge and Webhooks. The stream data is effectively processed and analyzed as it is generated. The exported data is viewable at the target locations.
Note
Streaming Export integration is available only at partner level.
Prerequisites
The following prerequisites must be met before installing the Streaming Export integration:
For alerts streaming:
AWS EventBridge or Webhook integration has to be installed.
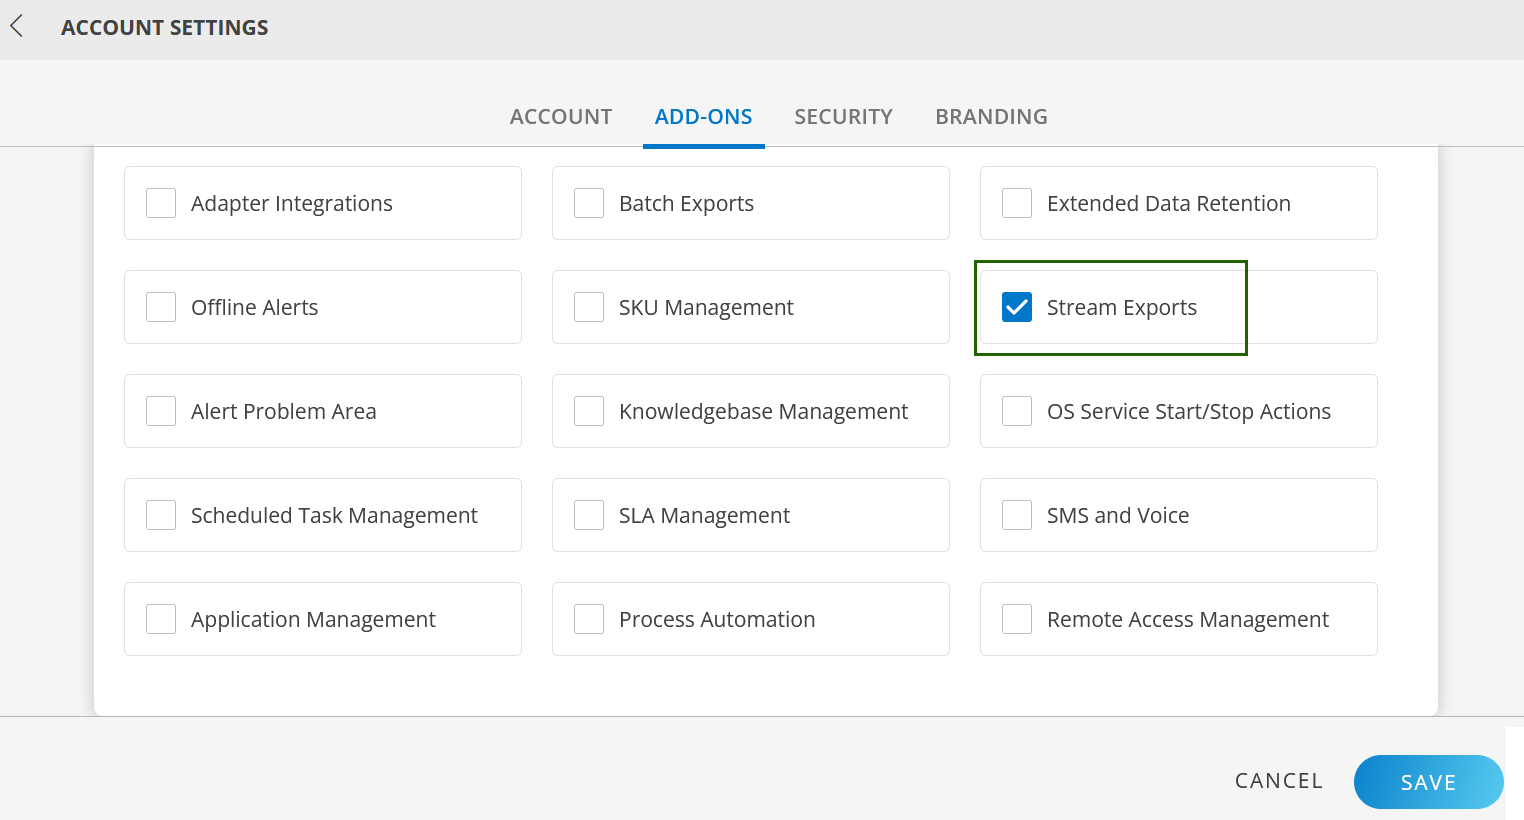
Click SETTINGS in the upper-right corner of the screen.
In ACCOUNT SETTINGS screen, click the ADD-ONS tab.
Select Stream Exports in the ADD-ONS section.
Click Save.
Install Streaming Export integration
Here is how to install a streaming export integration for the Alerts category type.
To install the integration for other types of streaming categories, refer Streaming Categories document for more details.
After successfully integrating with the console, create a streaming export to route the live data to the target location in AWS EventBridge or to a third-party tool using a Webhook.
Navigate to Setup → Account. The Account Details screen is displayed.
Select the Integrations tile. The Installed Integrations screen is displayed, with all the installed applications.
If you do not have any installed applications, you will be navigated to the Available Integrations screen. The Available Integrations screen displays all the available applications along with the newly created application with the version. Note: Search for Streaming Export application using the search option available. Alternatively, search for Exports from All Categories option and select it.
Click +ADD in Streaming Export tile. The ADD STREAMING EXPORT screen is displayed.
Enter the following basic details:GENERAL DETAILS
Field Name
Field Type
Description
Name
String
Unique name of the export.
Category Type
Dropdown
Type of data for export. Select Alerts. Note: The Alerts streaming is available only at Partner level.
Clients
Radio button
All: Select All to export data for all clients under the partner to Splunk integration.
Clients: Select Clients to export data for a specific client.
Select a client from the dropdown.
Export to
Dropdown
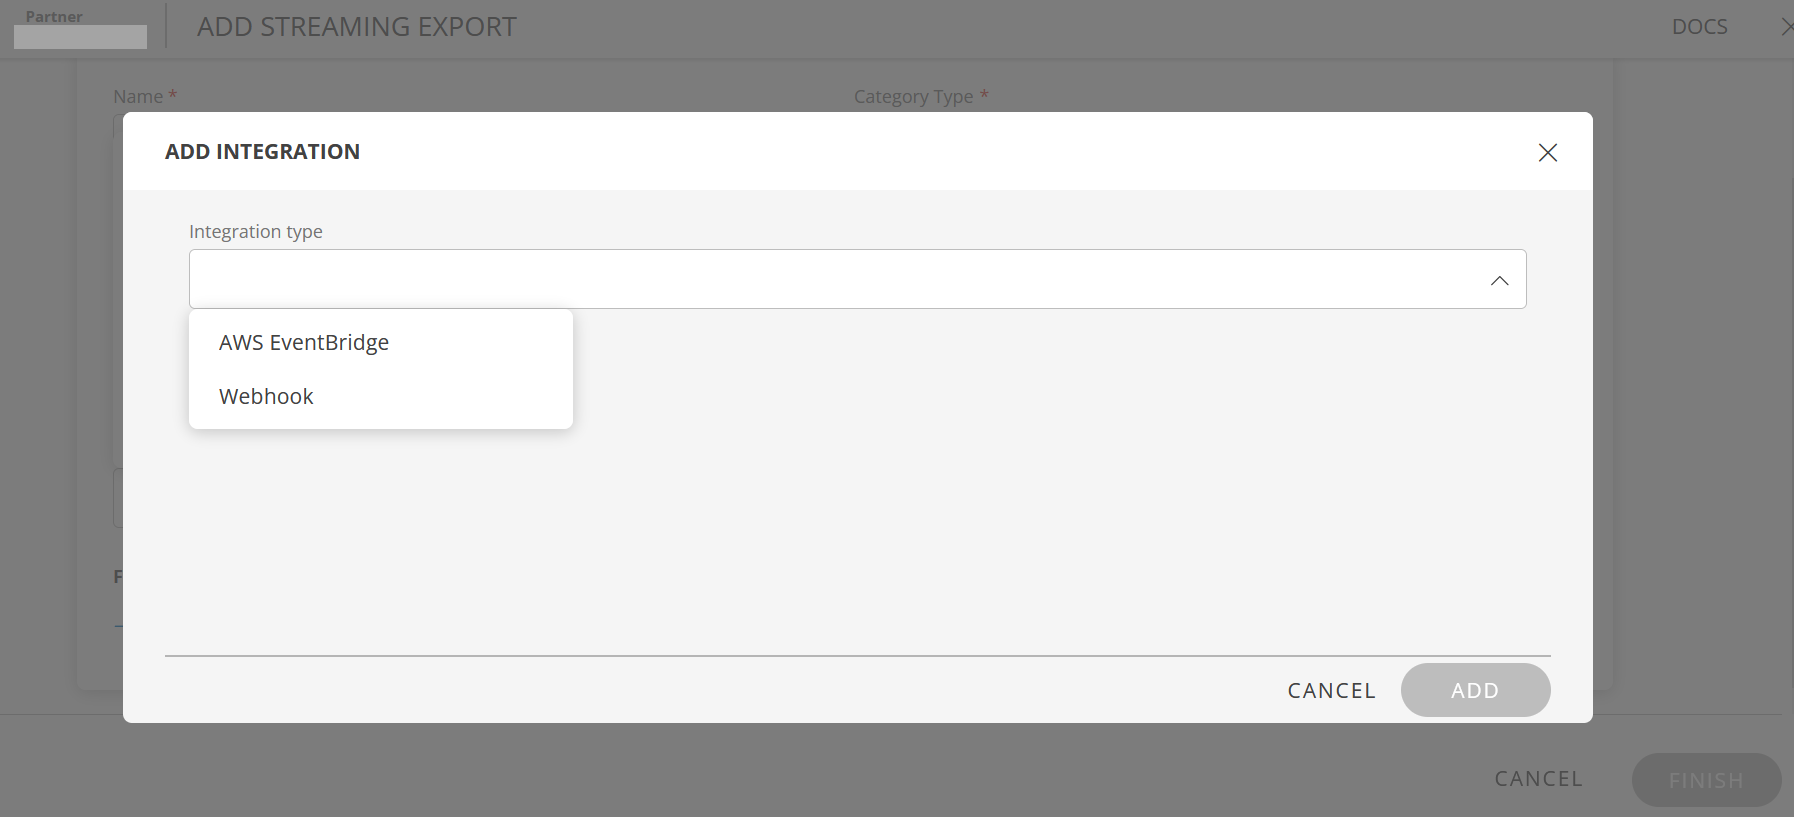
Select the integration: AWS EventBridge or Webhook. If the integration is not available, you can create one:
Click anywhere in the dropdown and click +ADD. The ADD INTEGRATION window is displayed.
Select Integration type from the dropdown.
For AWS EventBridge:
Name: Enter the integration name.
Access Key: Unique Identifier to access the AWS EventBridge.
Secret key: Key generated from the AWS portal.
Confirm Secret key: Reenter the Key generated from the AWS portal.
Region name: Name of the cloud storage location.
Event Bus Name: Event bus that receives the events from OpsRamp and AWS services.
Event Source: Event pattern or text specified in the Rules section in EventBridge. Use this to filter the incoming events. Example:{ "Source": [ "pattern" ] }.
Detail Type: Parameter to do more filtering in EventBridge.
Webhook URL: Provide the client (INBOUND) webhook URL. Example:https://uat.opsramp.net/integrations/ alertsWebhook/{tenantId}/alerts?vtoken={vtoken}
HEADERS: Select values from Name and Value dropdowns.
Name: Select a Header name. Default header name is Content-Type.
Value: Select a Header value. Default header value is application/json.
Click +ADD to add more headers.
OpsRamp supports only JSON content-type.
Payload: A default payload is displayed. Modify the payload as required.
Tip: Give a space and enter $ to get a list of tokens. Note: The following tokens do not work during the ingestion of raw alerts: `repeatCount`, `alertId`, `technology`, `healedTime`. To validate the payload:
Use the smart filter criteria to filter specific alerts. You can filter alert streaming by resource type, metric, Current state, alert type, etc.
Click +QUERY and build OpsQL query to filter alerts.
Example:resource.type = "VMware" This will filter alert streaming by resource type.
Click FINISH. The integration is installed.
Note
The Stream Export Integration now supports up to five installations per client related to logs, enabling log data delivery to multiple endpoints simultaneously.
View Added Integrations
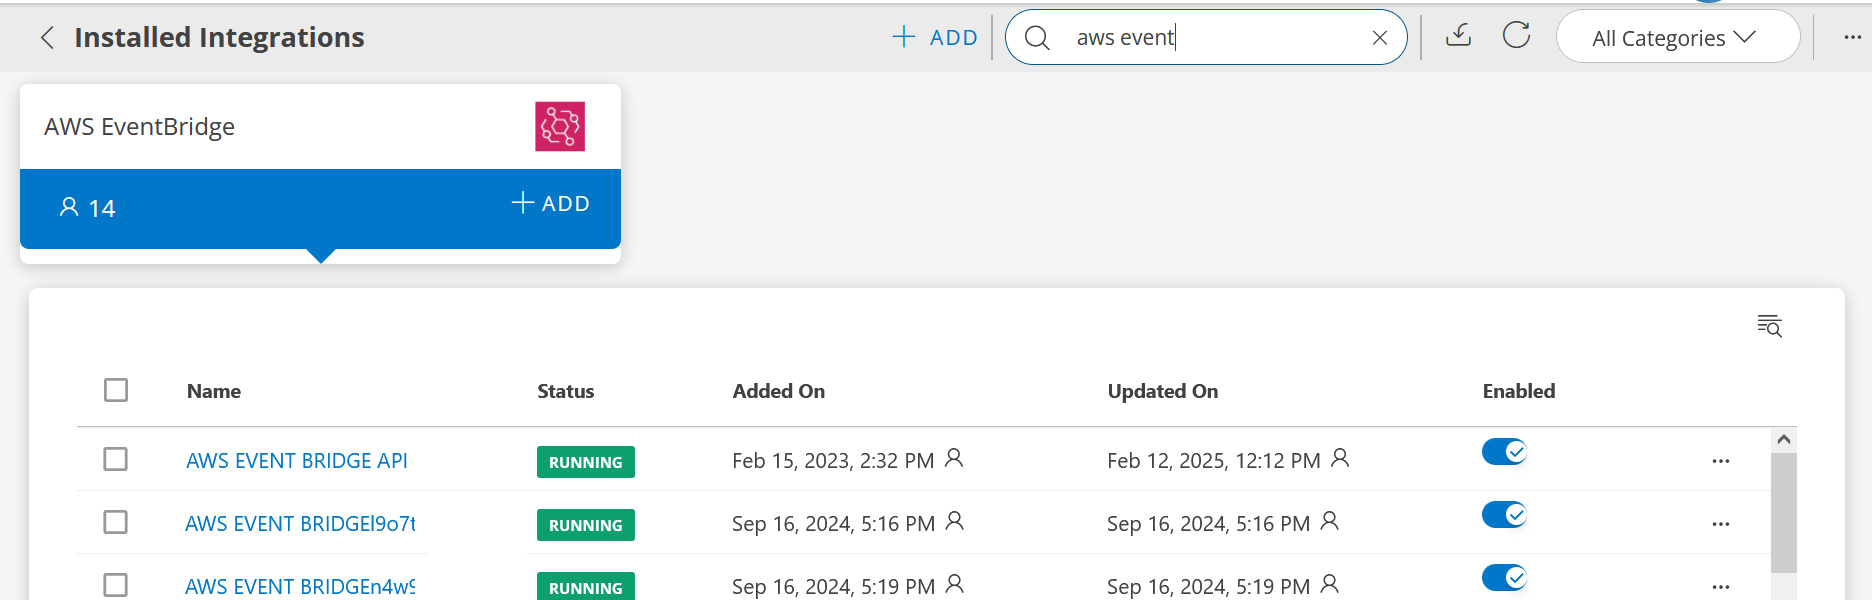
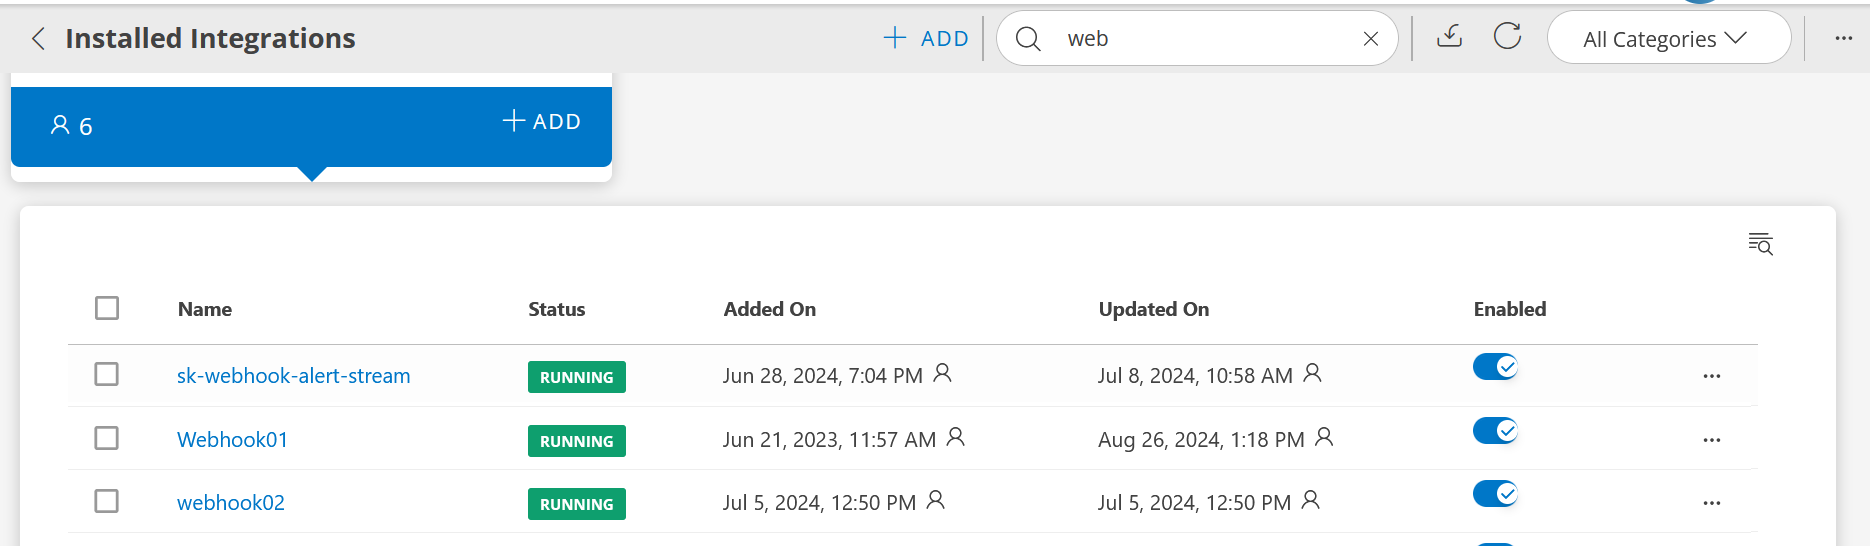
The integrations (AWS EventBridge or Webhook) added in the Export to field above are available under Installed Integrations:
AWS EventBridge: Webhook:
Search for AWS EventBridge or Webhook in the Installed Integrations screen and click on the respective tile.
Search for the integration using the search option.
Click on the integration name to view the details.
To install the integration for other types of streaming categories, refer Streaming Categories document for more details.
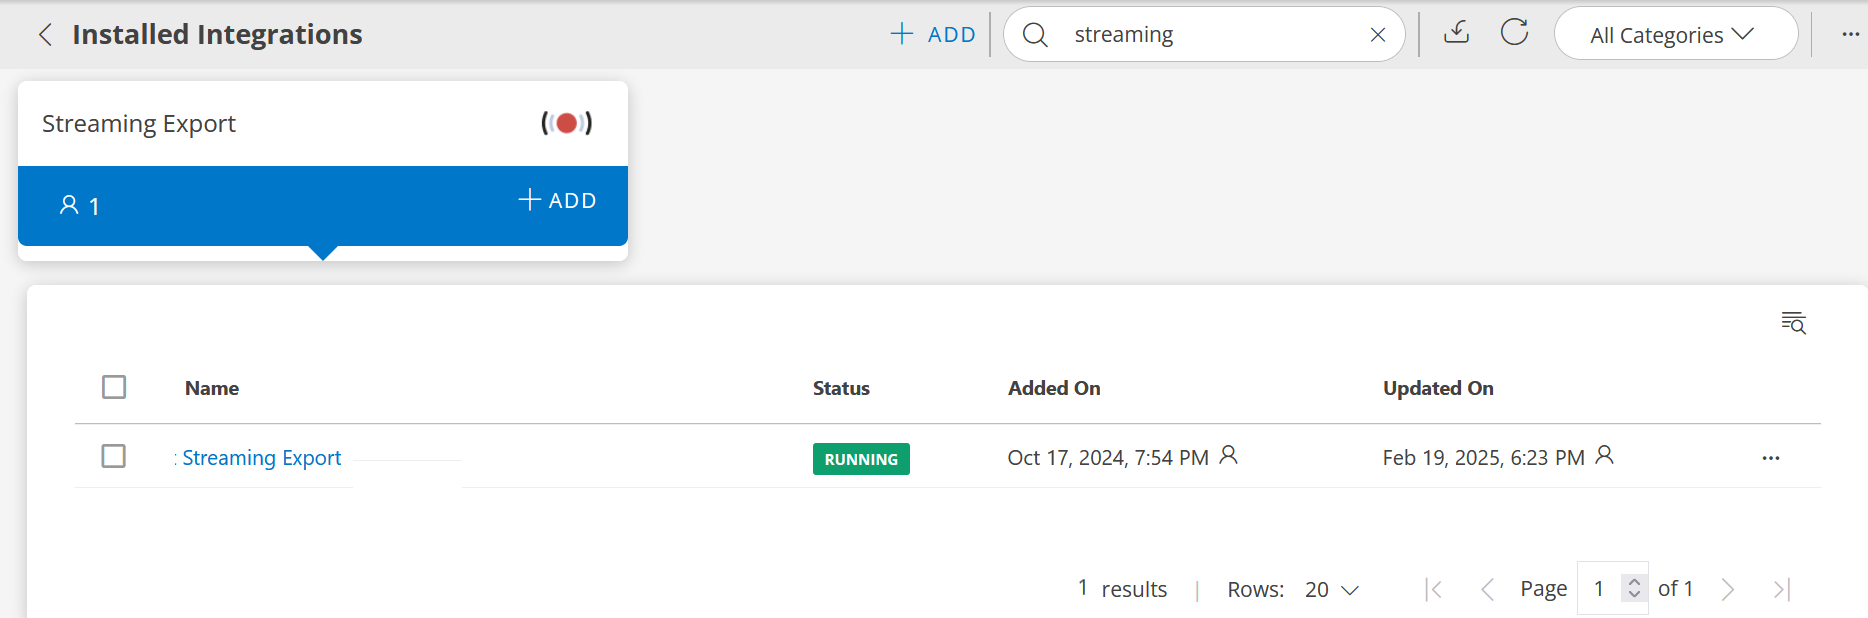
View installed Streaming Export integration
You can view the Streaming Export installed integration details under Setup → Account →Integrations → Streaming Export.
Column Name
Description
Name
Name of the streaming export.
Status
Integration status.
Added On
Date and time details of the added account. Information about the user who added the account is also displayed.
Updated On
Date and time details of the modified account. Information about the user who modified the account is also displayed.
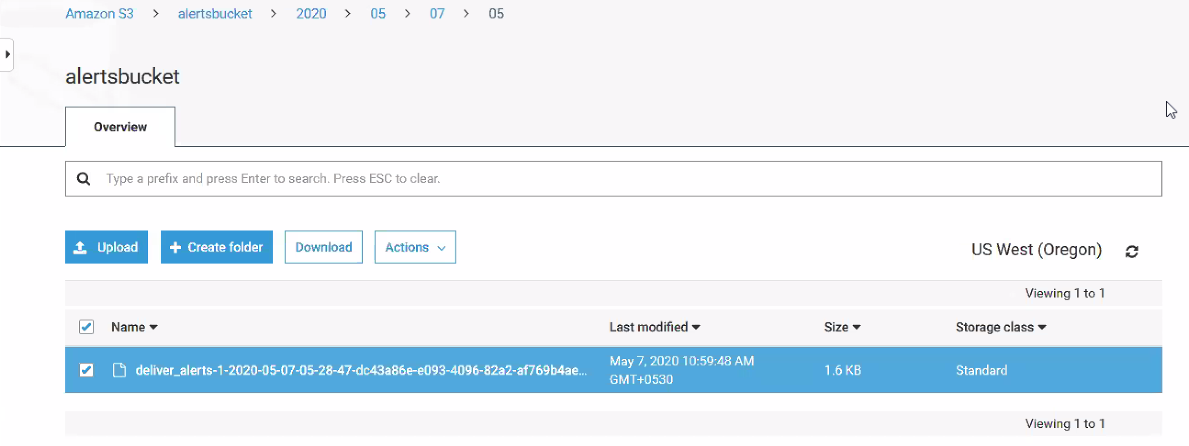
View Streaming Export Data on AWS S3
Check the corresponding folder in the AWS S3 bucket to view the generated streaming export. Example: Alerts stream data is stored in the Alerts folder.