The Batch export integration allows you to collect and automate the export of data, such as metrics, alerts, inventory, audit, to external storage systems like Amazon S3 or Azure Blob Storage. It enables data exports in JSON format, ensuring seamless compatibility with analytics platforms, reporting tools, and other IT systems.
In the event of an export failure, a list of failed exports is provided, ensuring data integrity and facilitating troubleshooting.
Note
Batch Export integration is available only at partner level.
Prerequisites
The following prerequisites must be met before installing the Batch Export integration:
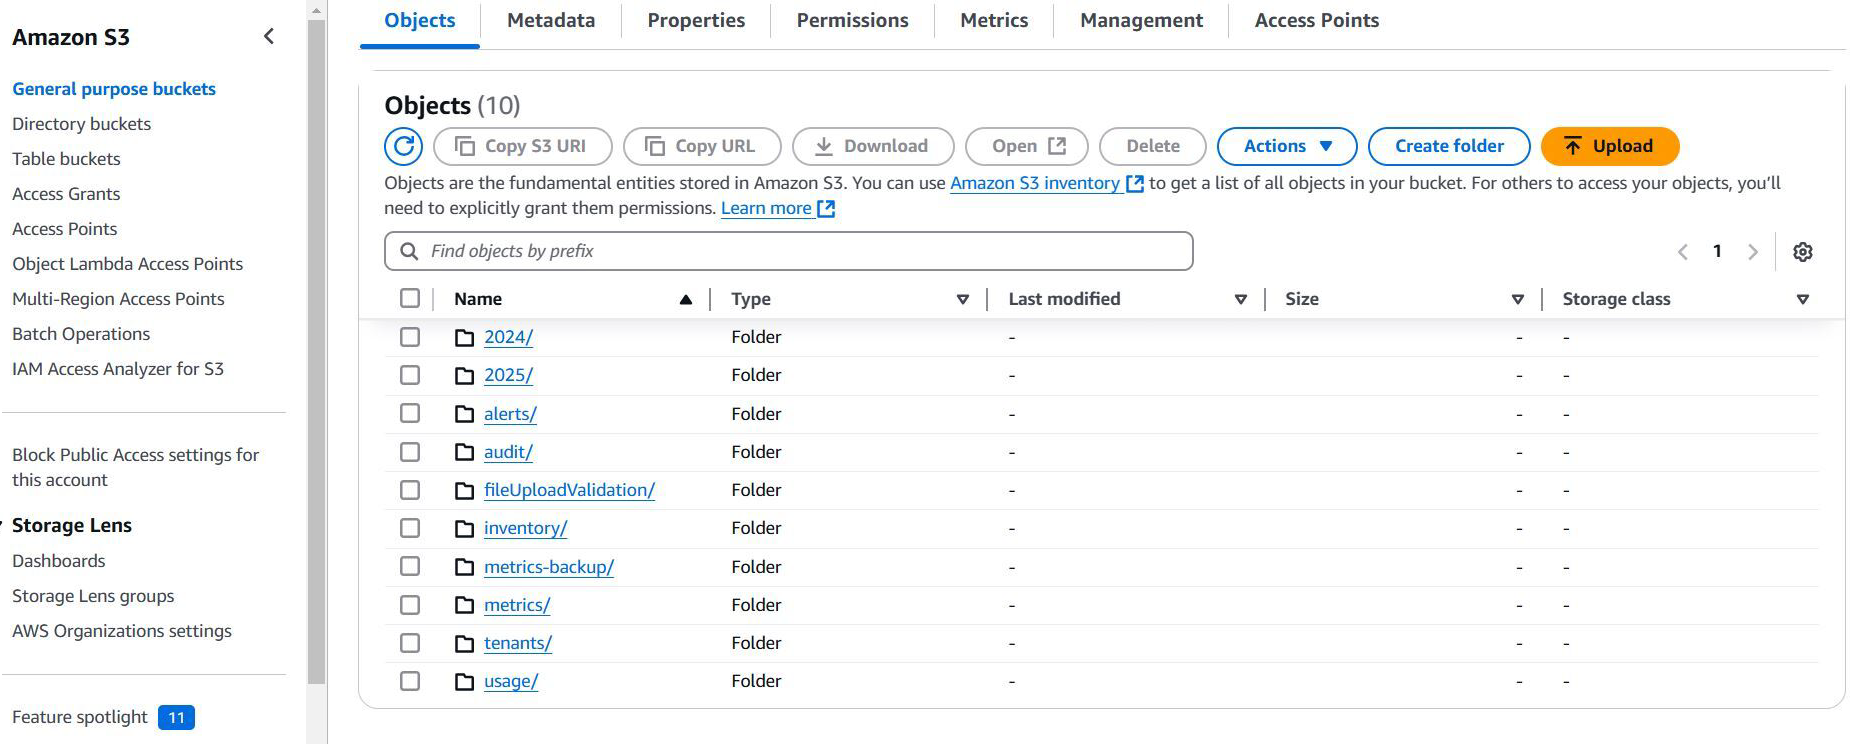
Create folders in the cloud storage integration: Amazon AWS S3 bucket storage.
Permissions
The following permissions are required to install Batch Export integration:
Category
Permission Type
Permission Value
Install Batch Export integration
Integration
Manage
View Batch Export integration
Integration
View
Delete Batch Export integration
Integration
Manage
Edit the configuration
Integration
Edit
You can export the following category types for the clients:
Category Type
Description
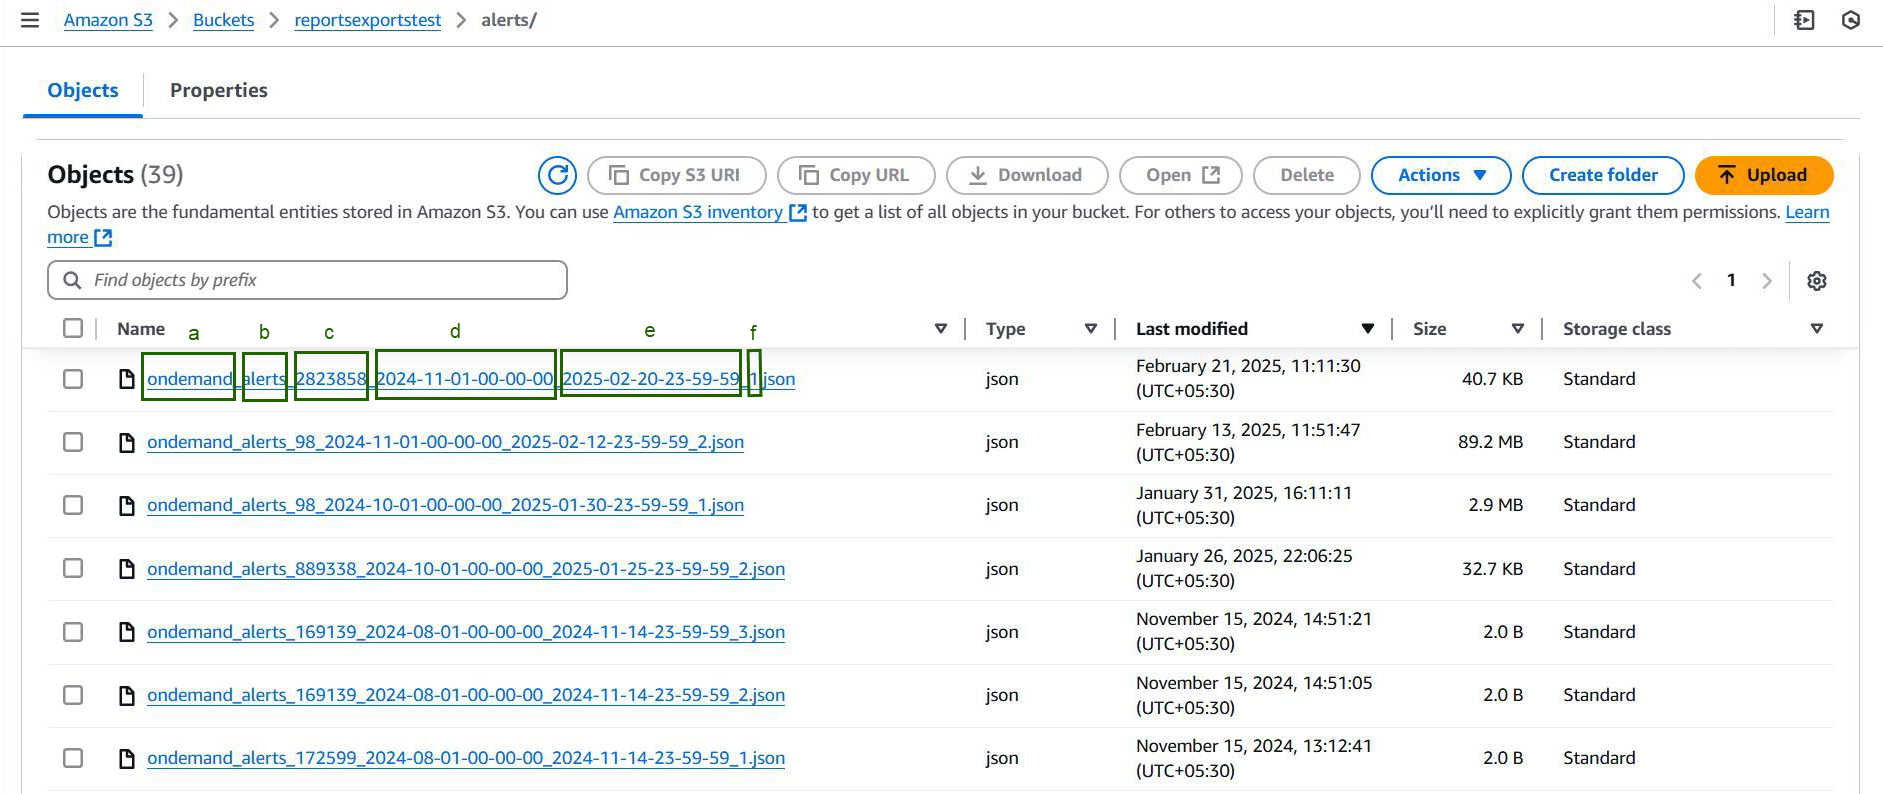
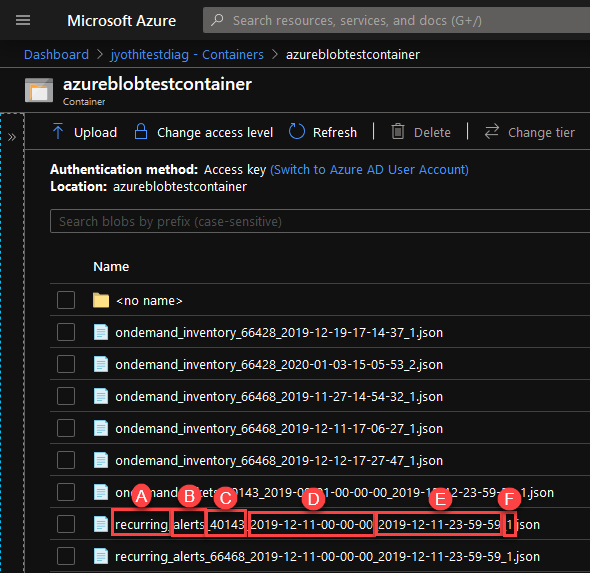
Alerts
Each client alert list will be exported into cloud storage.
Audit
Each client or all clients audit data will be exported into cloud storage.
Integrations
Each client / partner installed integration configuration data will be exported into cloud storage.
Inventory
Each client-level inventory data will be exported into cloud storage.
Metrics
Each client-level metric data will be exported into cloud storage.
Tenants
User can configure the export at partner level, and it displays partner details and all client details under the partner.
Tickets
Each client-level ticket data will be exported into cloud storage.
Usage
Usage collection data (metering usage data for billing purposes) will be exported at partner level into cloud storage.
The following batch export schedule types for different data types are available:
Schedule Type
Applicable Data Type(s)
Description
Snapshot
Inventory, Integrations, and Tenants
This data export provides a snapshot view of the data at the instance of export generation into the Amazon S3 bucket folder or Azure Blob storage.
Incremental
Alerts, Ticket, Metric, Audit and Usage
The incremental batch export sends data for the past three months as the first batch export. Subsequent exports are incremental exports of updated records. You can schedule recurring or on-demand data export:
On-demand - Export provides a snapshot of the data at the time of the generation of the export.
Recurring - Export provides snapshots of the data at the chosen time.
When you request incremental data on-demand, the export generates a snapshot of the past three months.
Metric data export occurs every hour by default and cannot be customized. You can get metric data using the metric APIs.
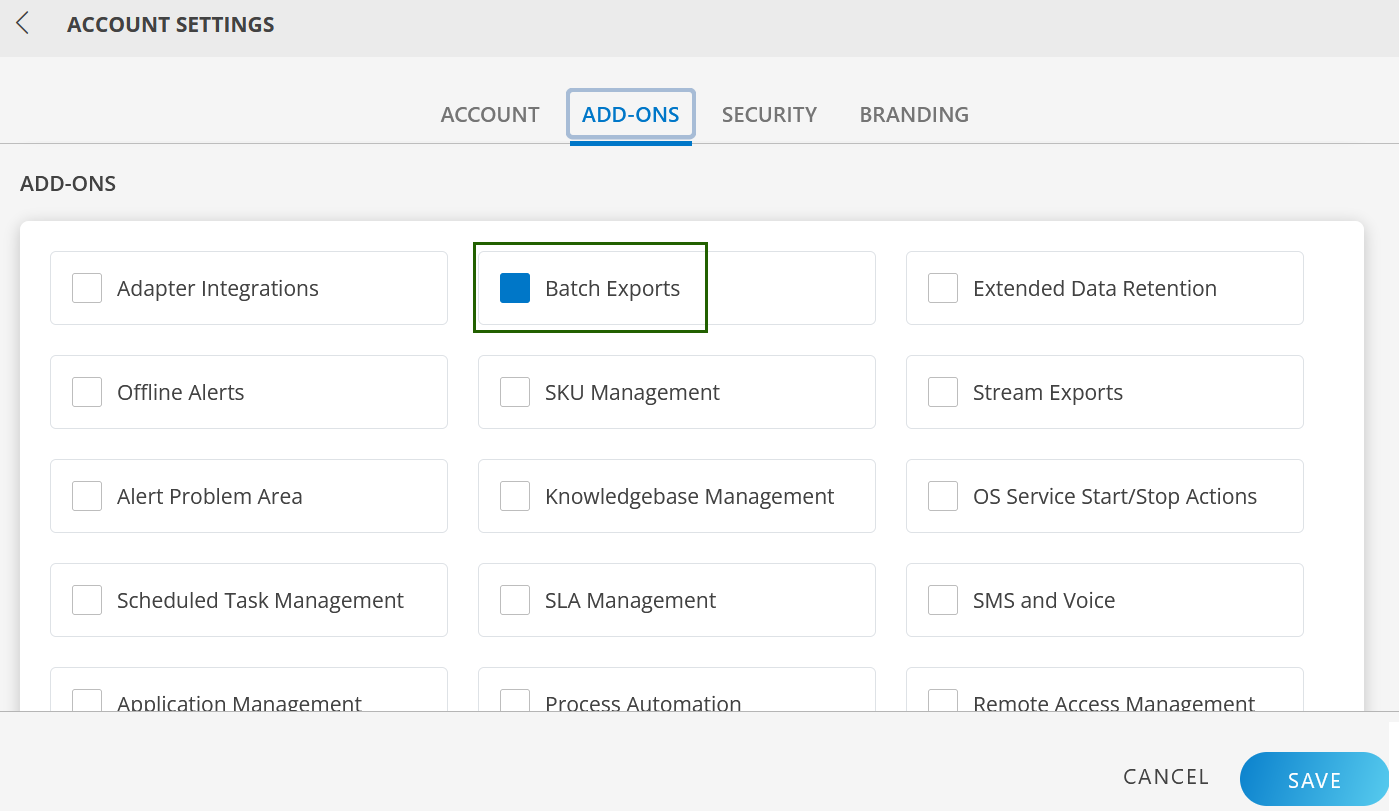
Click SETTINGS in the upper-right corner of the screen.
In ACCOUNT SETTINGS screen, click the ADD-ONS tab.
Select Batch Exports in the ADD-ONS section.
Click SAVE.
Install Batch Export integration
Here is how to install a batch export integration for the Alerts category type.
To install the integration for other types of export categories, refer Export Categories document for more details.
The OpsRamp Batch Export integration allows you to systematically export alert data to external storage solutions like Amazon S3 or Azure Blob Storage. Alerts play a crucial role in IT operations monitoring, helping you detect, diagnose, and resolve incidents in real-time.
The procedure is similar for other category types with minor configuration changes.
Navigate to Setup → Account. The Account Details screen is displayed.
Select the Integrations tile. The Installed Integrations screen is displayed, with all the installed applications.
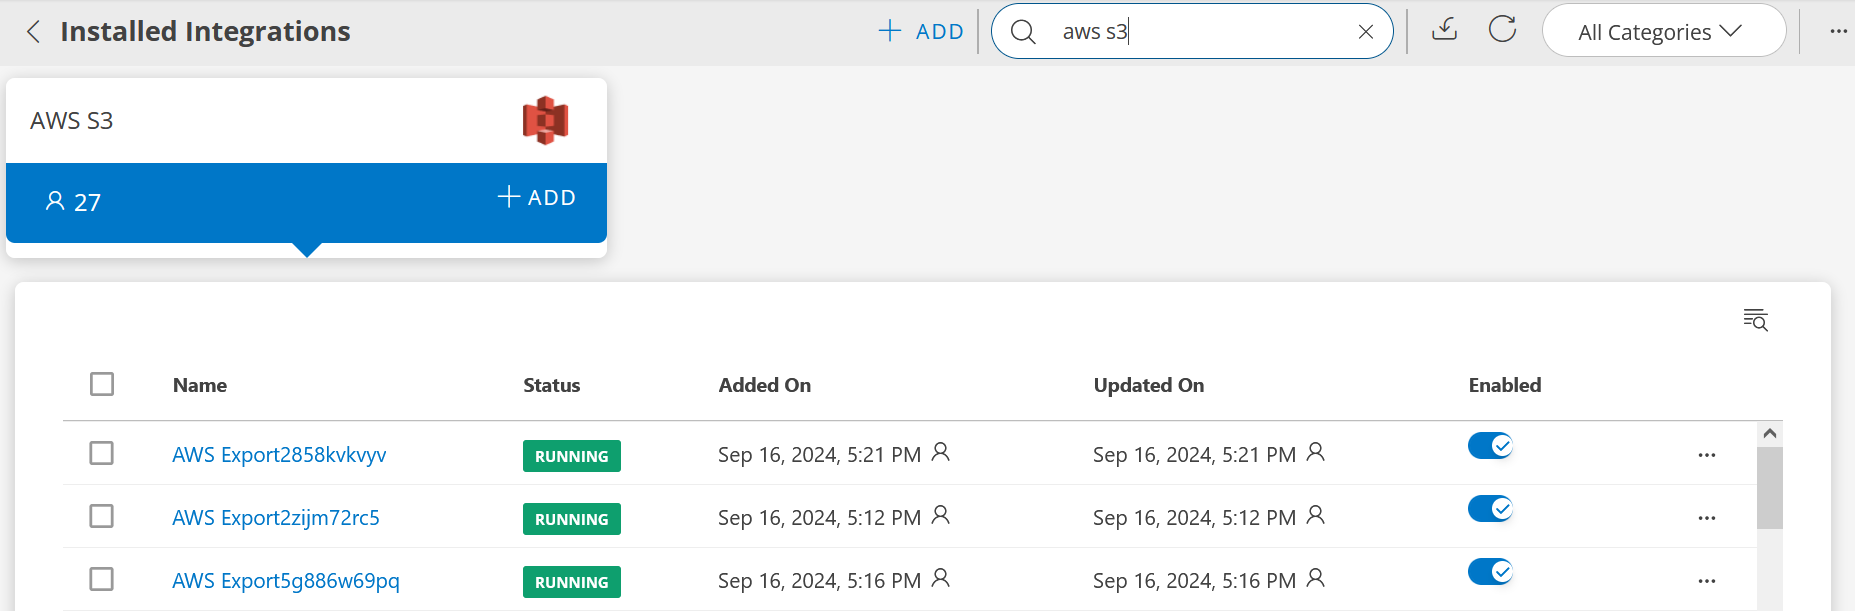
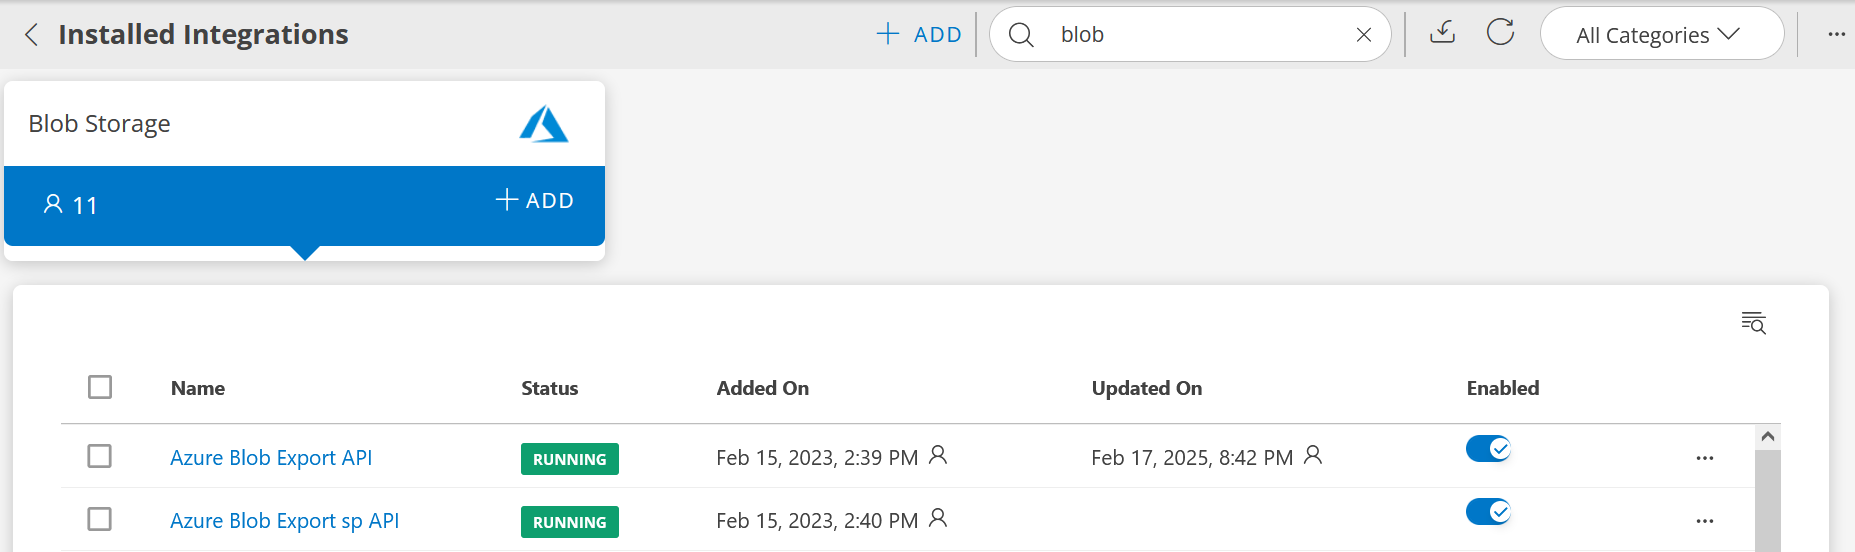
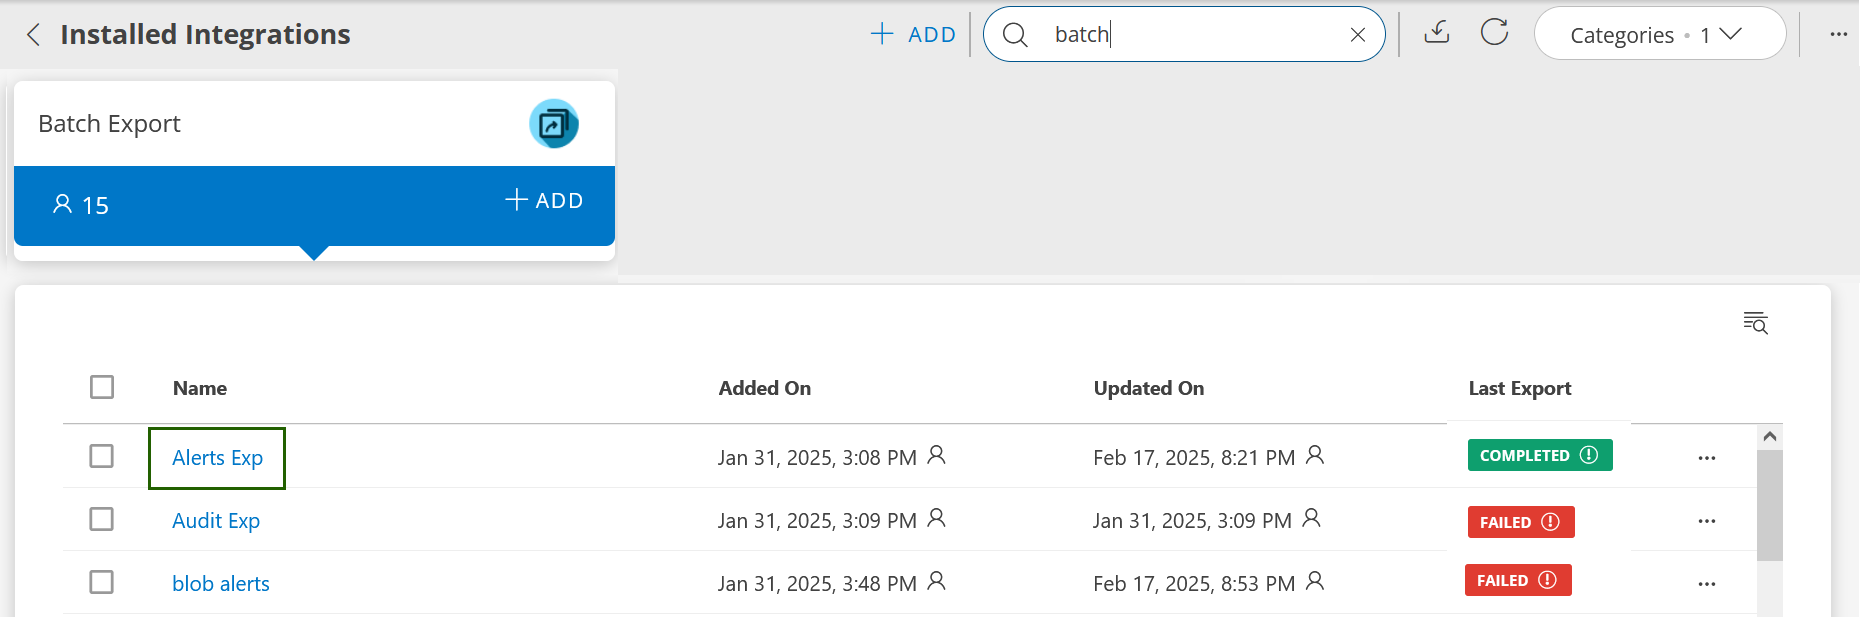
If you do not have any installed applications, you will be navigated to the Available Integrations screen. The Available Integrations screen displays all the available applications along with the newly created application with the version. Note: Search for Batch Export application using the search option available. Alternatively, search for Exports from All Categories option and select it.
Click +ADD in Batch Export tile. The ADD BATCH EXPORT screen is displayed.
Enter the following basic details:GENERAL DETAILS
Field Name
Field Type
Description
Name
String
Unique name of the export.
Category Type
Dropdown
Type of data to export: Alerts.
Client
Dropdown
Select the client for whom you want to export the data.
Export to
Dropdown
Select the integration: AWS S3 or Blob Storage. If the integration is not available, you can create one:
Click anywhere in the dropdown and click +ADD. The ADD INTEGRATION window is displayed.
Select an Integration type from the dropdown and enter the required information in the fields.
For AWS S3:
Name: Name of the Integration.
Access Key ID: Unique identifier for the Amazon S3 bucket.
Secret access key: Key and secret generated from the portal.
Confirm Secret access key: Re-enter the secret access key.
Bucket Name: Name of the AWS S3 bucket for the export data.
Base URI: Data location in the AWS S3 bucket. Example: https://s3.regionName.amazonaws.com.
Click ADD. The integration is added.
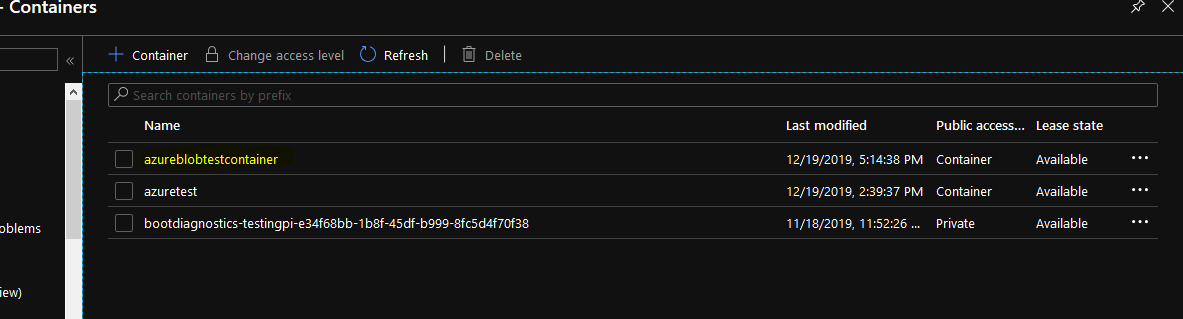
For Blob Storage:
Name: Enter the integration name.
Storage account name: Azure Blob account name.
Secret access key: Access key generated from the portal.
Confirm Secret access key: Reenter the secret access key.
Container name: Name of the Azure container for the export data.