Complete the following tasks to create a policy:
Navigate to Configuration Management > Network Configuration.
Under the POLICIES tab, click +ADD. The CREATE POLICY page is displayed. The CREATE POLICY page contains below sections:
Define Policy: You need to define a policy based on the type such as Rule Based or Semantic.
Rule Based: The policy which runs based on the declared rules. If the declared rule in the compliance string is not present in the device, then the rule declared in the remediation string will be applied during task approval. There are two rule types:
- Single line: The string is declared in a single line. For example,

- Multiple lines: The string is declared in multiple lines. For example,

Semantic: The policy mainly runs on the baseline configuration. If there are any changes to the baseline configuration then the remediation will be applied during task approval.
Remediation Workflow: Select a workflow which needs to comply with the policy.
Assign Resources: You can assign resources or resource groups to comply with the policy.

Enter below information in the Define Policy section:

Policy Name: Enter a name for the policy.
Description: Add a description to the policy.
Select Rule Based or Semantic radio button.
If Rule Based is selected, you can select available rules from the drop-down list. You can select more than one rule for a policy.Note: A rule can be applied to multiple policies. Also, a policy can have multiple rules assigned to it.

If Semantic is selected, by default the type is selected as Baseline Configuration.Note: At present, Semantic supports the baseline configuration rule. More Semantic rules will be enabled in future releases.

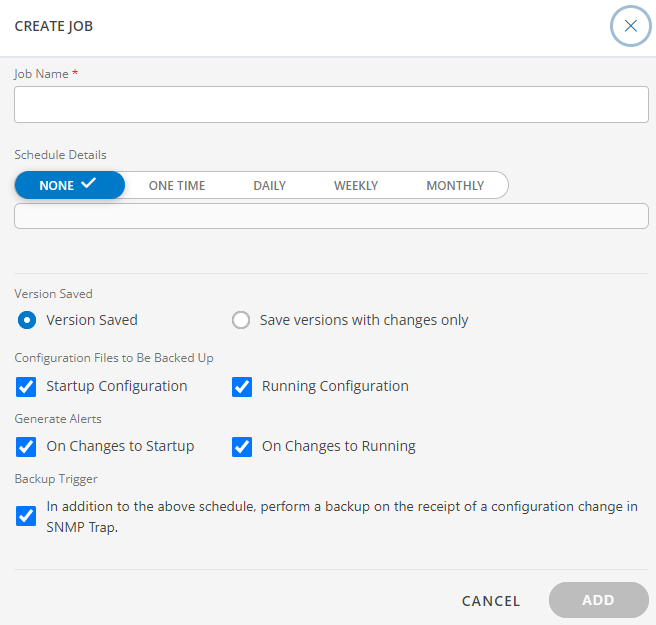
Schedule Configuration Backup: Select a job from the drop-down list.

You can either select available jobs or create a new job using +ADD. See Create Jobs for more details.
- Click SAVE to save the details.
- In the Remediation Workflow section, select a Process/Workflow from the drop-down list.

You can select an existing workflow or create a new one using the +ADD. See Process Definition for more details.
Follow below steps to create a new workflow:
Click +ADD.The ADD PROCESS page is displayed.

Select User Task and follow the instructions below to make the changes before you deploy the workflow:
Click ADD/MODIFY under Assignee.The Add Users page is displayed.
Select the assignee to whom you want to assign the task. Make sure that the selected assignee should be a client user.
Click Add.
You need to provide below default values for Running Config, Remediation Config, and Baseline Config fields:
$runningConfigId$GetRemediation.remediationConfig$baselineConfigId
Select Pending from the Action drop-down list.

Once the User Task is updated and saved, click Approved.

Under Properties > Configuration, enter the below sequence flow condition type:
$UserTask.task.Action = "Approve"

Click Add & Deploy once you complete the User Task configurations.The workflow is added under Select Process/Workflow drop-down.
Click SAVE to save the details.
In the ASSIGN RESOURCES section, you can assign a resource or resource groups to the policy.
Under the RESOURCES tab, click +ADD to add an existing resource.

From the AVAILABLE RESOURCES, select an existing resource. You can select single or multiple resources using the checkbox.

You can also search a resource using +QUERY. The search query consists of attributes, operators and a value.
Click ASSIGN to assign the resources to the policy.
Select RESOURCE GROUPS, click +ADD to add an existing resource group. See Create a resource group for more details.

From the AVAILABLE RESOURCE GROUPS, select an existing resource group. You can select single or multiple resource groups using the checkbox.Note: The credentials will be assigned automatically to the newly added resources under the existing resource group.

Click ASSIGN to assign the resource group to the policy.
Once the details have been entered, click X to save the details in the CREATE POLICY page.

Click YES to save the changes.
Note:
Only resources that are not part of any job will get assigned to selected or newly created jobs under policy.
If any resource is assigned to another policy, that resource will not be listed under resource selection.
Once the policy is created, the Compliance page gets updated only after the backup job gets triggered as scheduled.
If you want to view the status of the policies under Compliance page immediately, you need to run the backup job manually under Automation > Jobs as shown below:

You can view the network configuration of a resource under Infrastructure > Resources > Network Device > Configuration Backup.
