You can now save your logs query in a saved view so that you can quickly return to it later in an easy to navigate UI. The Saved Views make it easier for you to switch between different troubleshooting contexts and you can access them from the Menu in the upper left corner of the Logs page.
Save a View
Save the current log view configuration for future use.
- Navigate to Infrastructure > Logs.
- Configure the log view as required by applying filters, time ranges, search criteria, or other settings.
- Click the + icon in the upper-right corner of the My Logs Views panel.
- Select Add Current View.
- Optionally, select an existing collection to store the view.
- Enter a name for the view.
- Click Add.
The view is saved and displayed under My Logs Views.
Create a Collection
Collections help organize multiple saved views.
- In the My Logs Views panel, click the + icon.
- Select Add Collection.
- Enter a name for the collection.
- Click Add.
The collection is created and displayed under My Logs Views.
Add a View to a Collection
- Configure the log view as required.
- Click the + icon and select Add Current View.
- Select the target collection from the list.
- Enter a name for the view.
- Click Add.
The view is saved within the selected collection.
Actions Available for Saved Views
To perform actions on a saved view, select the view and click the More Options (⋮) menu.
| Action | Description |
|---|---|
| Save | Saves changes made to the selected view. |
| Restore | Restores the view to its previously saved state. |
| Rename | Changes the name of the view. |
| Copy | Creates a duplicate of the selected view. |
| Set Favorite | Marks the view as a favorite for quick access. |
| Set Default | Sets the selected view as the default view displayed when you open Logs. |
| Share | Shares the view with users based on assigned role permissions. |
| Move View | Moves the view to a different collection. |
| Remove | Deletes the view from the saved views list. |
Share a Collection
- Navigate to Infrastructure > Logs.
- Open the My Logs Views panel.
- Select the collection that you want to share.
- Click the More Options (⋮) menu next to the collection.
- Click Share.
- Select one or more roles to share the collection with.
- Click Share.
The collection and its associated views are shared with users assigned to the selected roles.
Note: Partner users can share views and collections only with roles that have the appropriate permissions. Users can access the shared views and collections based on their assigned roles.
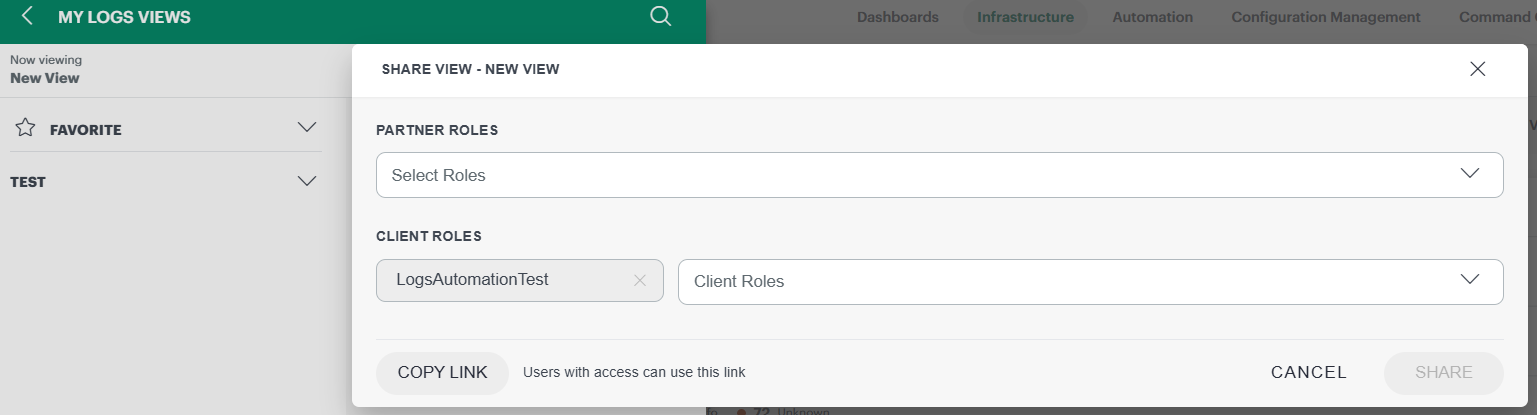
Share a Saved View
You can share saved views with users who have the appropriate role permissions.
- In the My Logs Views panel, select the saved view.
- Click the More Options (⋮) menu next to the view.
- Click Share.
- Select one or more roles to share the view with.
- Click Share.
The selected users can access the shared view based on their assigned permissions.
Note: If a view is shared with a client role, only users assigned to that role can access the view.