Introduction
The Filter option in the variable manager allows users to tailor the list of values displayed for a variable, offering a more focused and context-specific experience. Configure queries that dictate which values appear in the dropdown menu when using a variable, thus enhancing the usability and relevance of data for a wide range of applications.
Create the Filter
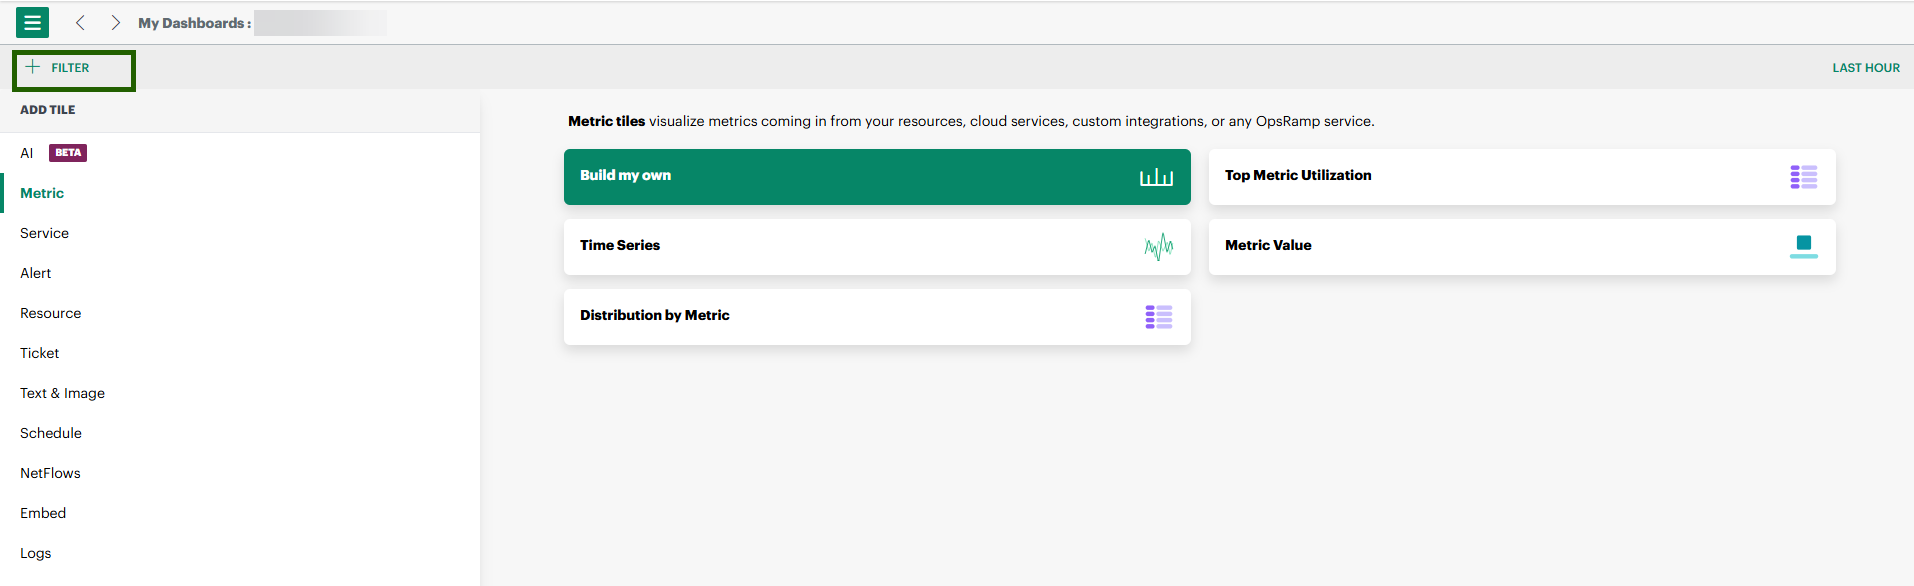
From Dashboard > Dashboard 2.0, create a new dashboard or select from an existing dashboard collection.
See Create Dashboards to learn about creating dashboards.Click on + Filter.
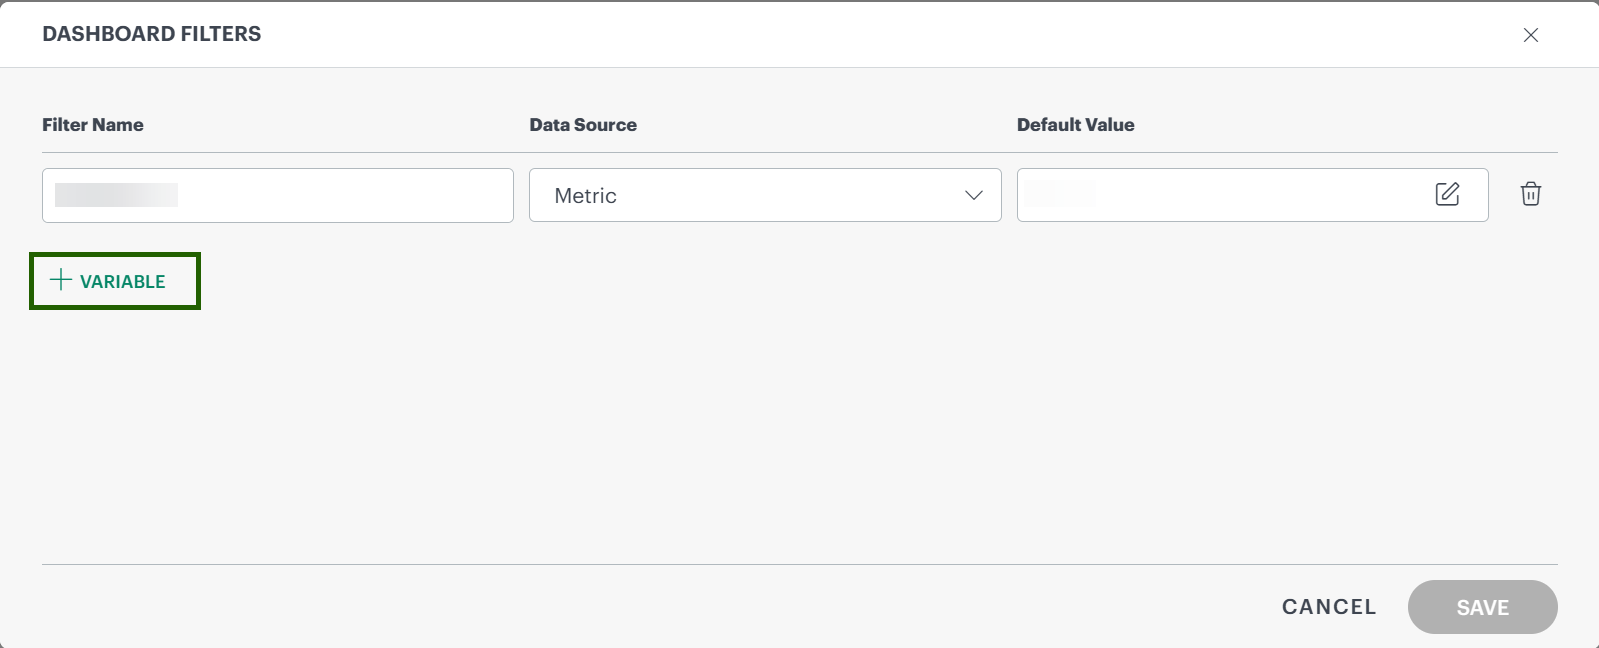
The DASHBOARD FILTERS page is displayed.
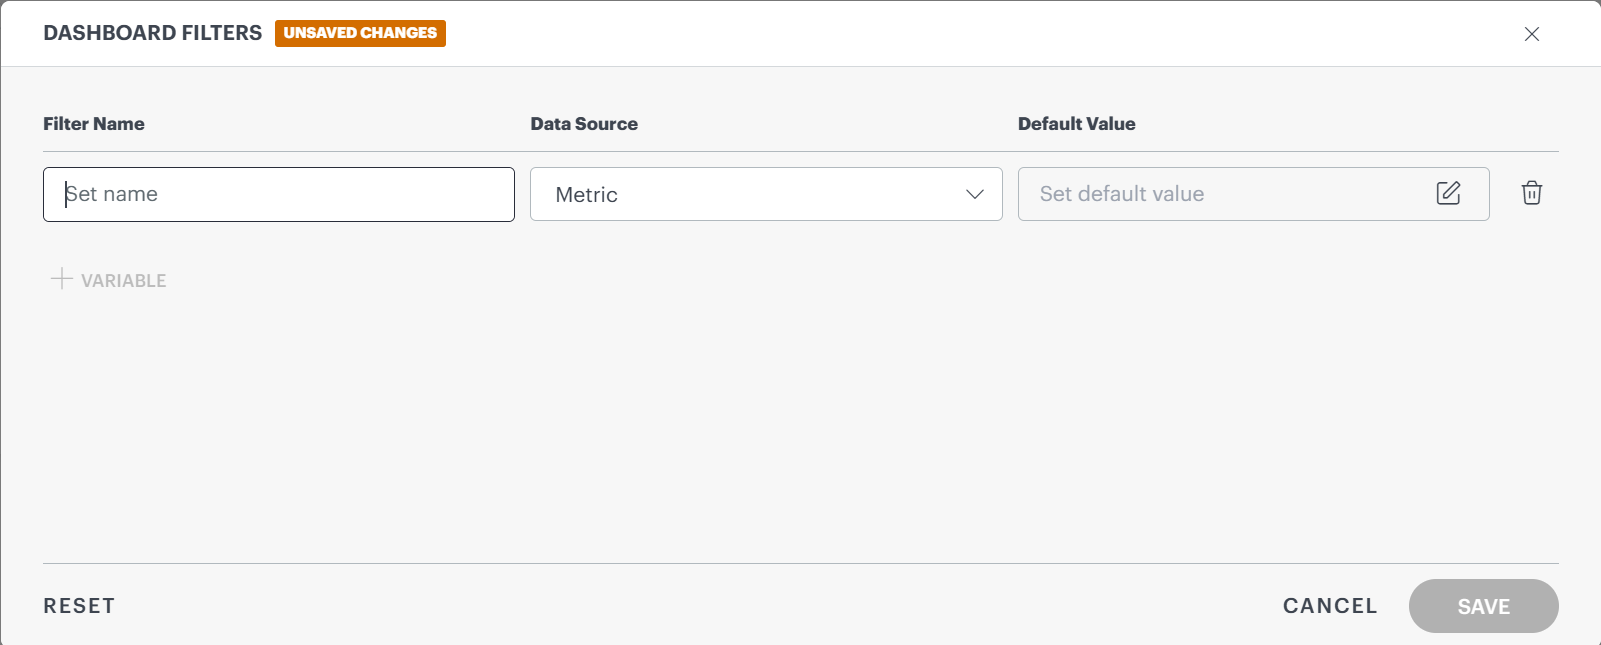
Note
Users can manage variables here to enable filters. At the partner level, the metric filter is not enabled.Choose a name for the filter.
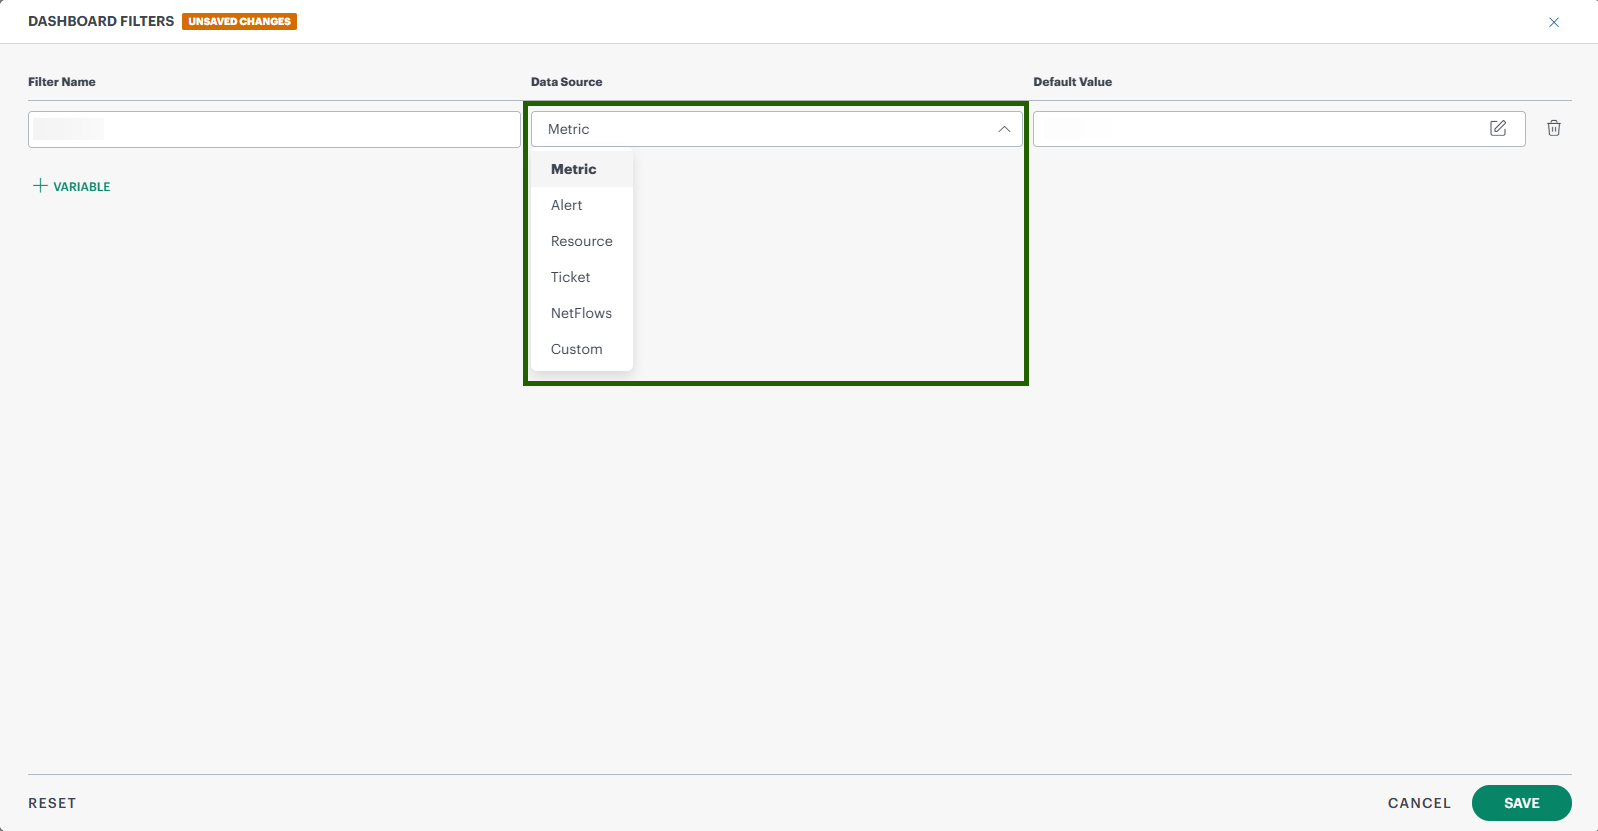
Select a Data Source for the filter from the dropdown list.
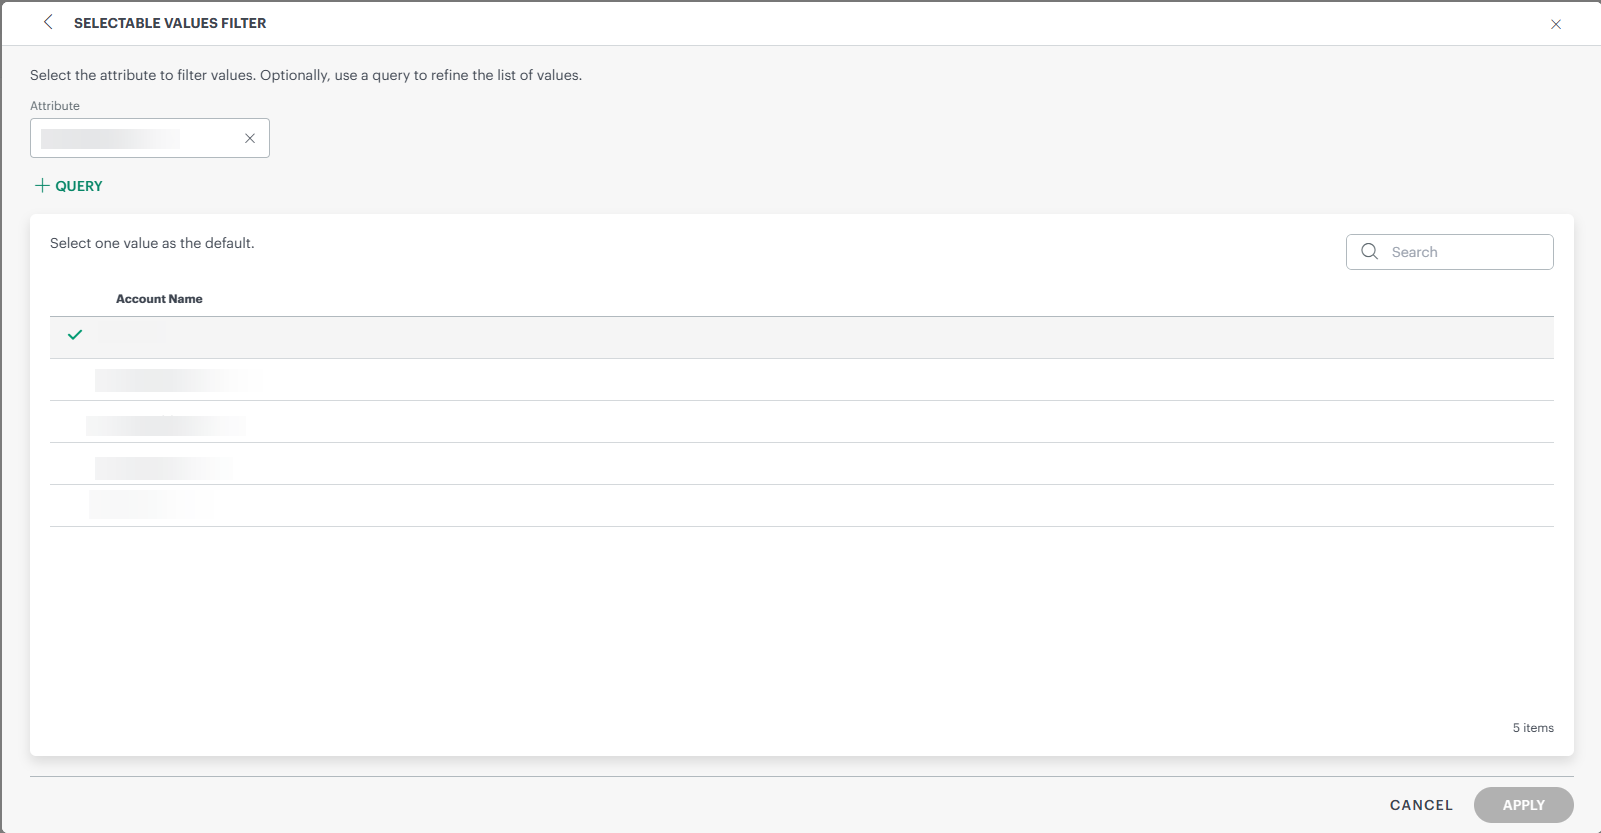
Enter a default value for the filter. When clicking on Default Value, the attributes page appears.
Enter the attribute names. Then click Apply.
Click Save.
To edit the filter, click the pen and pad icon next to the filter. Then click Edit.

To add multiple filters, click on the + Variable button.
Click Save to save any changes.