Introduction
This document details the registration process for user access via Portal.
Sign Up
Follow these steps to complete registration.
Check your registered email. Click Set up Account button in the Email to set up your account. Alternatively, copy/paste the link into your browser.
The User Invite email looks something like this.
Note: The invitation is valid for 10 days.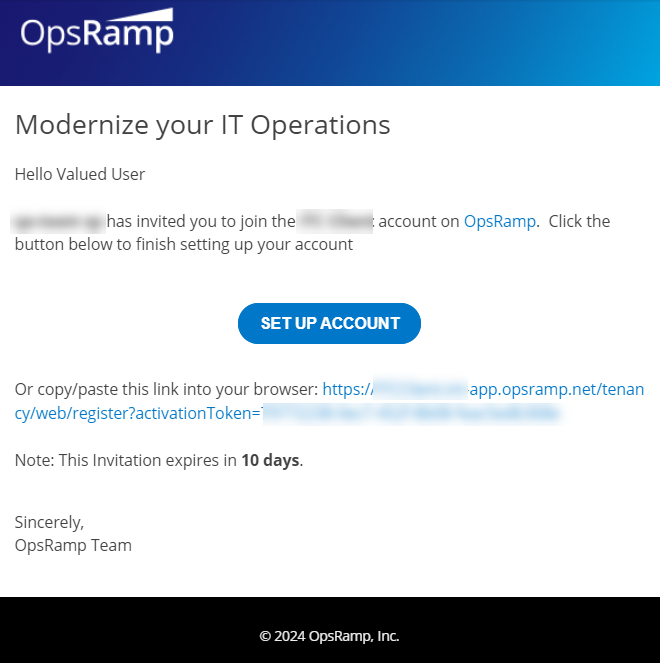
Provide the following information on the Complete Sign Up page:
User Name: Enter a unique user name.
First Name: Enter your first name.
Last Name: Enter your last name.
Choose Password: Enter a password. Password requirements: Minimum 7 characters with at least one number(0-9), one special character (#,!,$,*), one lowercase(a-z), and one uppercase(A-Z) character. Time Zone*: Select the time zone from the drop-down list.
Confirm Password: Re-enter the password.
Time Zone: Select the time zone from the drop-down list.
Select the checkbox to accept the terms and conditions.
Activate Two Factor Authentication: This option appears if the client has Two-Factor enabled.
See Two-Factor Authentication for more details.
Click the LET’S GO button. A verification code is sent to your registered email address.
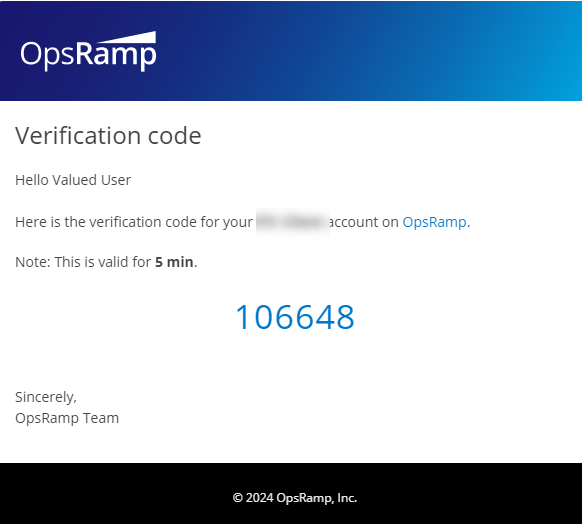
Enter the verification code and click DONE.
You should see the message, “Your Account is Created Successfully” which completes the registration process. The Key, Secret and BaseURL details are also displayed.
The status of the user account is set to Active.
The User Created Notification Email is sent to the registered Email address along with the username.
Click the Let’s Go button in the Email.
Alternatively, copy/paste the link into your browser.
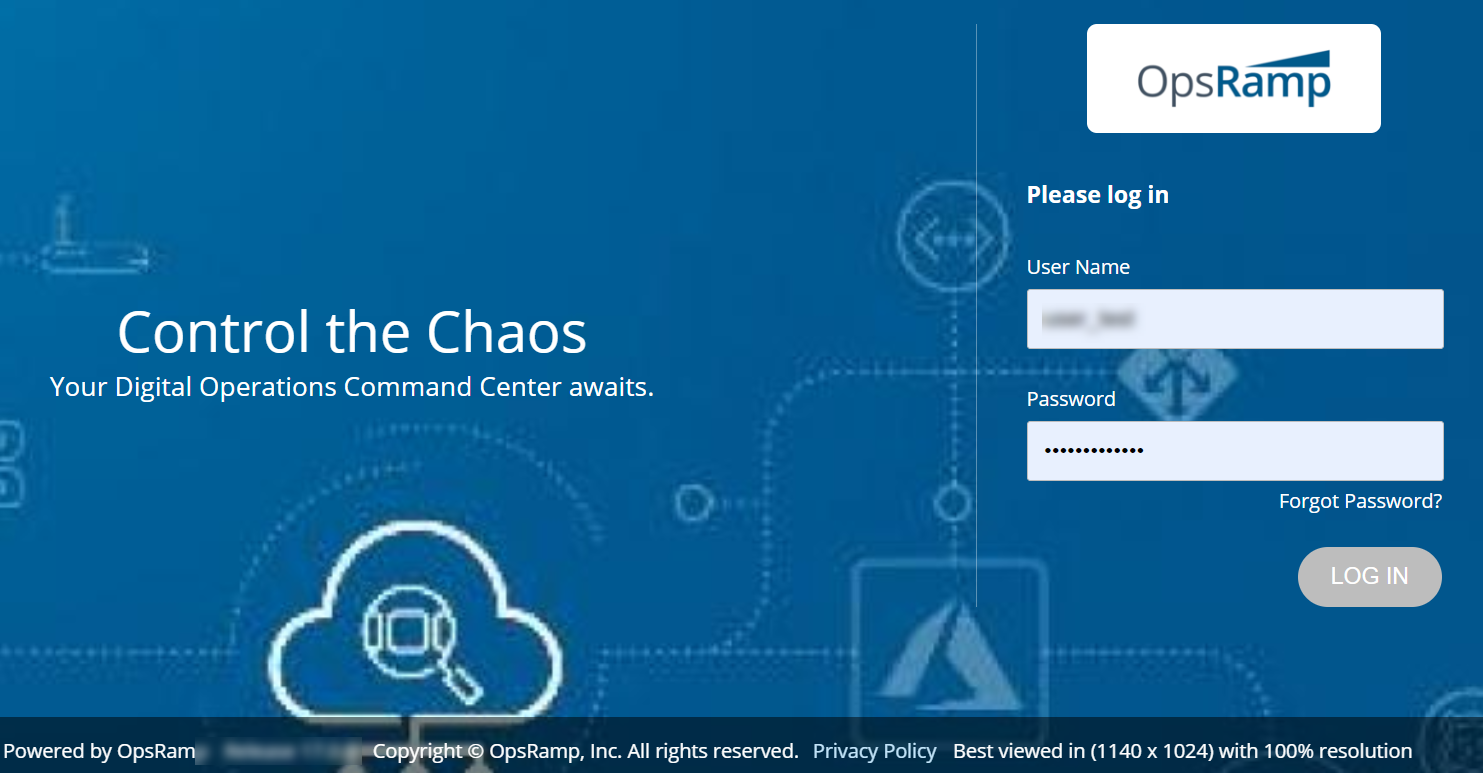
- Enter the User Name and Password on the Log in page and click LOG IN.
If you have forgotten your password, click Forgot Password. Follow the instructions to reset your password.
As soon as you login, you will see the Welcome page. The Welcome page appears only for new users.
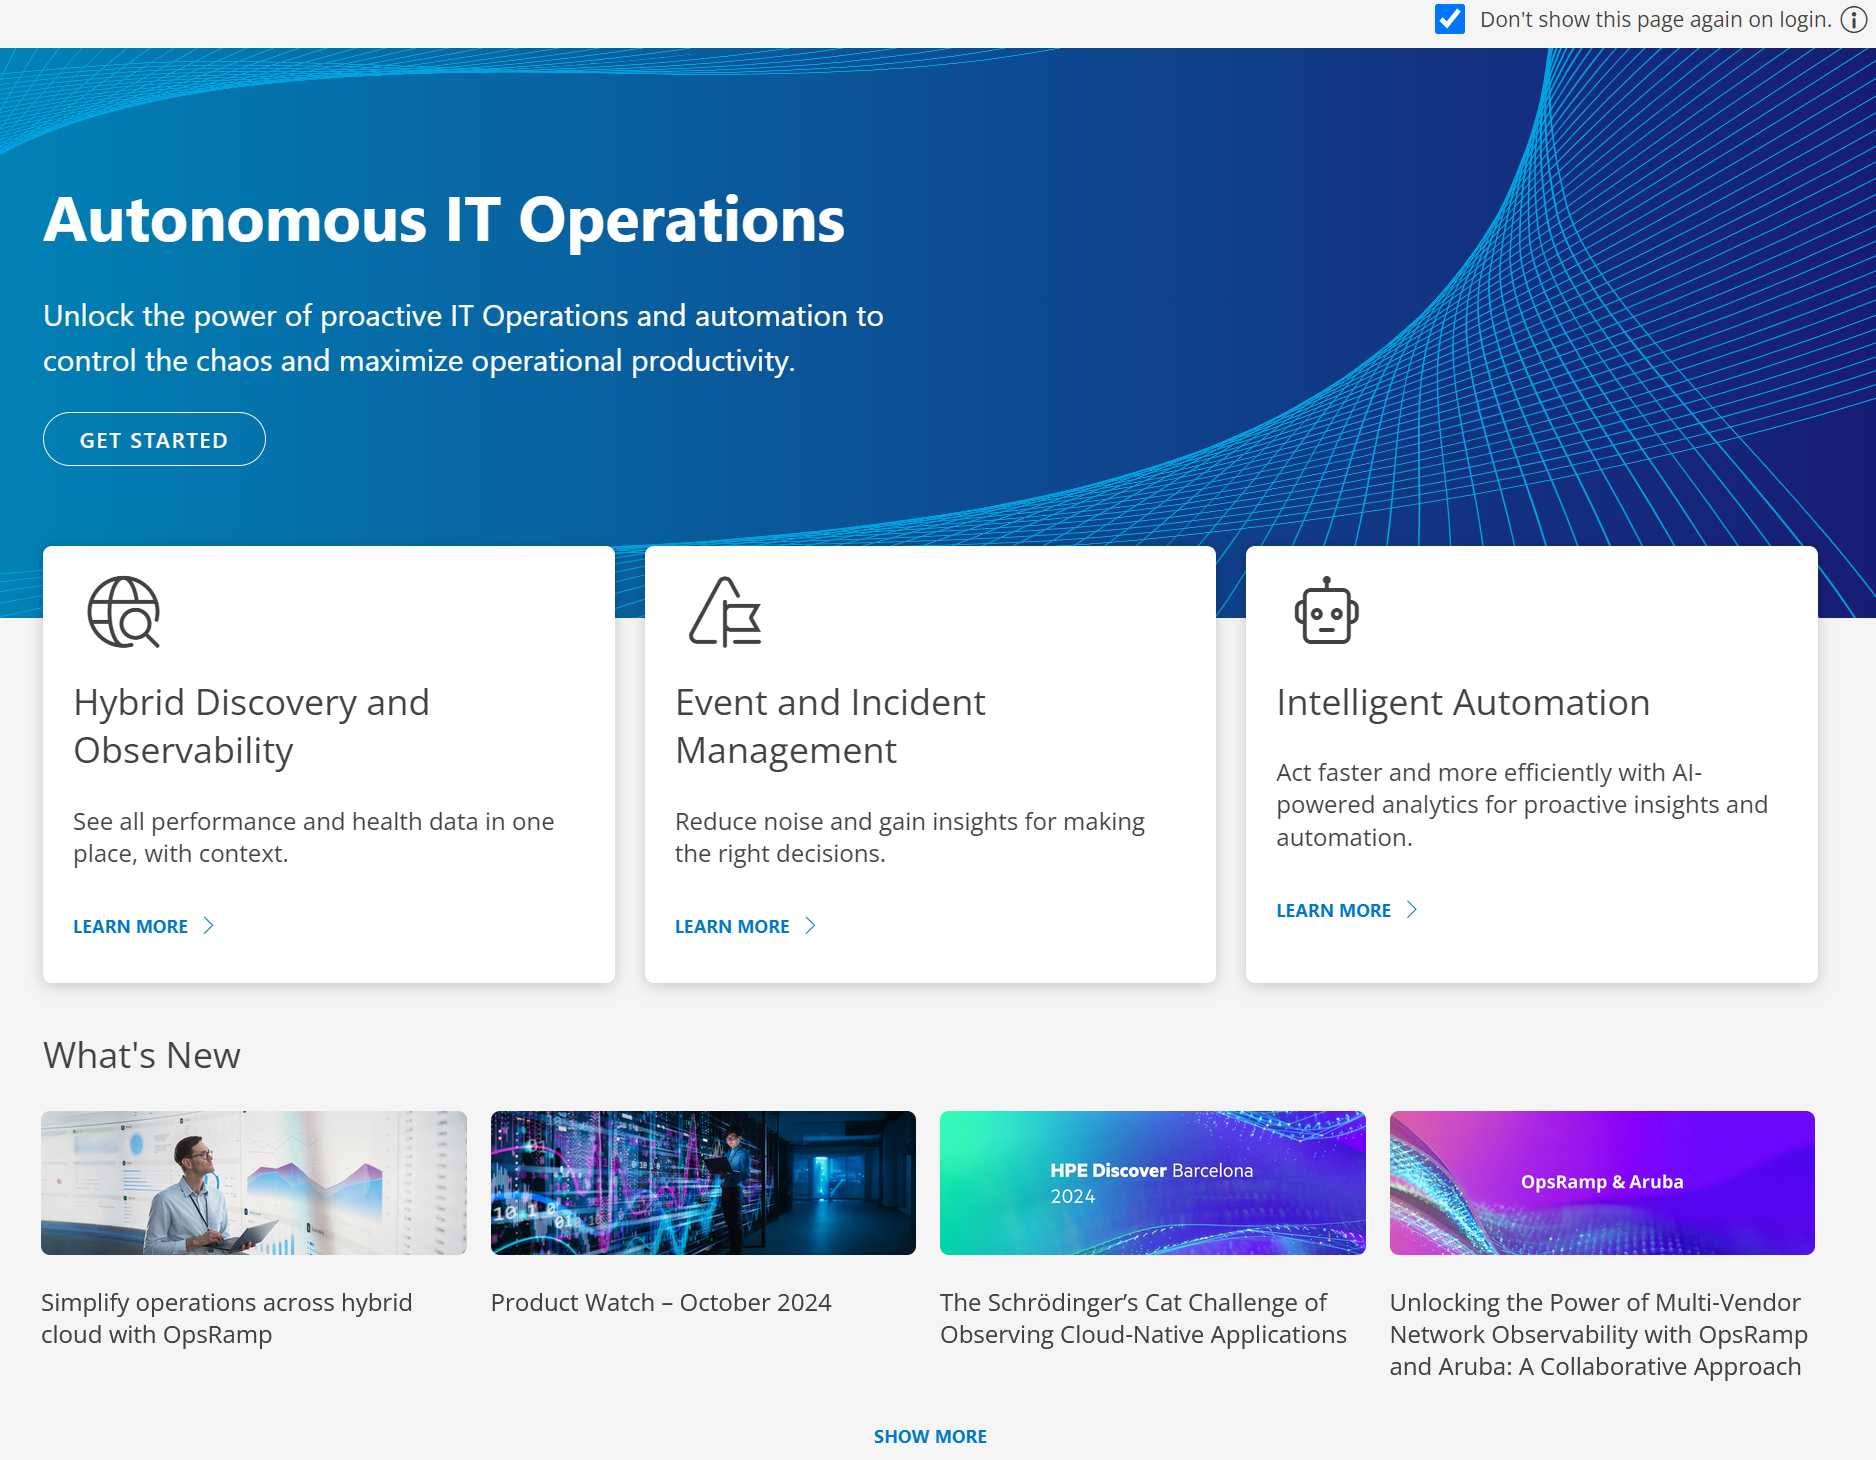
The Welcome page provides information on OpsRamp, including product documentation and blogs. You can click links on the page for more information on a topic or a module.
Select the checkbox on the right corner of the page, if you do not want to see the Welcome page again.
If you want to change the default home page, you can do it from My Profile page.
Existing users can access the Welcome page in the following ways:
- Hover over your avatar on the navigation bar and click Welcome page.
- Click OpsRamp logo on the navigation bar.
Follow these steps to navigate to USERS listing page:
- Click Setup > Account.
- Click Users and Permissions tile.
- Select Users tile. The USERS listing page appears.
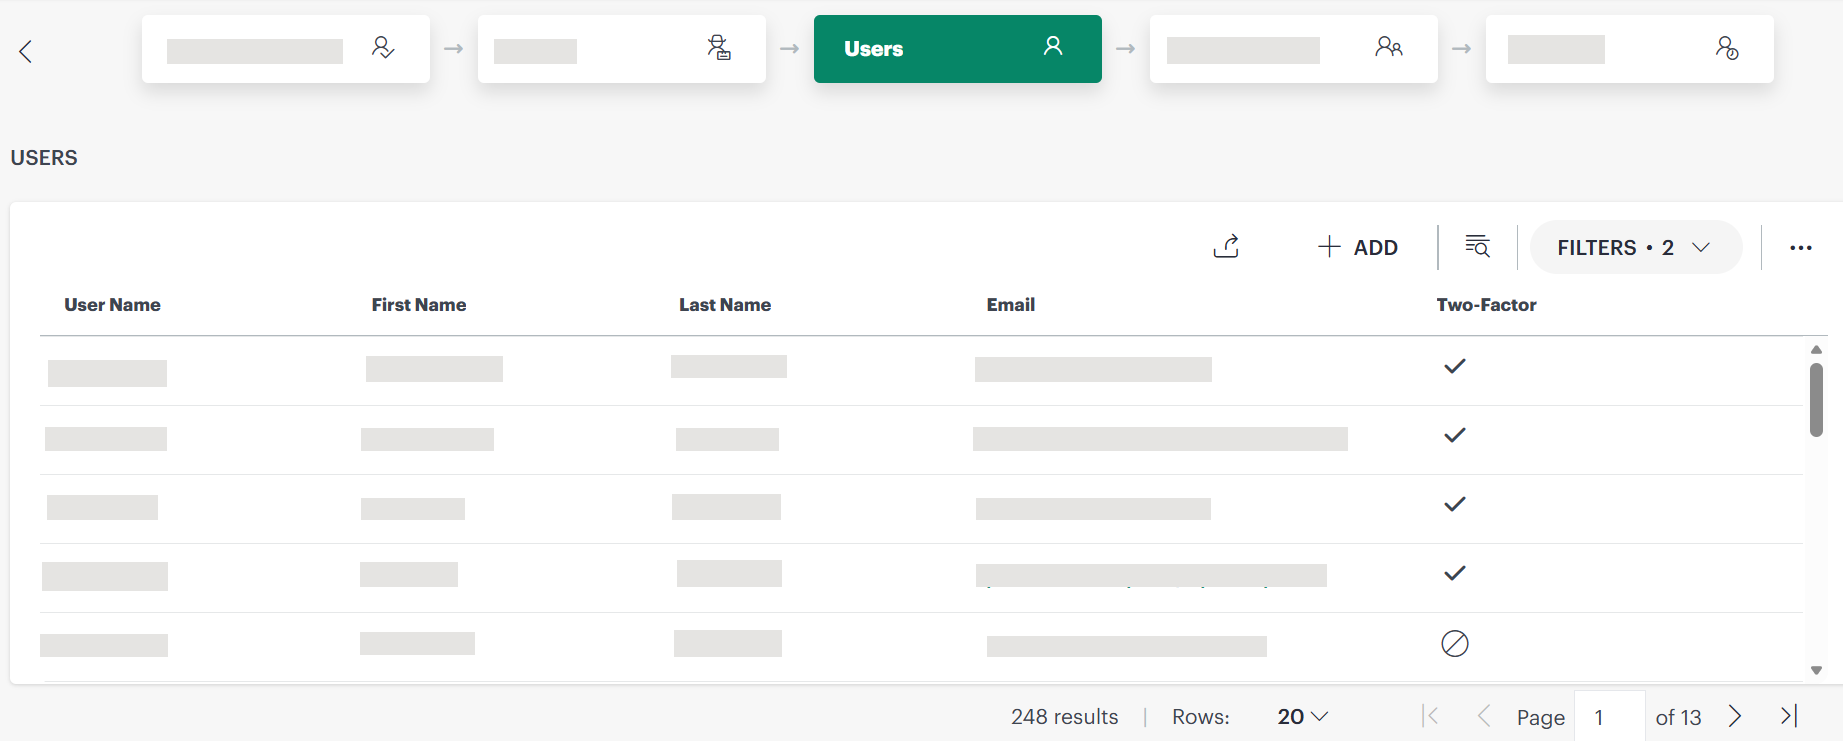
Actions on a user
You can perform the following actions after creating a user:
| Action | Procedure/Description |
|---|---|
| Search | To search for a user, click the search icon on the Users listing page. Type the user name in the search box. The search result appears. |
| View and Edit | To view user details, search for the user and click the user name. To edit user information:
Follow these steps to enable 2FA: The 2FA is disabled by default. Note: For security reasons, you will be logged out after activation. |
| View Roles |
|
| Reset Password | An Administrator user can update the password of any user. To reset the password of a user, perform the following steps:
Note: The link will expire after 24 hours. |
| Generate API Token | To generate API token:
|
| View Logs | To view logs:
The logs are displayed with Request URL, Event Name, Processed Time, Status, Status Message, Entity Id, Request Payload, Response Payload details. Use the Filter dropdown to filter the logs by Created Time, Status, and/or Entity Id. |
| Filter | Follow these steps to filter users by Status and User Access Type.:
|
| Deactivate | Deactivating a user means stopping all operations. Any references related to the user will be removed. The account can be activated later. Also, users are deactivated if they do not provide consent to the agreement in 90 days of their account creation. Before deactivating the account of such users, an email notification is sent after 80 days. To deactivate a user:
Note:
| Remove | You must be an administrator to terminate or remove a user. Terminating a user account means removing the user account permanently wherein the user account and related data would not be available on the system and the user cannot use the account. The account cannot be activated later. To remove a user:
5. Select the checkbox to confirm. 6. Click Remove. The user is removed successfully. All terminated user Personal Identifiable Information (PII), including first name, last name, email, and phone number, is removed from the database and cannot be restored later. To view the terminated user details:
|
| Resend | Once the invite link expires, the user information appears in the Expired list. The user can be re-invited. To reinvite:
|
| Invited | All the users who are invited appear in the Invited list. To view the list of invited users:
|
| Unlock |
To unlock a locked user:
|
| Export | The Export functionality allows you to export user details as a report. Prerequisite: You should have Manage Report and View Integrations permissions to export. To export user details:
|
Promote Notification User to Portal/API User
A user may require additional access or functionality beyond receiving notifications. In such cases, the notification user is promoted to a Portal or API User, depending on their specific needs. This allows them to either interact directly with the platform through the portal or integrate with the system via an API for more advanced operations.
Note
- Users who have User_Manage permission can only promote a Notification User to Portal/API User.
Follow these steps to upgrade a notification user to Portal/API User:
Navigate to Setup → Account. The Account Details page appears.
Click the Users and Permissions tile. The PERMISSION SETS page appears.
Click the Users card.
From the USERS listing page, click the Filters dropdown.
Enter the following information in the FILTERS popup window:
- Select Status as Active.
Statuses include: Active, Invited, Expired, Deactivated, Locked, Terminated.
Default status is Active. - Select User Access Type as Notification.
User Access Types include: Portal, API, Notification. Default Access Type is Portal. - Click FILTER. A list of notification users is displayed.
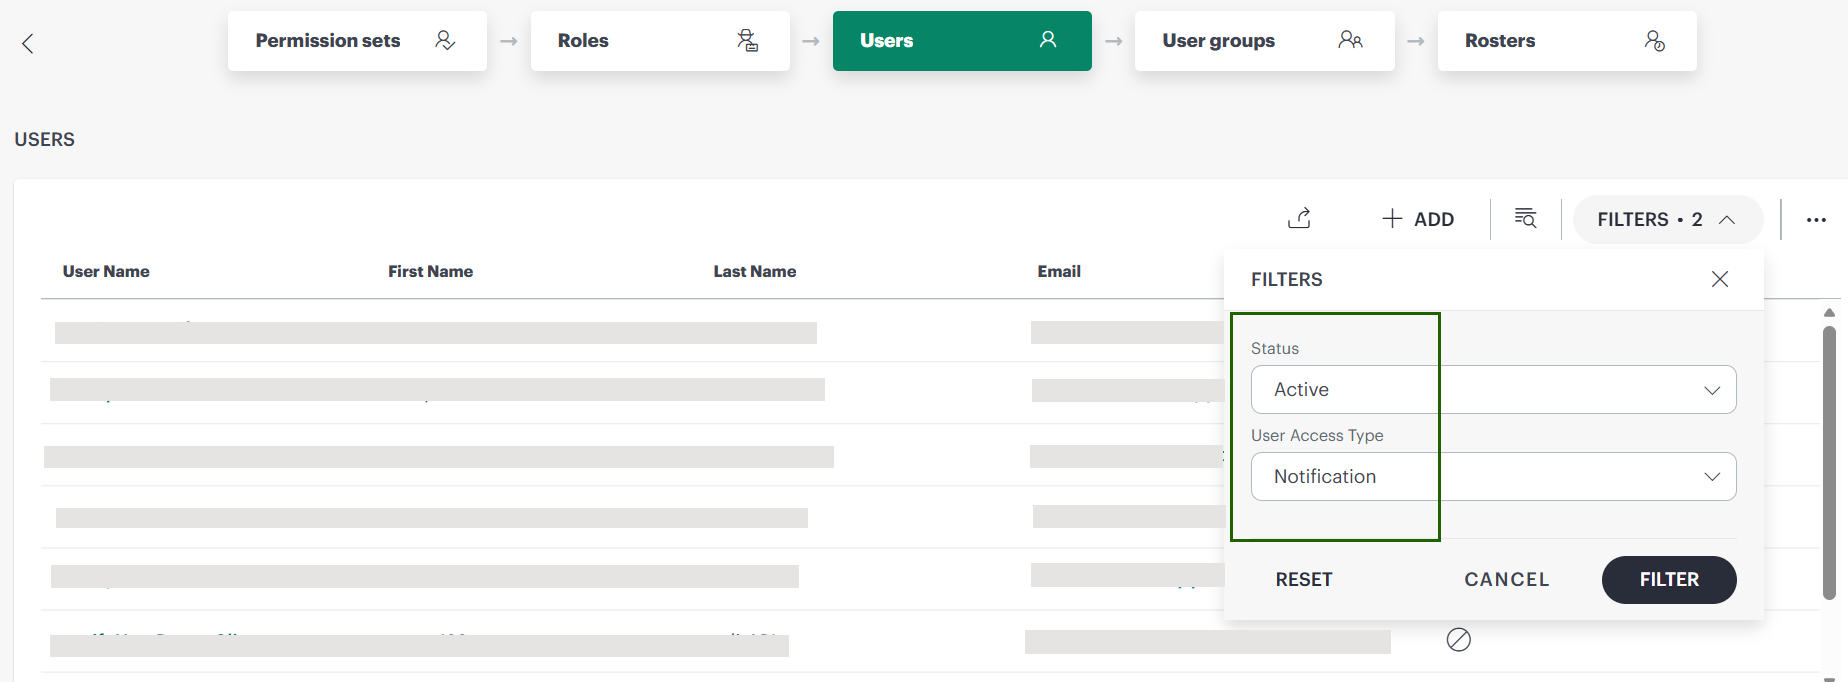
- Select Status as Active.
Statuses include: Active, Invited, Expired, Deactivated, Locked, Terminated.
Search for the user you want to upgrade.
Click the username to open the user details page.
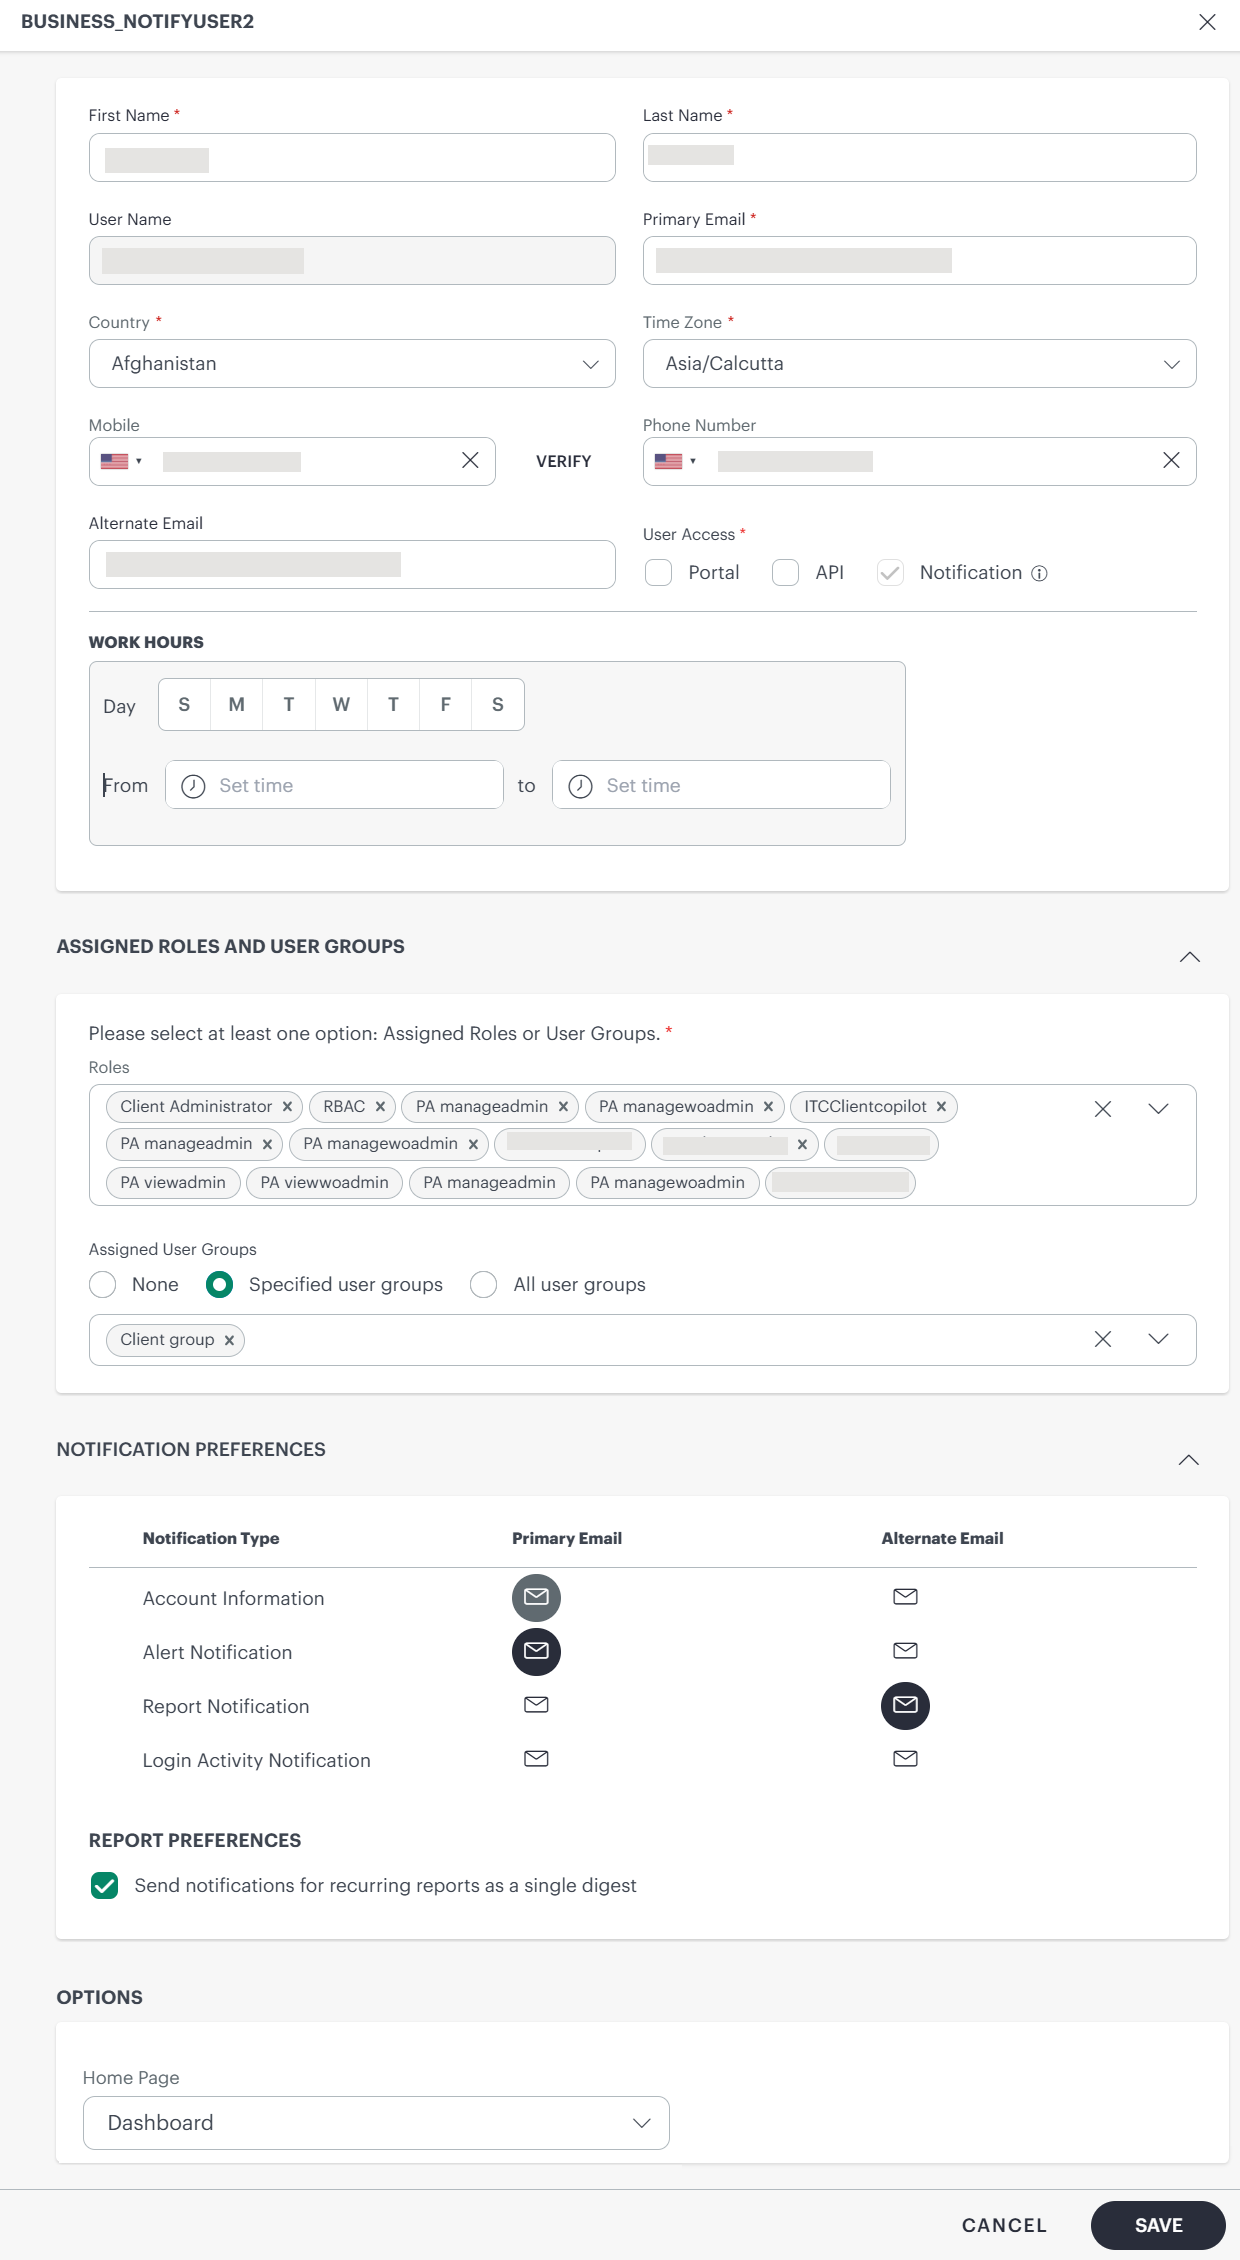
In the User Access field, select Portal. A confirmation message appears, Once user is upgraded from Notification to Portal, it cannot be reverted to previous status.
Click CONFIRM.
- You can select Portal or API, or both.
- You can select Portal or API, or both.
Click SAVE. The user is upgraded to Portal user.
A Password link is sent to the Email ID of the user. The user must reset their password within 24 hours before the link expires.
Lookup Two-Factor Key
The administrator can use the following steps to find the owner of a lost two-factor key.
Navigate to Setup > Account. The Account Details page appears.
Click the Users and Permissions tile on the Account Details page. The Permission Sets page appears.
Click the Users tile.
From the Users listing page, click the three dots icon present beside the Filter option.
Click Lookup Two-Factor Key. The Lookup for two-factor key dialog box appears.
Click on the Verify Two-Factor Key field.
Insert the YubiKey in the USB port and touch the YubiKey button to generate a 44-character, one-time password. The field will be auto-populated with the password.
Click Lookup User. The search result is displayed with the following details: Username, First Name, Last Name, Email, Roles, User Groups, and Two-Factor.
- Click the username for more details.
- Click View All Users to view Users list.
View and Edit Self-user settings
Self-user or current user: Currently logged-in partner or client user.
You can set your preferred landing page. After successful login to OpsRamp, you will view the following options and can set as default.
- Home page
To view and edit your settings:
- Click the Partner/Client dropdown and search for the tenant you have logged in as, in the search box.
Example: If you have logged in as a partner, click the Partner/Client dropdown and search for the partner and select it. - Click Setup > Account.
- Click Users and Permissions tile.
- Select Users tile. The USERS listing page appears.
- Search with your username and click on it. The User details page appears.
- Scroll down to the OPTIONS section.

- Enter the following information:
OPTIONSField Name Field Type Description Home page Dropdown You can set a preferred landing page based on your user profile settings. Select an option from the dropdown.
You can view the number of users on the Users and Permissions tile on the Account Details page.