Introduction
OpsRamp seamlessly integrates with Amazon S3, allowing you to store, manage, and retrieve data efficiently in the cloud. Amazon S3 (Simple Storage Service) is a highly scalable, secure, and durable object storage service, making it an ideal solution for storing metrics, tickets, alerts, inventory data from OpsRamp.
With OpsRamp’s Batch Export feature, you can configure automated data exports to S3 on a scheduled basis — whether on-demand, daily, weekly, or monthly.
You can export specific OpsRamp data to S3 (see Exports for more details). This involves installing the Amazon S3 Exporter integration with the bucket details.
Note
Supports S3 compatible storage providers.Prerequisite
Before you begin, ensure you have the necessary IAM permissions to create IAM roles and policies in AWS.
Step 1: Install the Integration
- From All Clients, select a client.
- Log in to the OpsRamp portal.
- Navigate to Setup > Account. The ACCOUNT DETAILS screen is displayed.
- Select the Integrations tile. The Installed Integrations screen is displayed, with all the installed applications.
- If you do not have any installed applications, you will be navigated to the Available Integrations page. The Available Integrations page displays all the available applications along with the newly created application with the version.
Note: Search for the integration using the search option available or by selecting the category of integration from the All Categories dropdown. - Click +ADD in the AWS S3 application.
- From ADD AWS S3 screen, enter:
- Name: Name of the Integration.
- Logo: Logo you upload depending on the integration type.
- Click Install.
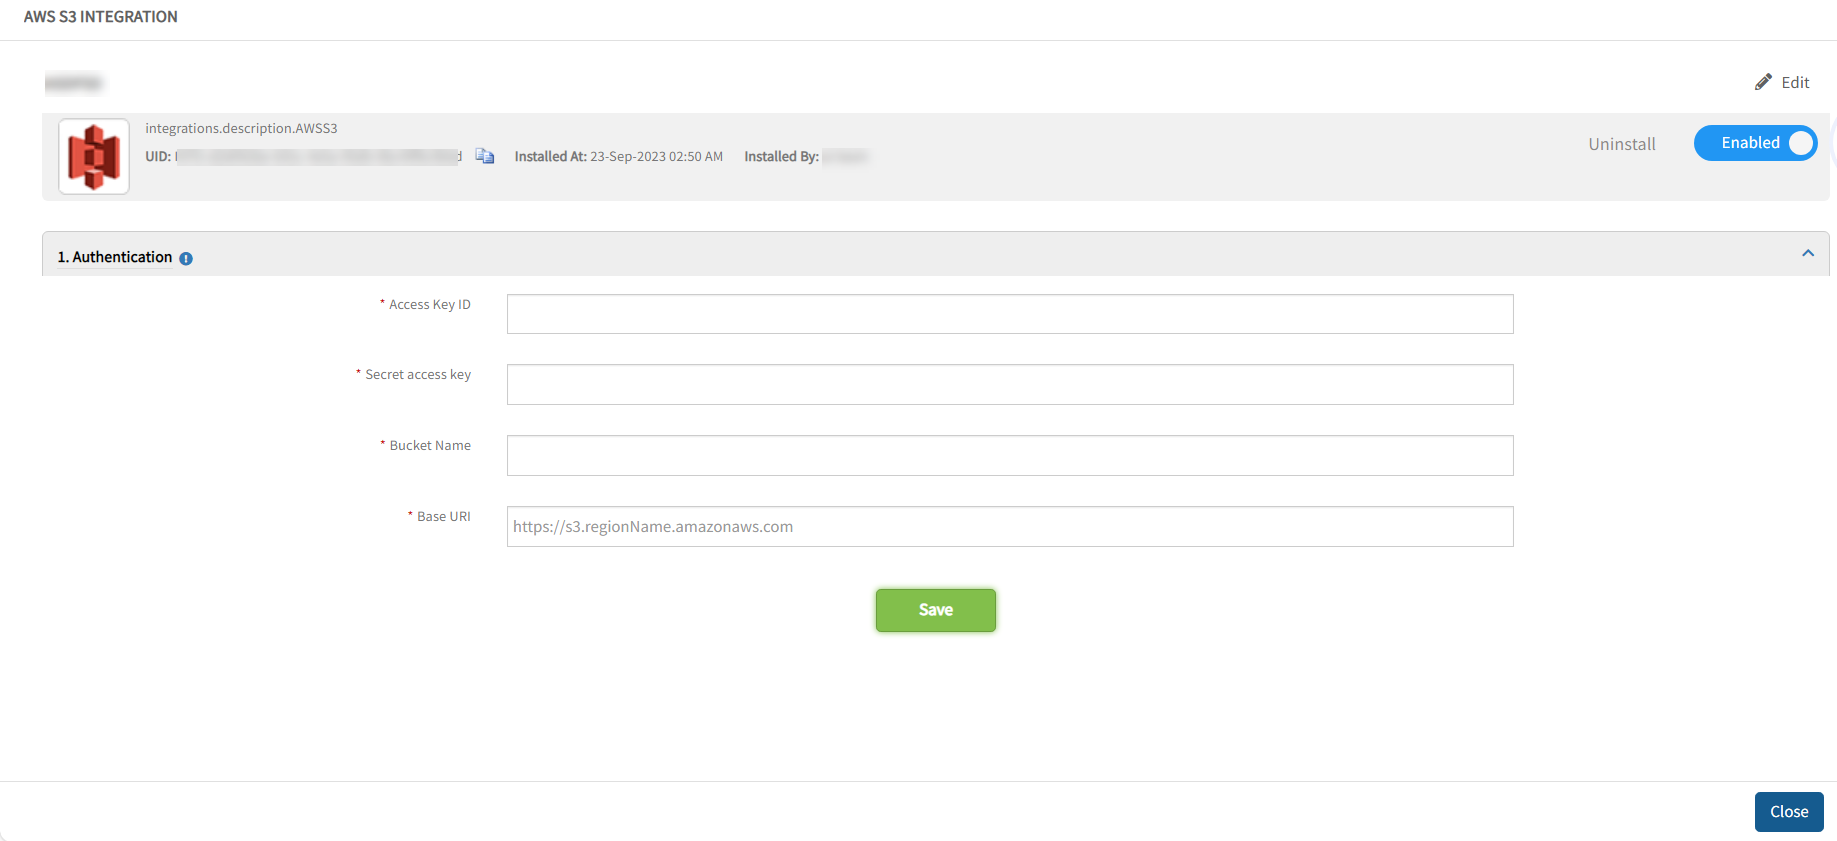
Step 2: Configure the Integration
- Generate Access Keys for the S3 bucket through the AWS console.
- Enter the following details in the integration:
- Access Key ID: Access Key to access the S3 bucket.
- Secret access key: Secret Key to access the S3 bucket.
- Bucket Name: Name of the AWS S3 bucket for the export data.
- Base URI: Data location in the AWS S3 bucket. For example, https://s3.regionName.amazonaws.com.
- Click Save.
Step 3: Create Batch Export
See Setup Batch Export for more details on how to create a batch export.