Introduction
The WMI protocol is used to discover and collect performance and health metrics from WMI-enabled devices. Agent-based and agentless WMI-enabled device discovery are supported.
Agent-based Discovery
Agent-based discovery uses an Agent to discover remote WMI-enabled Windows devices.
Agent-based discovery prerequisites
- Install an agent on a Windows server where it is used to discover other Windows servers.
- Enable the WMI service on target devices.
- Allow WMI service through the firewall.
Discover WMI-enabled devices using Agent
Install the agent on one of your network Windows servers.
Go to Setup > Resources > Management profile > + Add.
Enter a profile name and select:
- Select Profile type as Agent
- Select Device Type as Windows
Click Save.
A master agent is a legacy concept and it is recommended that you not use an agent as a master agent.
Go to Setup > Resources > Discovery deployment > Create New and:
- Select Discovery Type as Agent.
- Select Discovery Profile Type as WMI.
Select credentials, specify the IPs you want to discover, and click Submit.
Open the Discovery profile and click Scan.
All discovered devices are visible on the same page.
Agentless Discovery
Agentless discovery uses a Windows gateway instead of an agent to discover WMI-enabled devices.
Note
WMI discovery is supported only through Windows gateway.If any of the following are true, the gateway does not discover the device:
- Port 5985 is not open.
- An agent is installed on the devices.
Agentless Discovery prerequisites
Note
Ensure that the user account has the following minimum permissions within the relevant WMI namespace, typically Root\CIMV2:
- Execute Methods
- Enable Account
- Remote Enable
These permissions allow the user to remotely query and access information on the target system through WMI.
On OpsRamp Gateway devices:
- Ensure that the WinRM service is enabled on the OpsRamp Gateway.
- Configure the firewalls to allow WinRM traffic.
- Add the IP addresses of the target remote devices as trusted hosts on the gateway, as discovery operates within the specified IP range.
- Ensure that PowerShell Remoting (PS-Remoting) is enabled on OpsRamp Gateway device.
- Confirm that you can access PowerShell from the command prompt.
On target devices:
- Enable WinRM service.
- Configure the firewall to allow WinRM traffic.
- Enable PowerShell Remoting (PS-Remoting) on the target devices.
Discover WMI-enabled devices using Windows Gateway
- Install the Windows gateway.
- Go to Setup > Resources > Management profile > +Add.
- Enter a profile name and, select Profile type as Gateway.
- Click Save.
Configure and Install the Microsoft Windows (WMI) Integration
- From All Clients, select a client.
- Go to Setup > Account.
- Select the Integrations and Apps tab.
- The Installed Integrations page, where all the installed applications are displayed.
Note: If there are no installed applications, it will navigate to the Available Integrations and Apps page. - Click + ADD on the Installed Integrations page. The Available Integrations and Apps page displays all the available applications along with the newly created application with the version.
Note: You can even search for the application using the search option available. Also you can use the All Categories option to search.
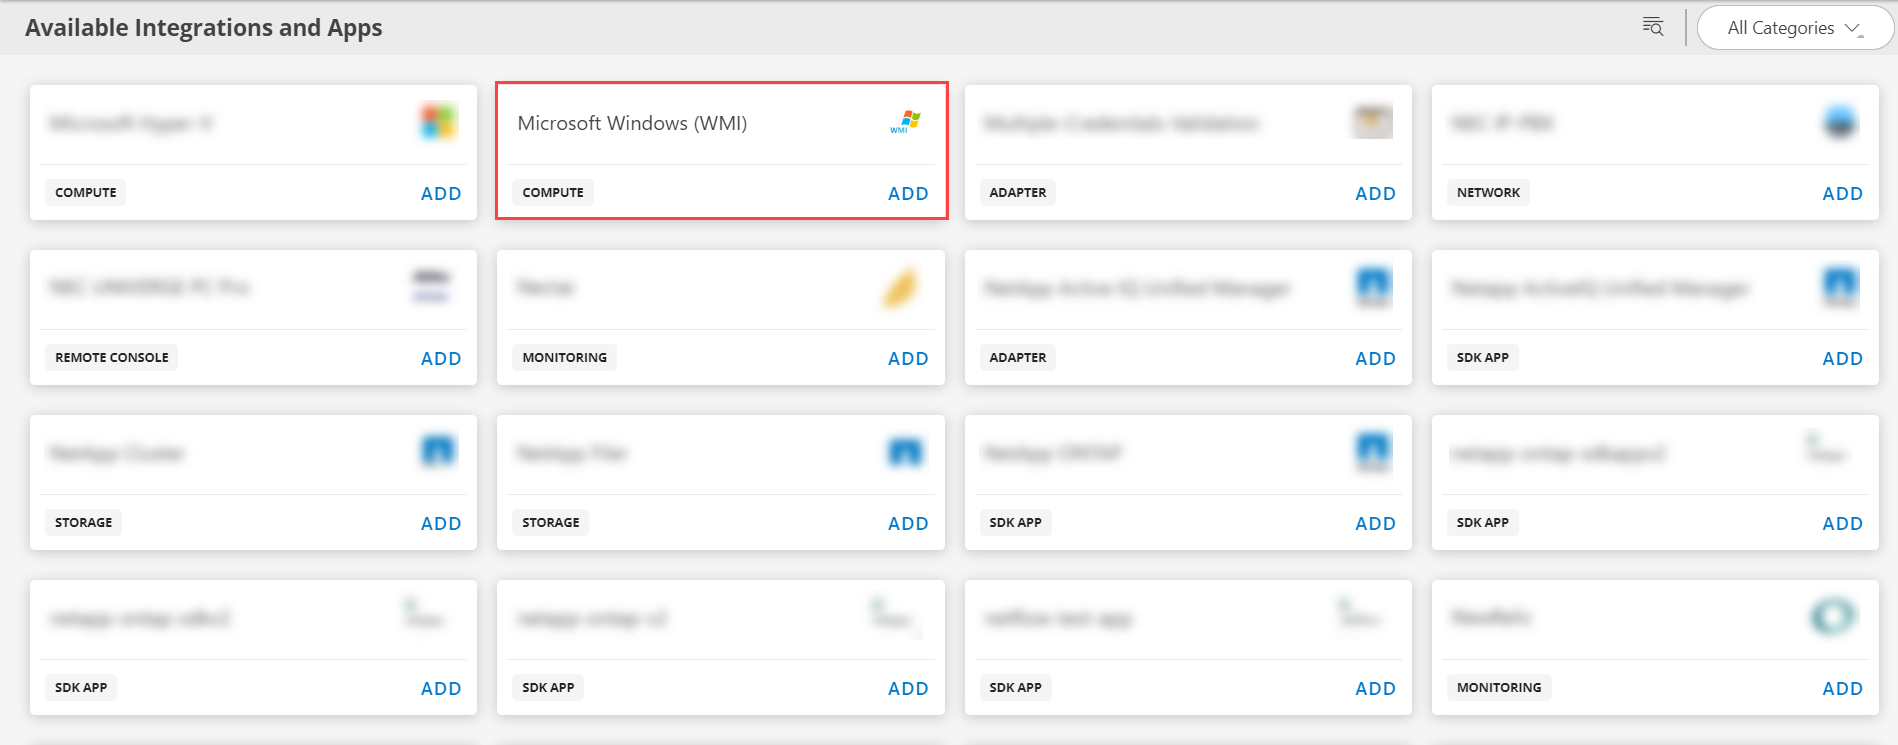
- Click ADD in Microsoft Windows (WMI).
- In the Configurations page, click + ADD. The Add Configuration page appears.
- Enter the below mentioned BASIC INFORMATION:
| Functionality | Description |
|---|---|
| Name | Enter the name for the integration. |
| IP Address | Enter the IP address provided from the installation. |
| WMI Credential | Select an existing credential or create a new credential. (Optional) Click + ADD to create a new credential. In the ADD CREDENTIAL window that appears, enter the following information:
|
| Discover only WMI enabled devices | If you choose this option, only WMI-enabled devices are discovered.
|
| Perform Actions | Select the Manage Device checkbox, to manage the devices. The +Query option is displayed.
|
In the Discovery Schedule section, select Recurrence Pattern to add one of the following patterns:
- None: Select this option, If you do not want to schedule the discovery.
- Hourly: Select this option, If you want to apply the discovery on hourly basis. You can configure this option by choosing: Every hour.
- Daily: Select this option, If you want to apply the discovery daily. You can configure this option by choosing: Every Weekday (Mon-Friday) or Everyday.
- Weekly: Select this option, If you want to apply the discovery on a weekly basis. Configure weekly schedule by selecting: Time preference, Starting date, and Days.
- Monthly: Select this option if you only want to apply discovery on a monthly basis. Configure this by selecting: Time preference, Starting date, and number of days in a month.
Click ADD.
Now the integration is saved and displayed on the configurations page after you save it. From the same page, you are able to Edit and Remove the created integration.

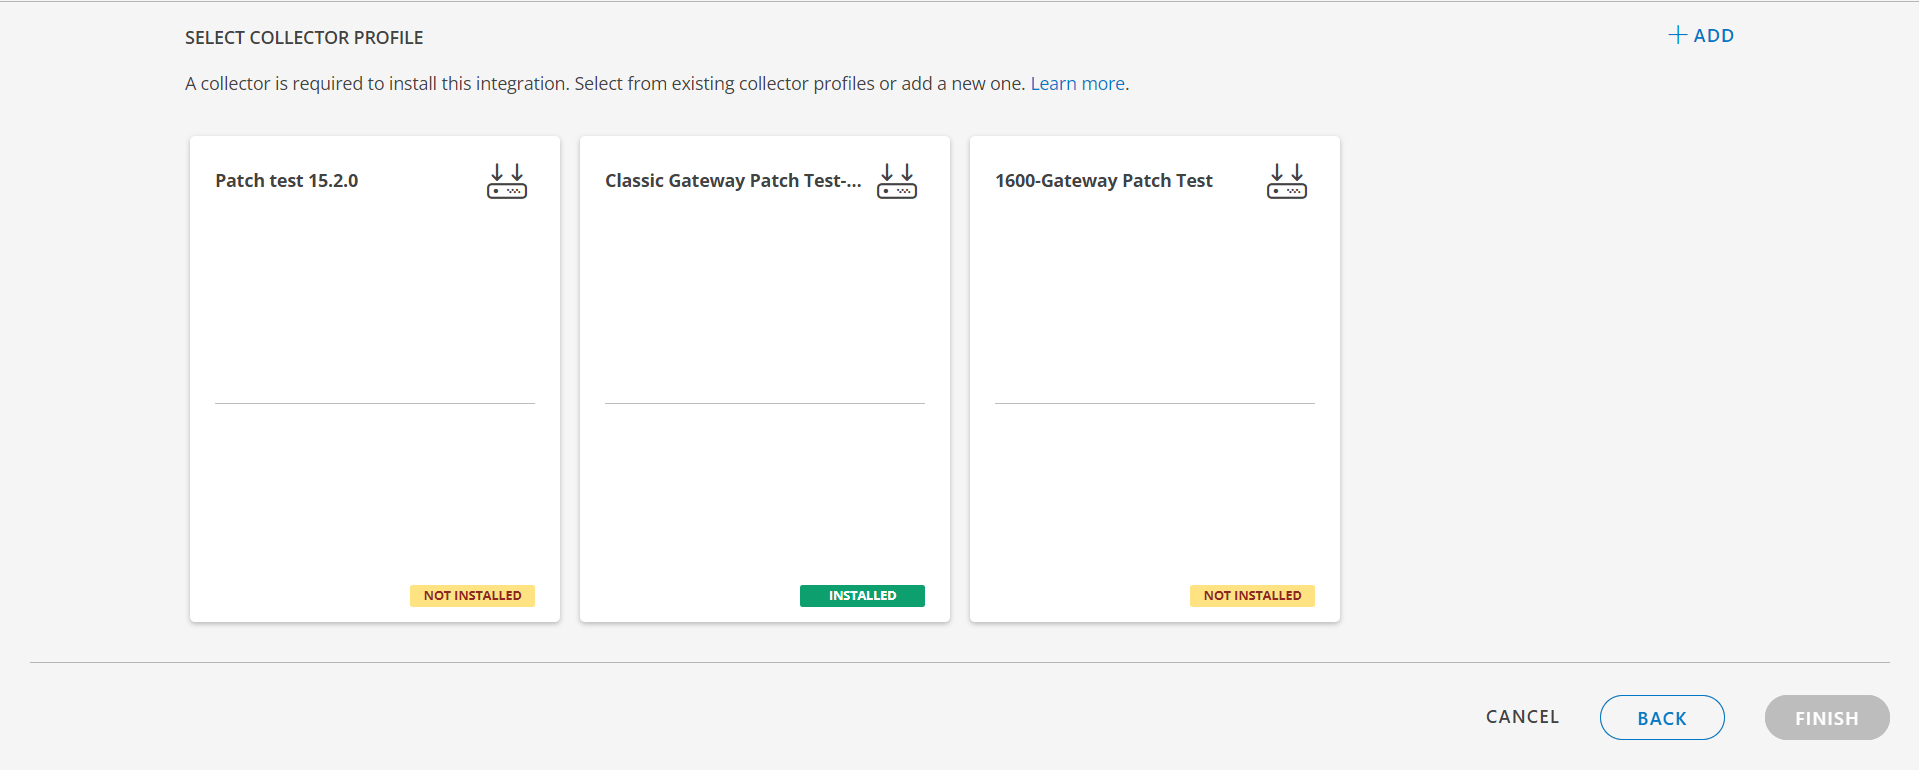
- Click Next. The Select Collectors Profile page is displayed.
- From the SELECT GATEWAY COLLECTOR PROFILE listing:
- Create a new collector by providing a new name or use the pre-populated name.
- Select a collector from the existing list.
- Click Finish.
The integration is now installed and displayed on the Installed Integration page. Use the search field to find the installed integration.
Note: By default, the Discovery Status is displayed as Completed, for recurring schedules, but actual discovery scan will start at the scheduled time. The Discovery scheduling is updated in the Gateway when configuration is saved.
Modify an Installed Integration or Application
See Modify an Installed Integration or Application article.
Note: Select the Microsoft Windows (WMI) application.
View the Microsoft Windows (WMI) Details
Navigate to Infrastructure > Resources > Server. You can go to the Attributes tab to view the below discovery details:
Basic Information
| Functionality | Description |
|---|---|
| Device Type | Device Type Information |
| Resource Type | Resource Type information |
| OS | Operating System information |
| DNS Name | DNS Name |
| IP Address | IP Address |
| Mac Address | Mac Address information |
| Make | Make of the device |
| Model | Model number of the device |
| Description | Description of the device. |
| Serial Number | Serial number information. |
More Information
| Functionality | Description |
|---|---|
| OS Architecture | Information related to Operating System architecture. |
| Build Number | Information to Build Number |
| Registered User | Information of the registered user |
| Product Key | Product Key information |
Hardware Information
The below mentioned attributes are displayed against each component:
| Component | Attributes |
|---|---|
| Device Info | Device Type |
| Make | |
| Model | |
| Domain Name | |
| RAM | |
| BIOS Info | DNS Name |
| Description | |
| System Caption | |
| BIOS Name | |
| BIOS version | |
| SMBIOS Present | |
| SMBIOS BIOS Version | |
| SMBIOS Version | |
| CPU | Processor |
| Processor Name | |
| Processor Version | |
| Manufacturer | |
| Power Management | |
| Family | |
| L2 Cache Size | |
| Max Clock Speed | |
| Data Width | |
| Number Of Cores | |
| Socket Designation | |
| Physical Disk Drive Details | Name |
| Model | |
| Manufacturer | |
| Interface Type | |
| Partitions | |
| Media Type | |
| Logical Disk Drive Details | Drive Caption |
| Drive Name | |
| Total Space (GB) | |
| File System | |
| Description | |
| Video Cards | Name |
| RAM | |
| Version | |
| Resolution | |
| Bits per Pixel | |
| Network Information | Name |
| IP Address | |
| MAC Address | |
| DHCP Status | |
| OOB Interface Cards | - |
Troubleshooting
How do you view and save discovered devices manually?
If you cannot view the discovered devices, follow these steps to view and save the discovered devices:
Open a PowerShell window and navigate to the default discovery script location: C:\Program Files\OpsRamp\Gateway\scripts\wmi\discovery
Enter the following command:
.\scriptname <IPAddress> <domain\username> <password>Example:
{{ .\windowsdiscovery.ps1 172.28.110.71 opsramp\admin Pass@123 }}This populates the console discovered device list.
Enter the following command if you want to save the result in a file:
.\windowsdiscovery.ps1 172.28.110.71 opsramp\admin Pass@123 > D:\result.txtExample:
{{ .\windowsdiscovery.ps1 172.28.110.71 opsramp\admin Pass@123 > D:\result.txt }}In this example, the discovered device list is saved in the result.txt text file.
How do you troubleshoot remote connections?
To troubleshoot remote connections or debug environment-related permissions and authentication issues, see Microsoft documentation about remote troubleshooting.
How to check for proxy and disable it?
Open a PowerShell window with Administrator privileges and execute the following commands:
- To check for proxy:
netsh winhttp show proxy - To disable the proxy:
netsh winhttp reset proxy
This should be done in both gateway and target device as well.